

Smoked Tri-Tip Roast
Prep Time: 15 min
Cook Time: 120 min
Yield: Feeds 4 people
Ingredients
approx. 1.5 lbs. Tri-Tip roast
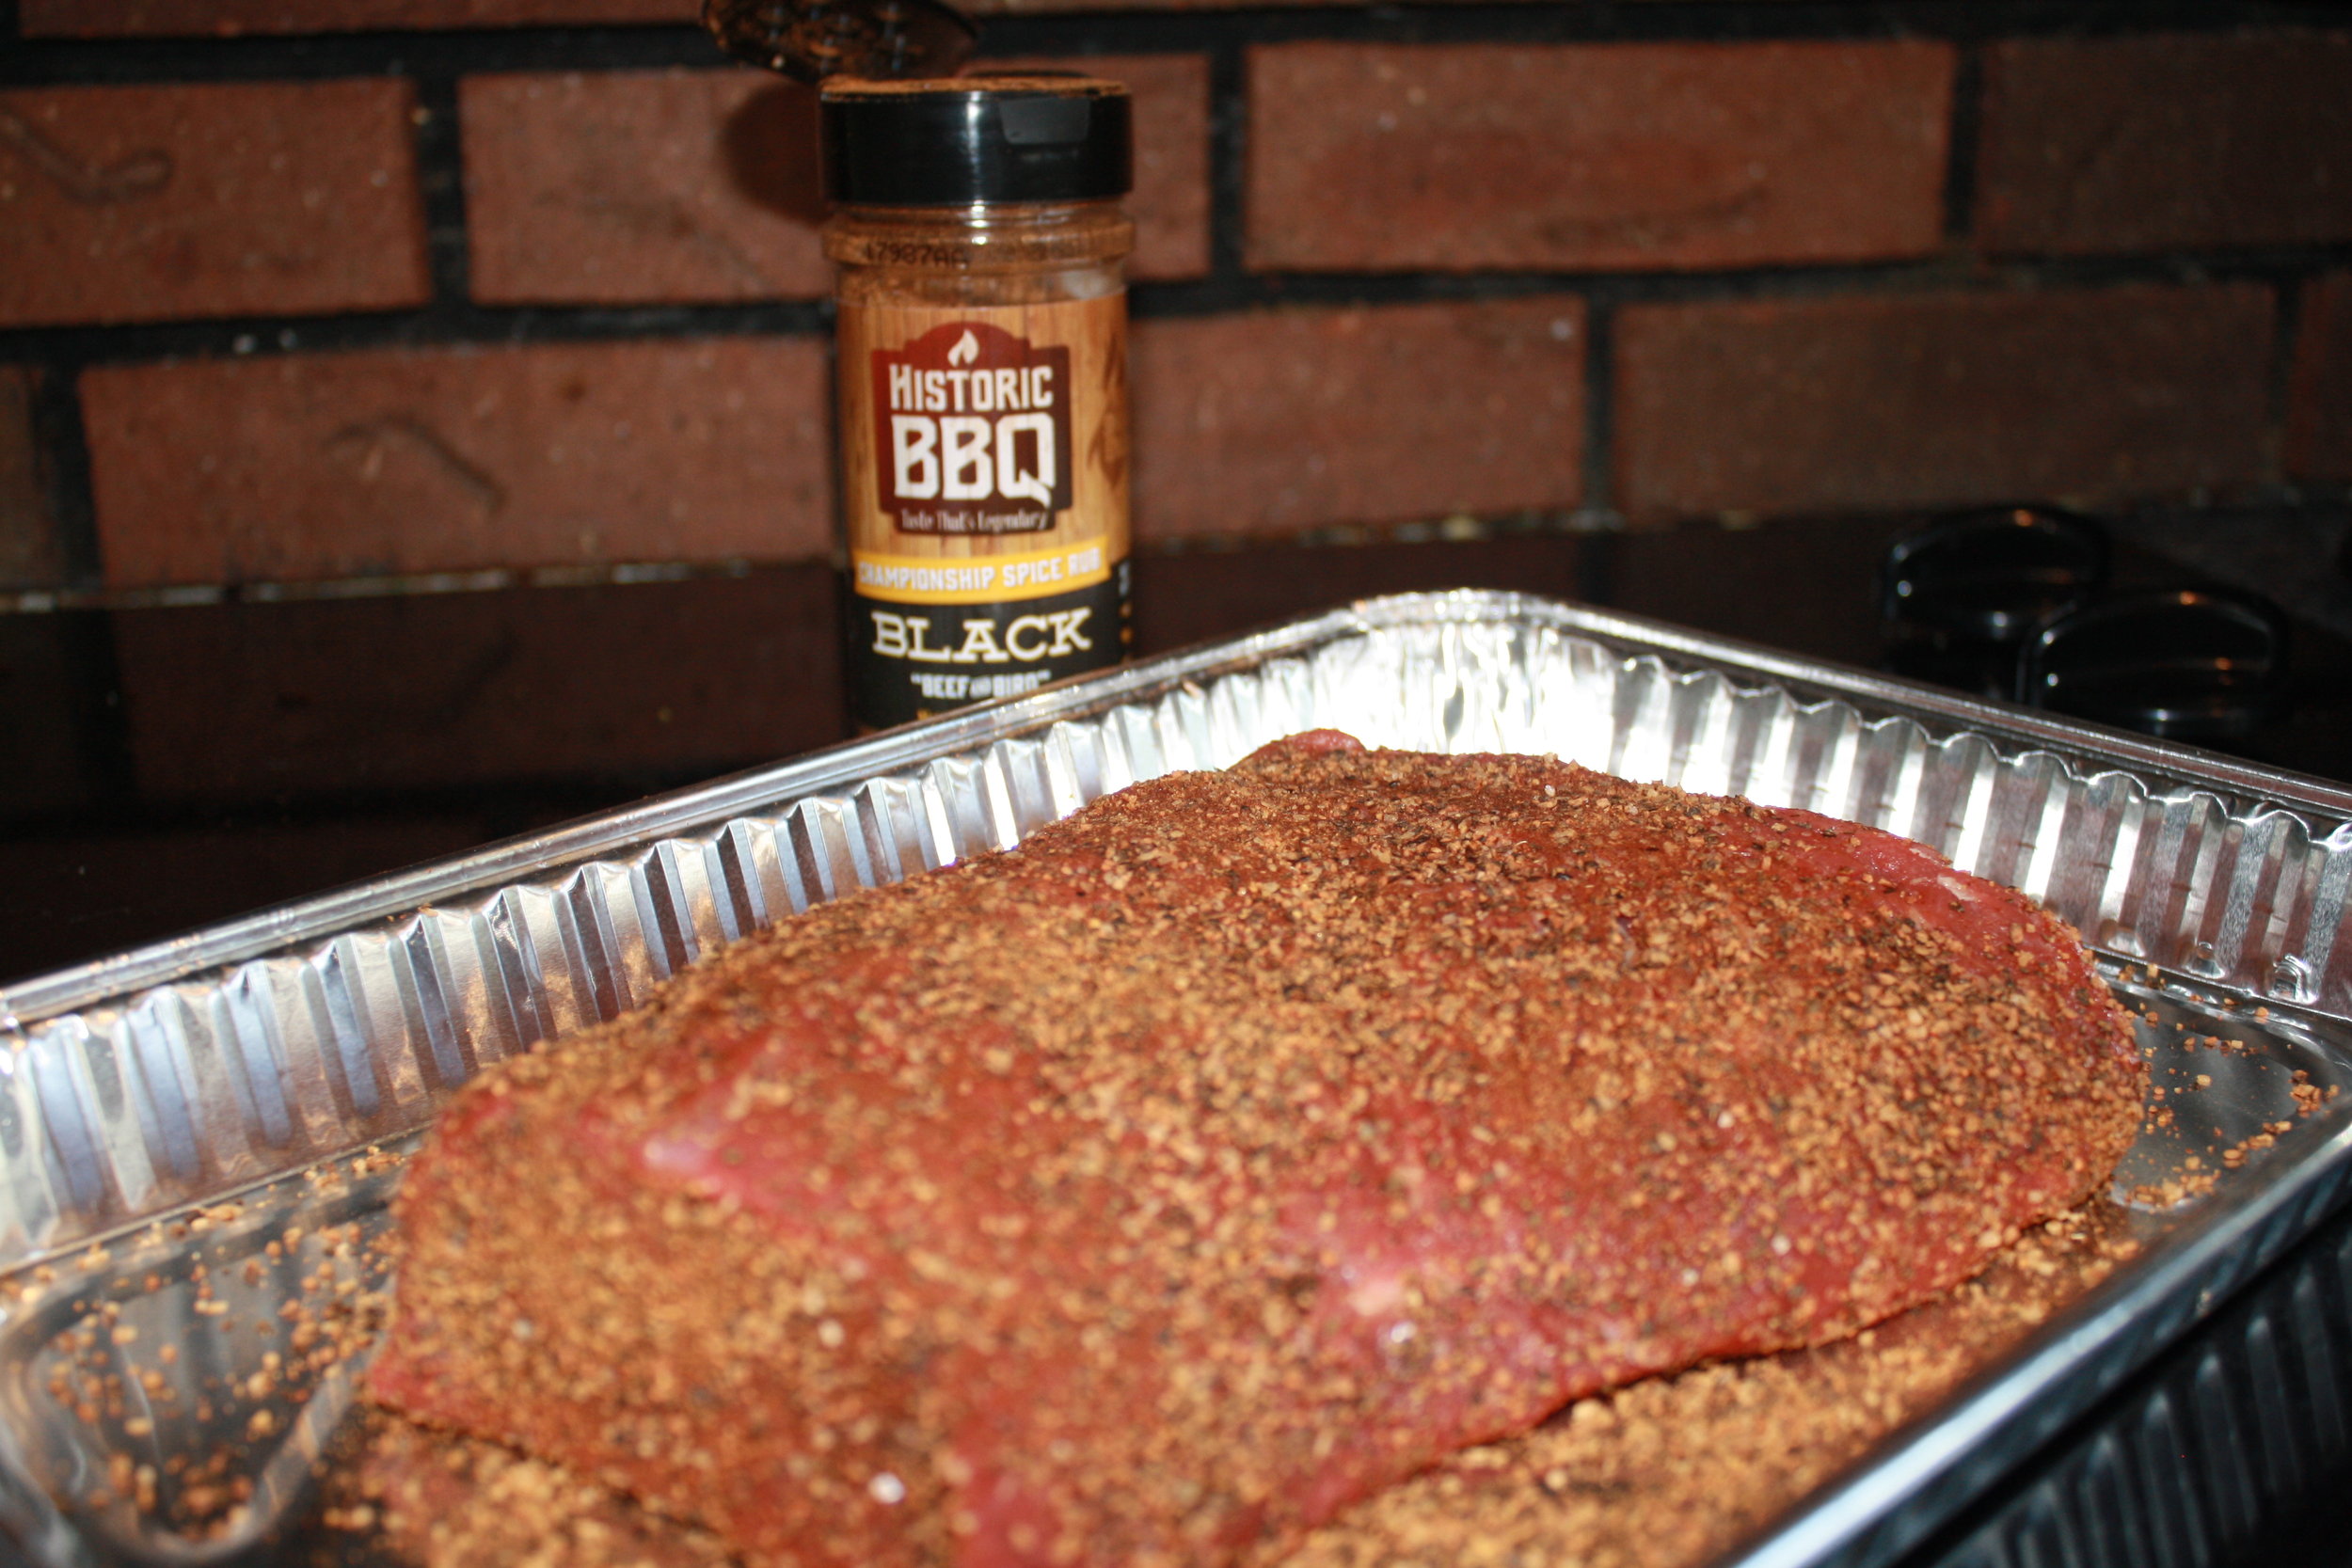
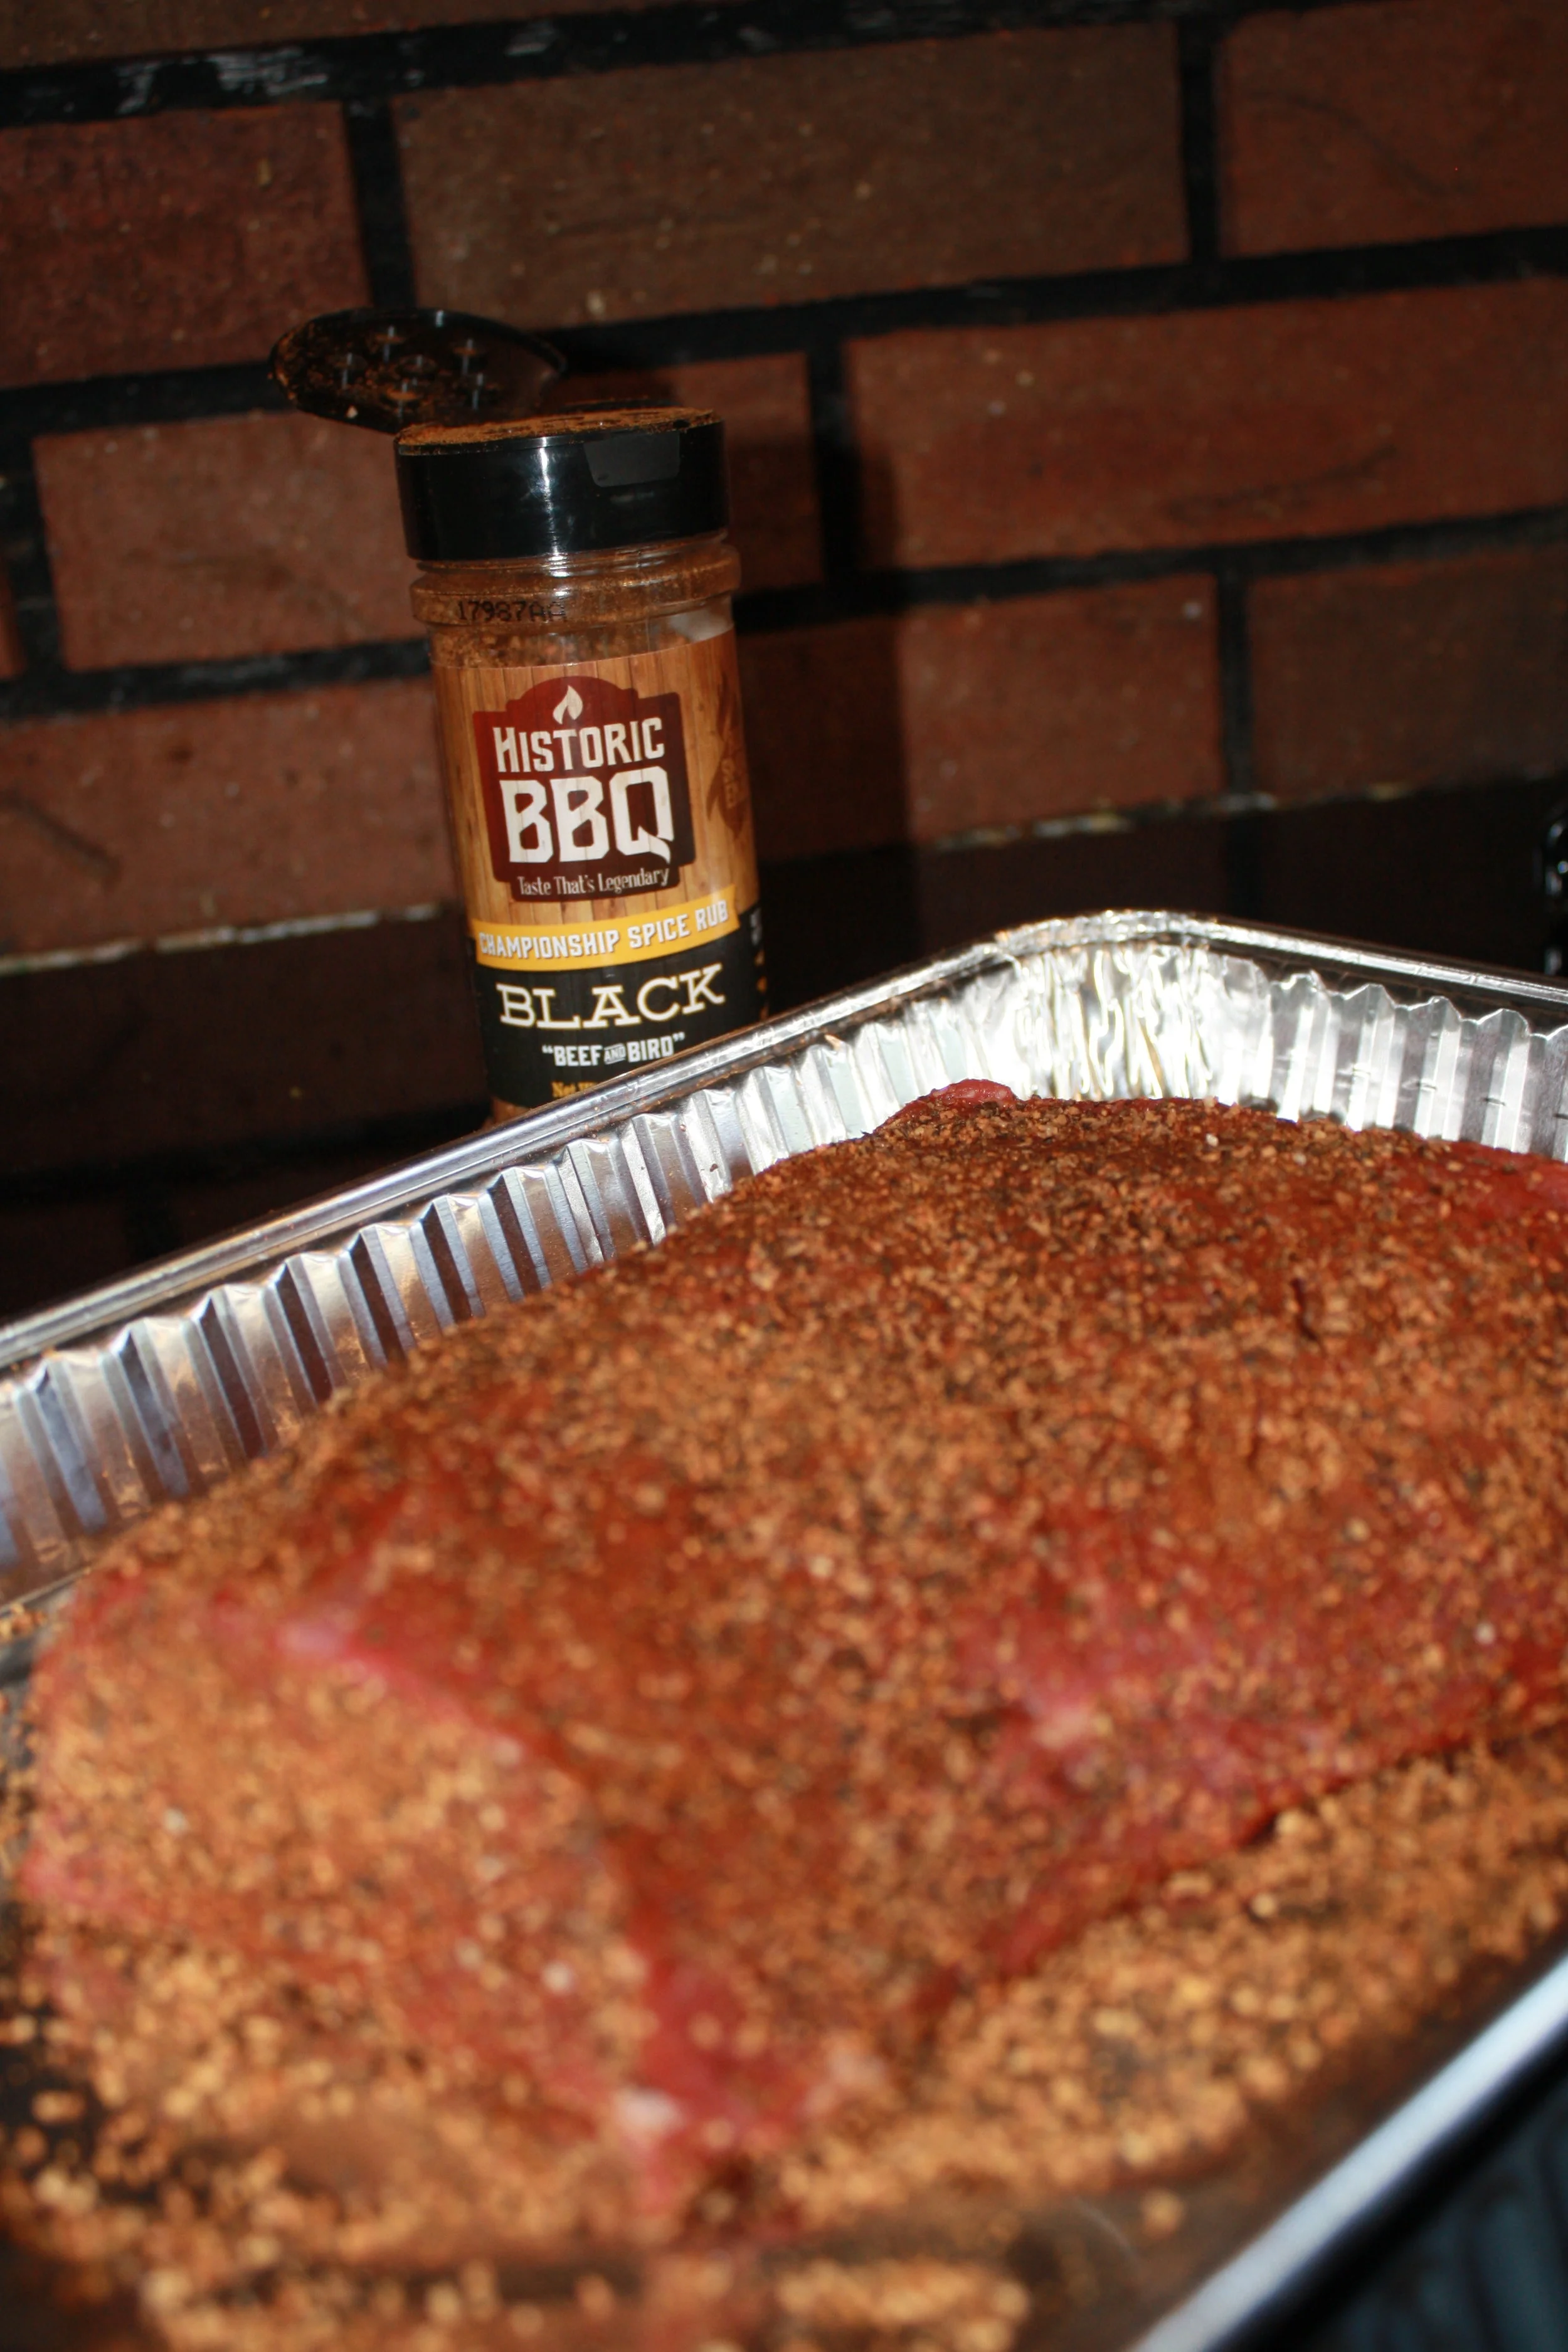
Historic BBQ Black rub - to taste
The Triple Threat Match
Before this cook began, the only thing I knew about the Tri-Tip was that I hear a lot of people talking about it. Recently this seems to be the cook all the cool kids are doing. When Mikey assigned it to me, my first thought was 'Sweet! I am finally making it to the cool kid's table!'
The second thought was more of the realization that I didn't have a clue what a Tri-Tip even was. In my head I was envisioning something more along the lines of a Tomahawk Steak...maybe with 3 bones making it tri-tipped teepee of awesomeness. So I dove into research mode and honestly was a little disappointed to see that this had no wicked looking teepee of bones above the meat. Alas, everything I saw did look delicious so I figured it was worth a shot.
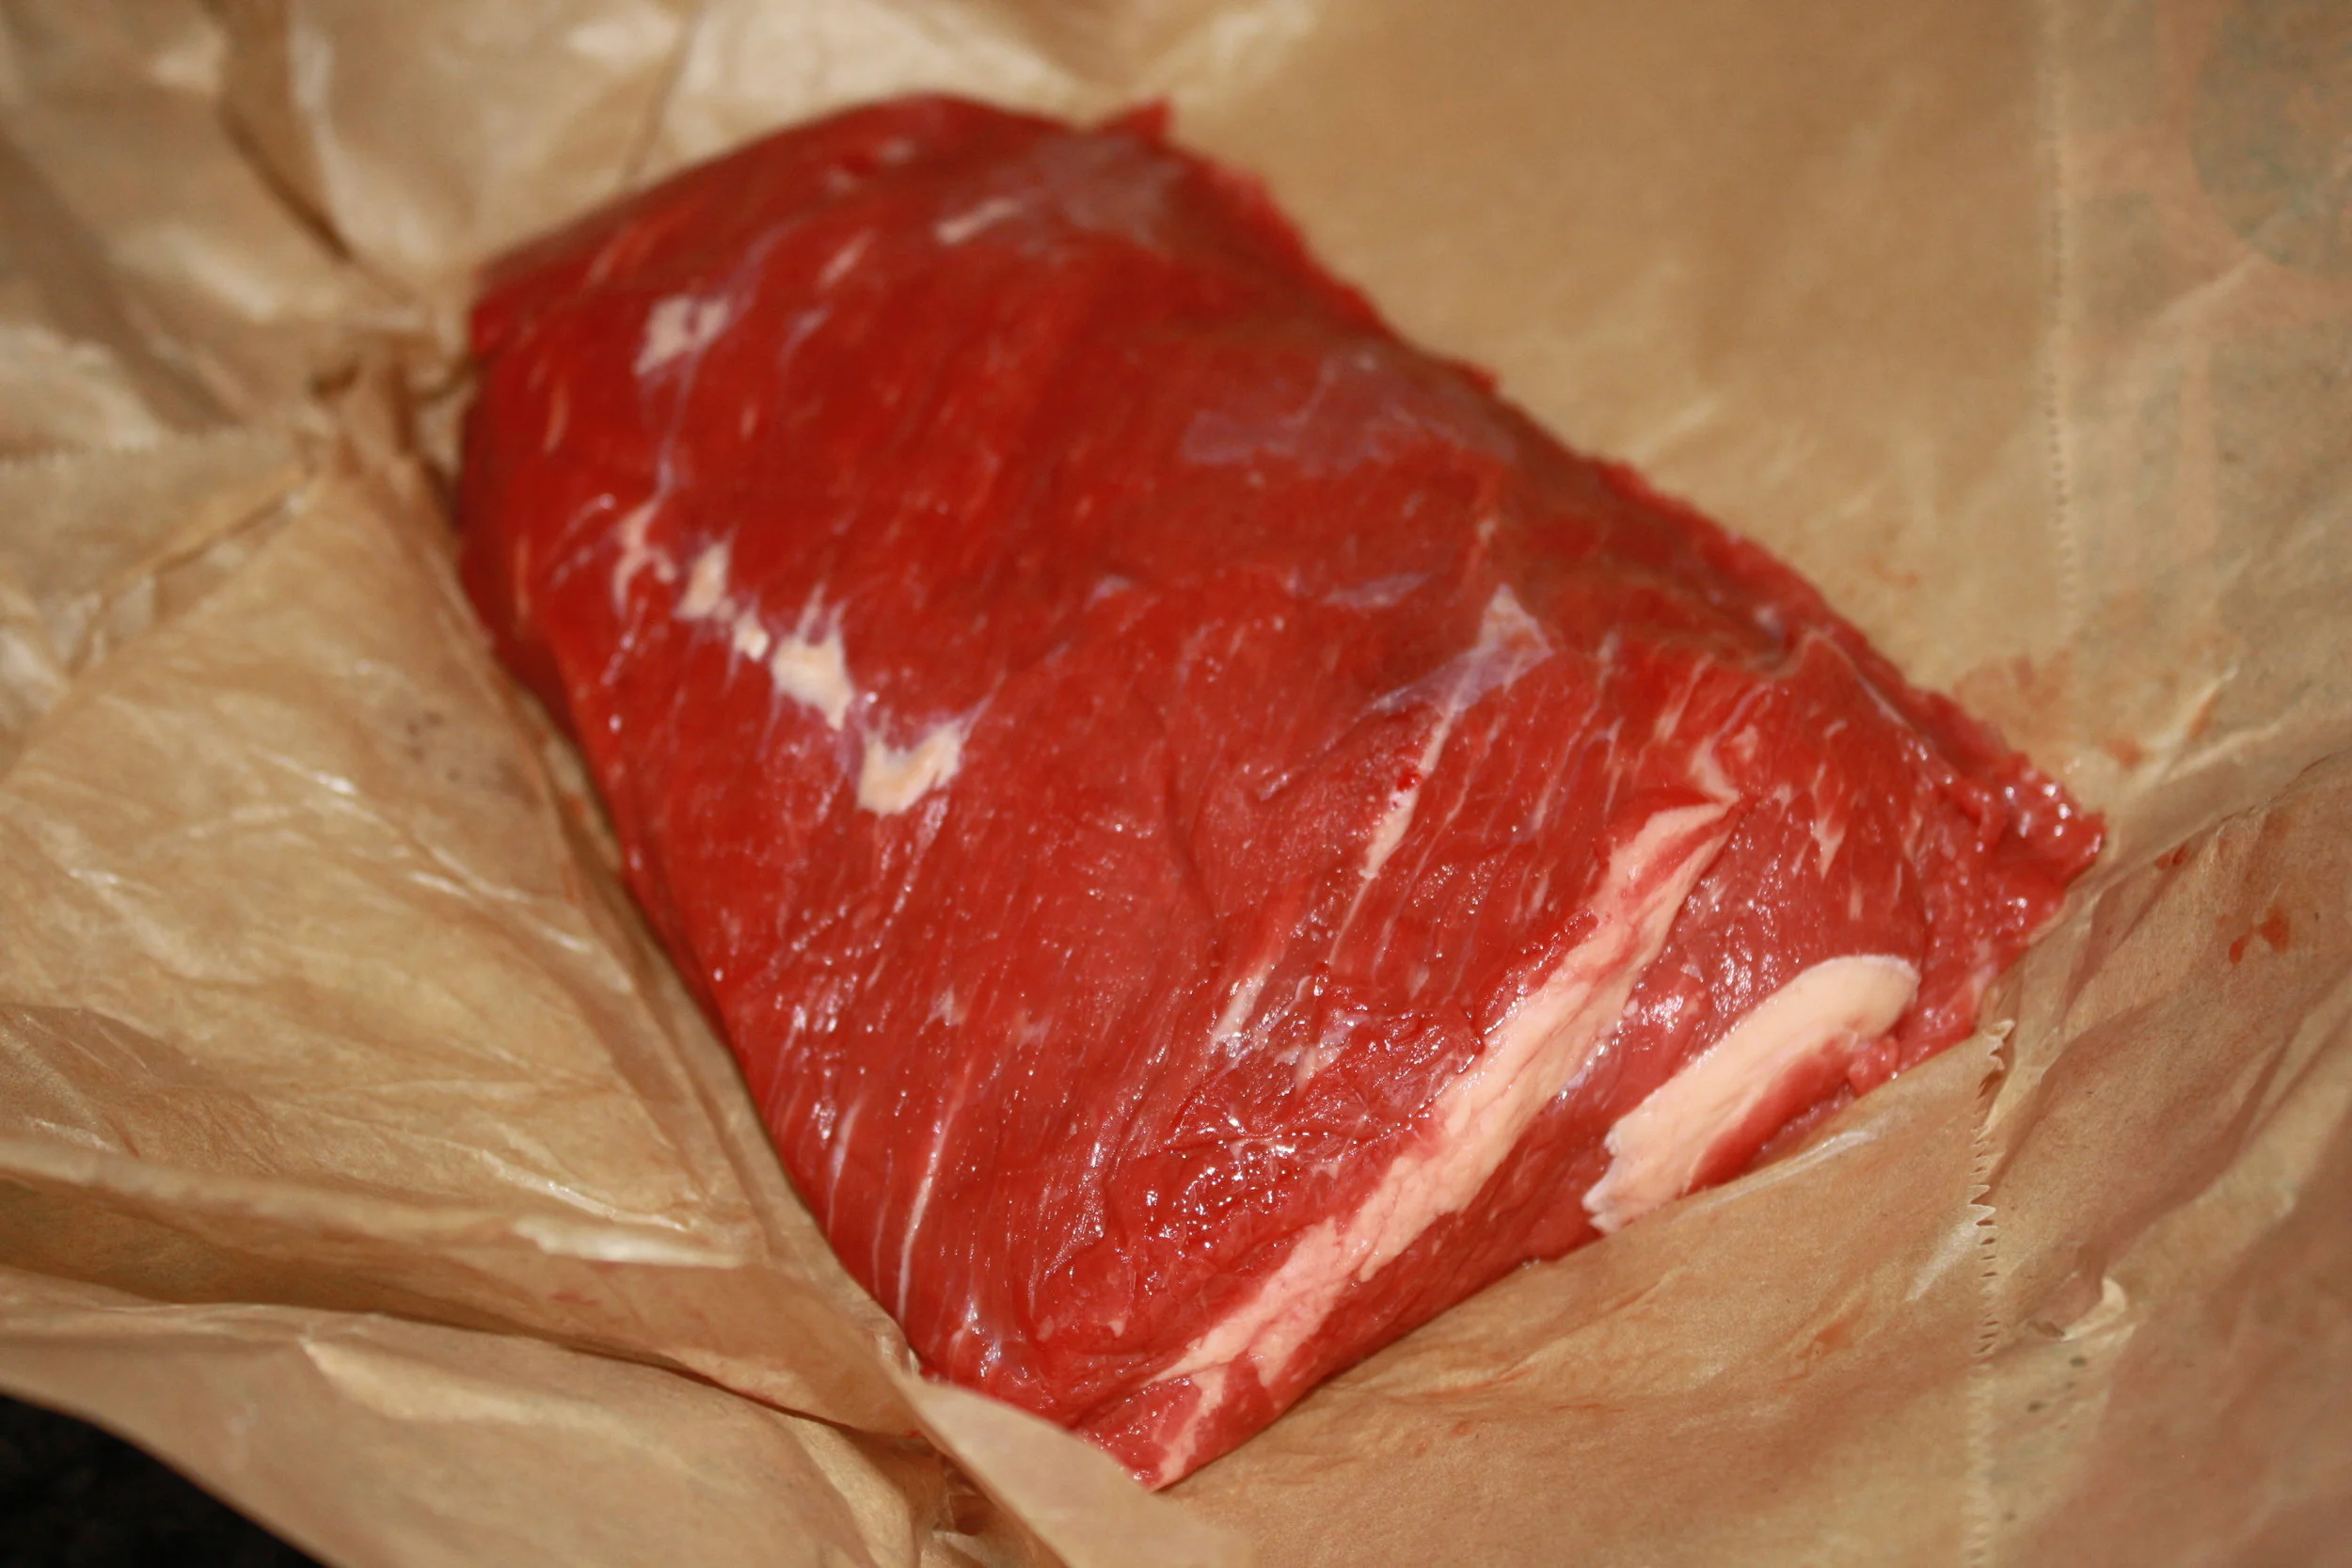
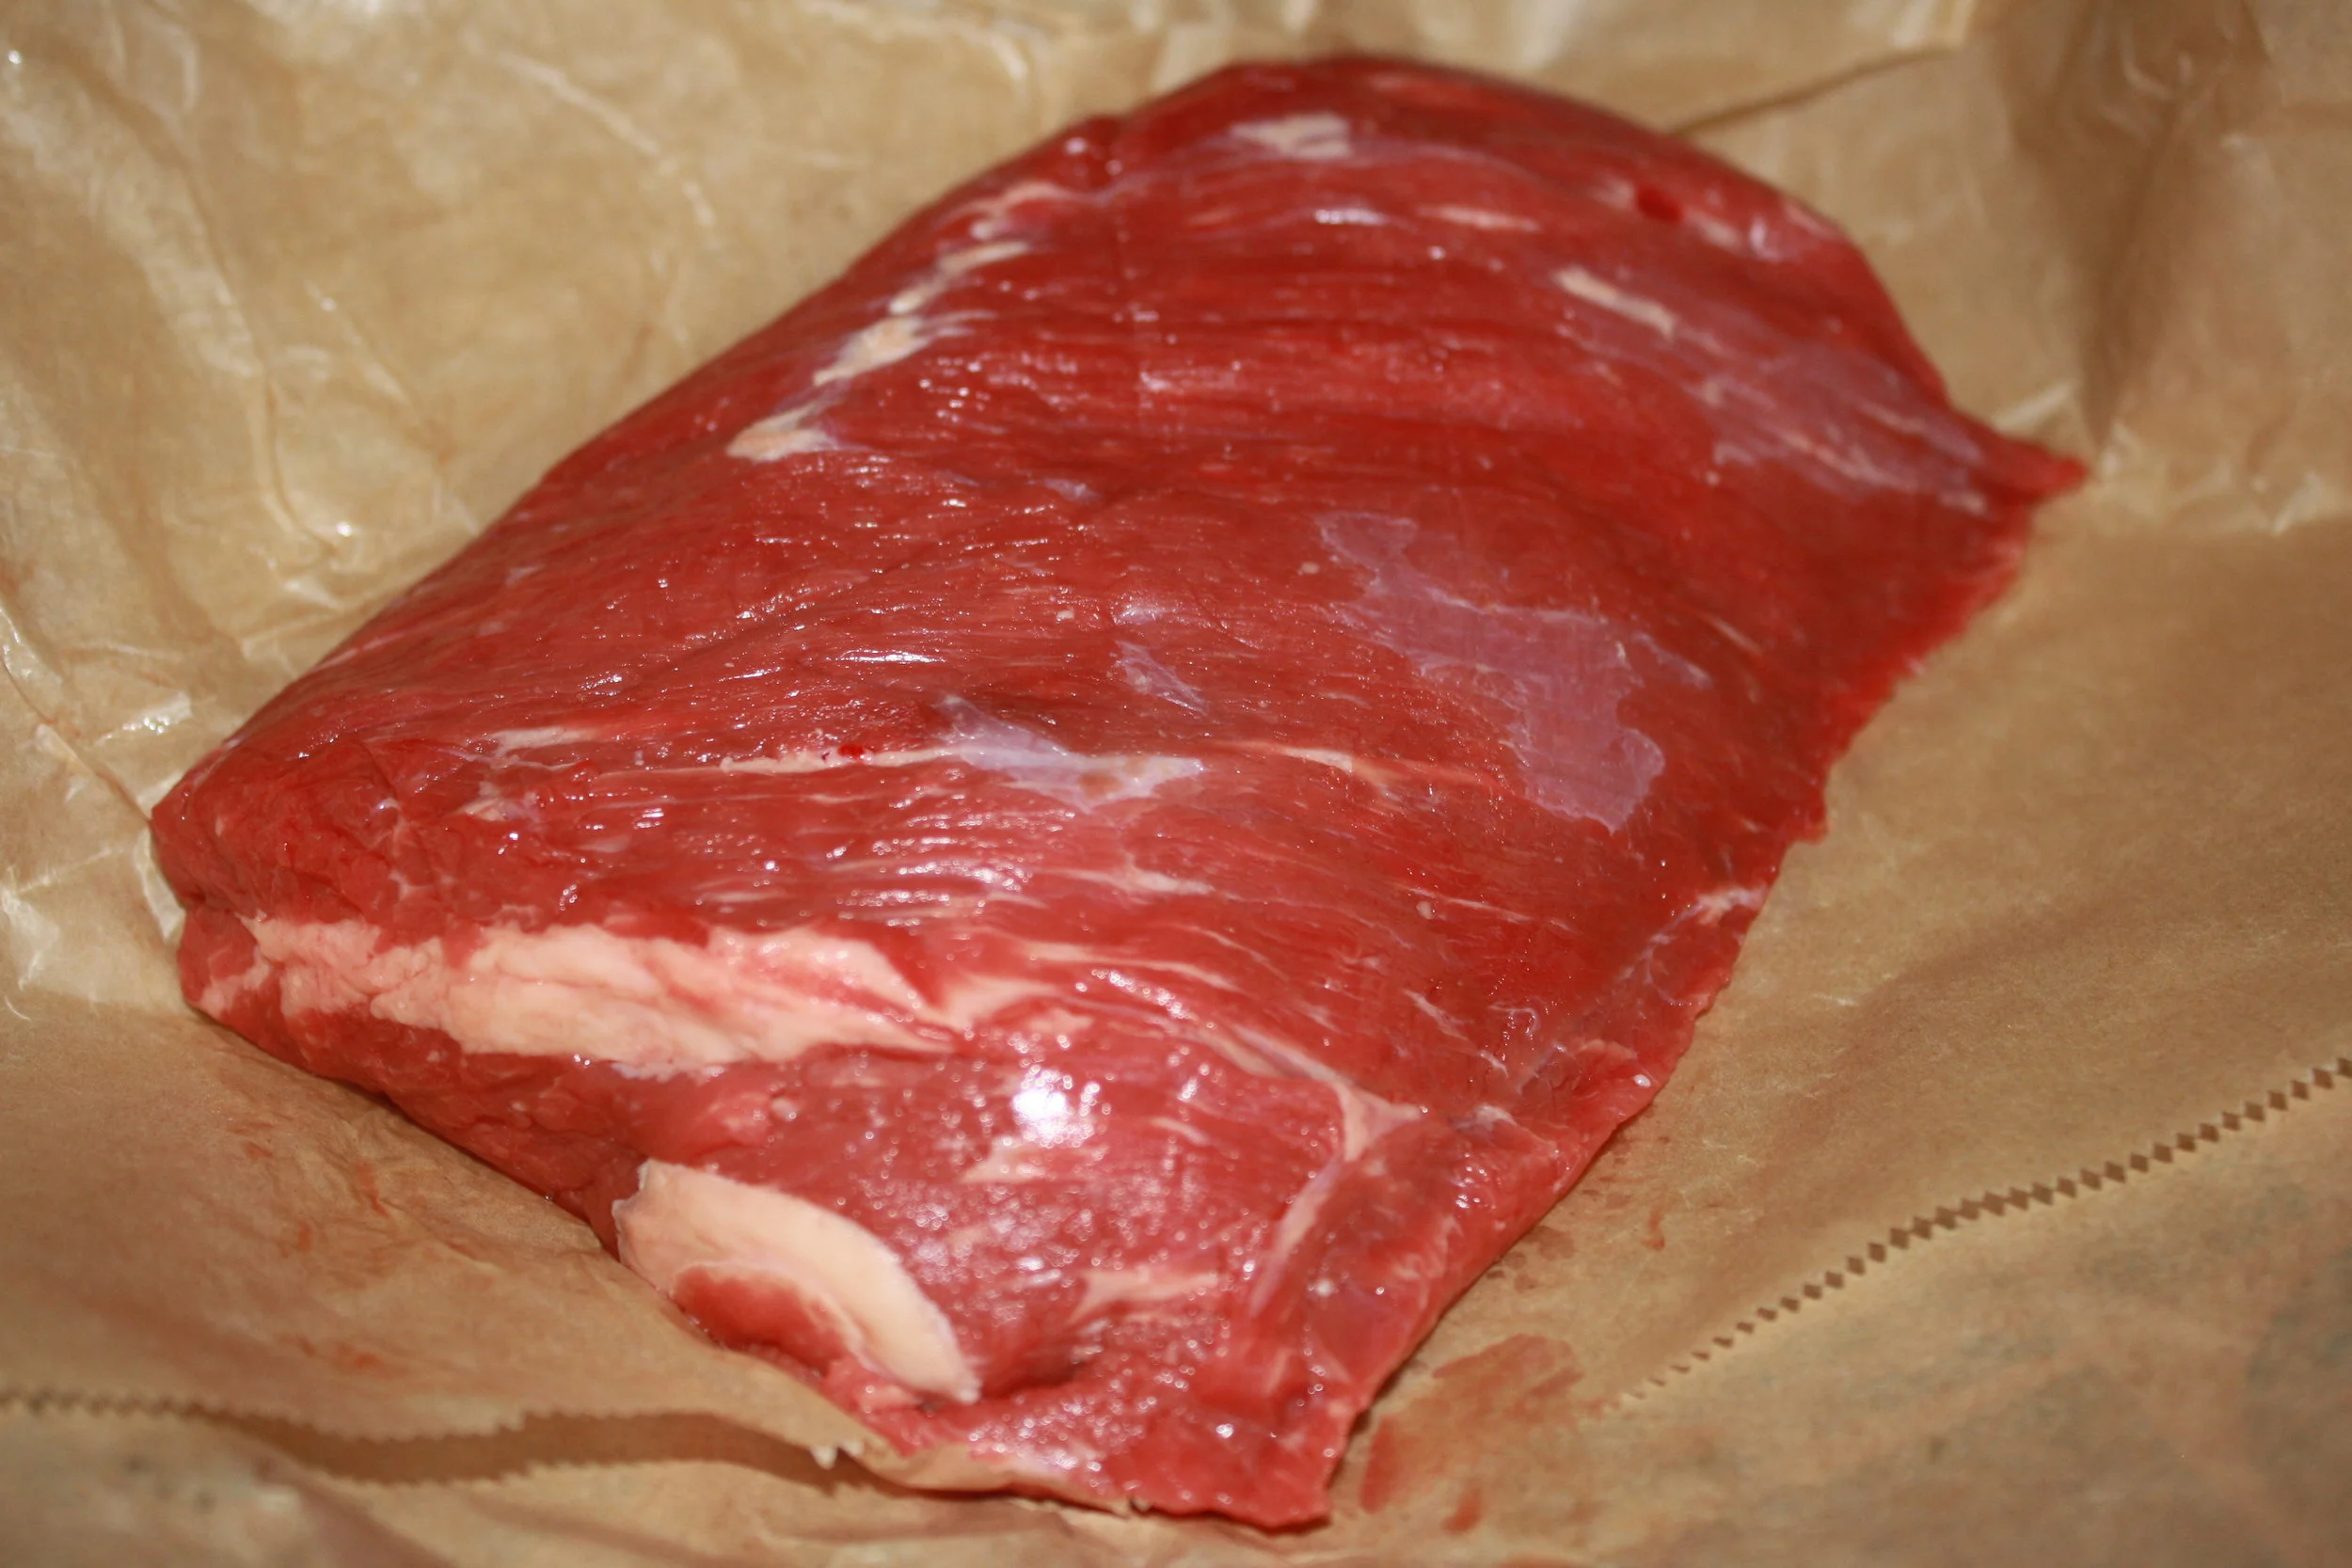
So if you are like me and have no clue what a Tri-Tip is....let me give you Tri-Tip 101. (Breaking out chalkboard now.) The Tri-Tip Roast, sometimes referred to as the Santa Maria Roast, or even the Newport Steak, is a beef cut which comes from the bottom sirloin. It is a smaller muscle which is triangular in shape. I assume that is why we call it a Tri-Tip. Now apparently there is a whole bunch of controversy over who started cooking the Tri-Tip which really doesn't matter unless we are writing a history book. All you really need to know for the test is that it is a fantastic cut of meat which, when prepared right, tastes amazing.
With that done, let's get back to our regularly scheduled inexperience. Considering I had no clue what this was, you would assume this would be a difficult trip to the butcher counter. In reality, Mikey saved the day here. While apparently, it is difficult to find, he knew exactly where to find it. Even better, there was a location right next to where my wife works. So I didn't even go to the butcher for this, my amazing wife picked it up for me.
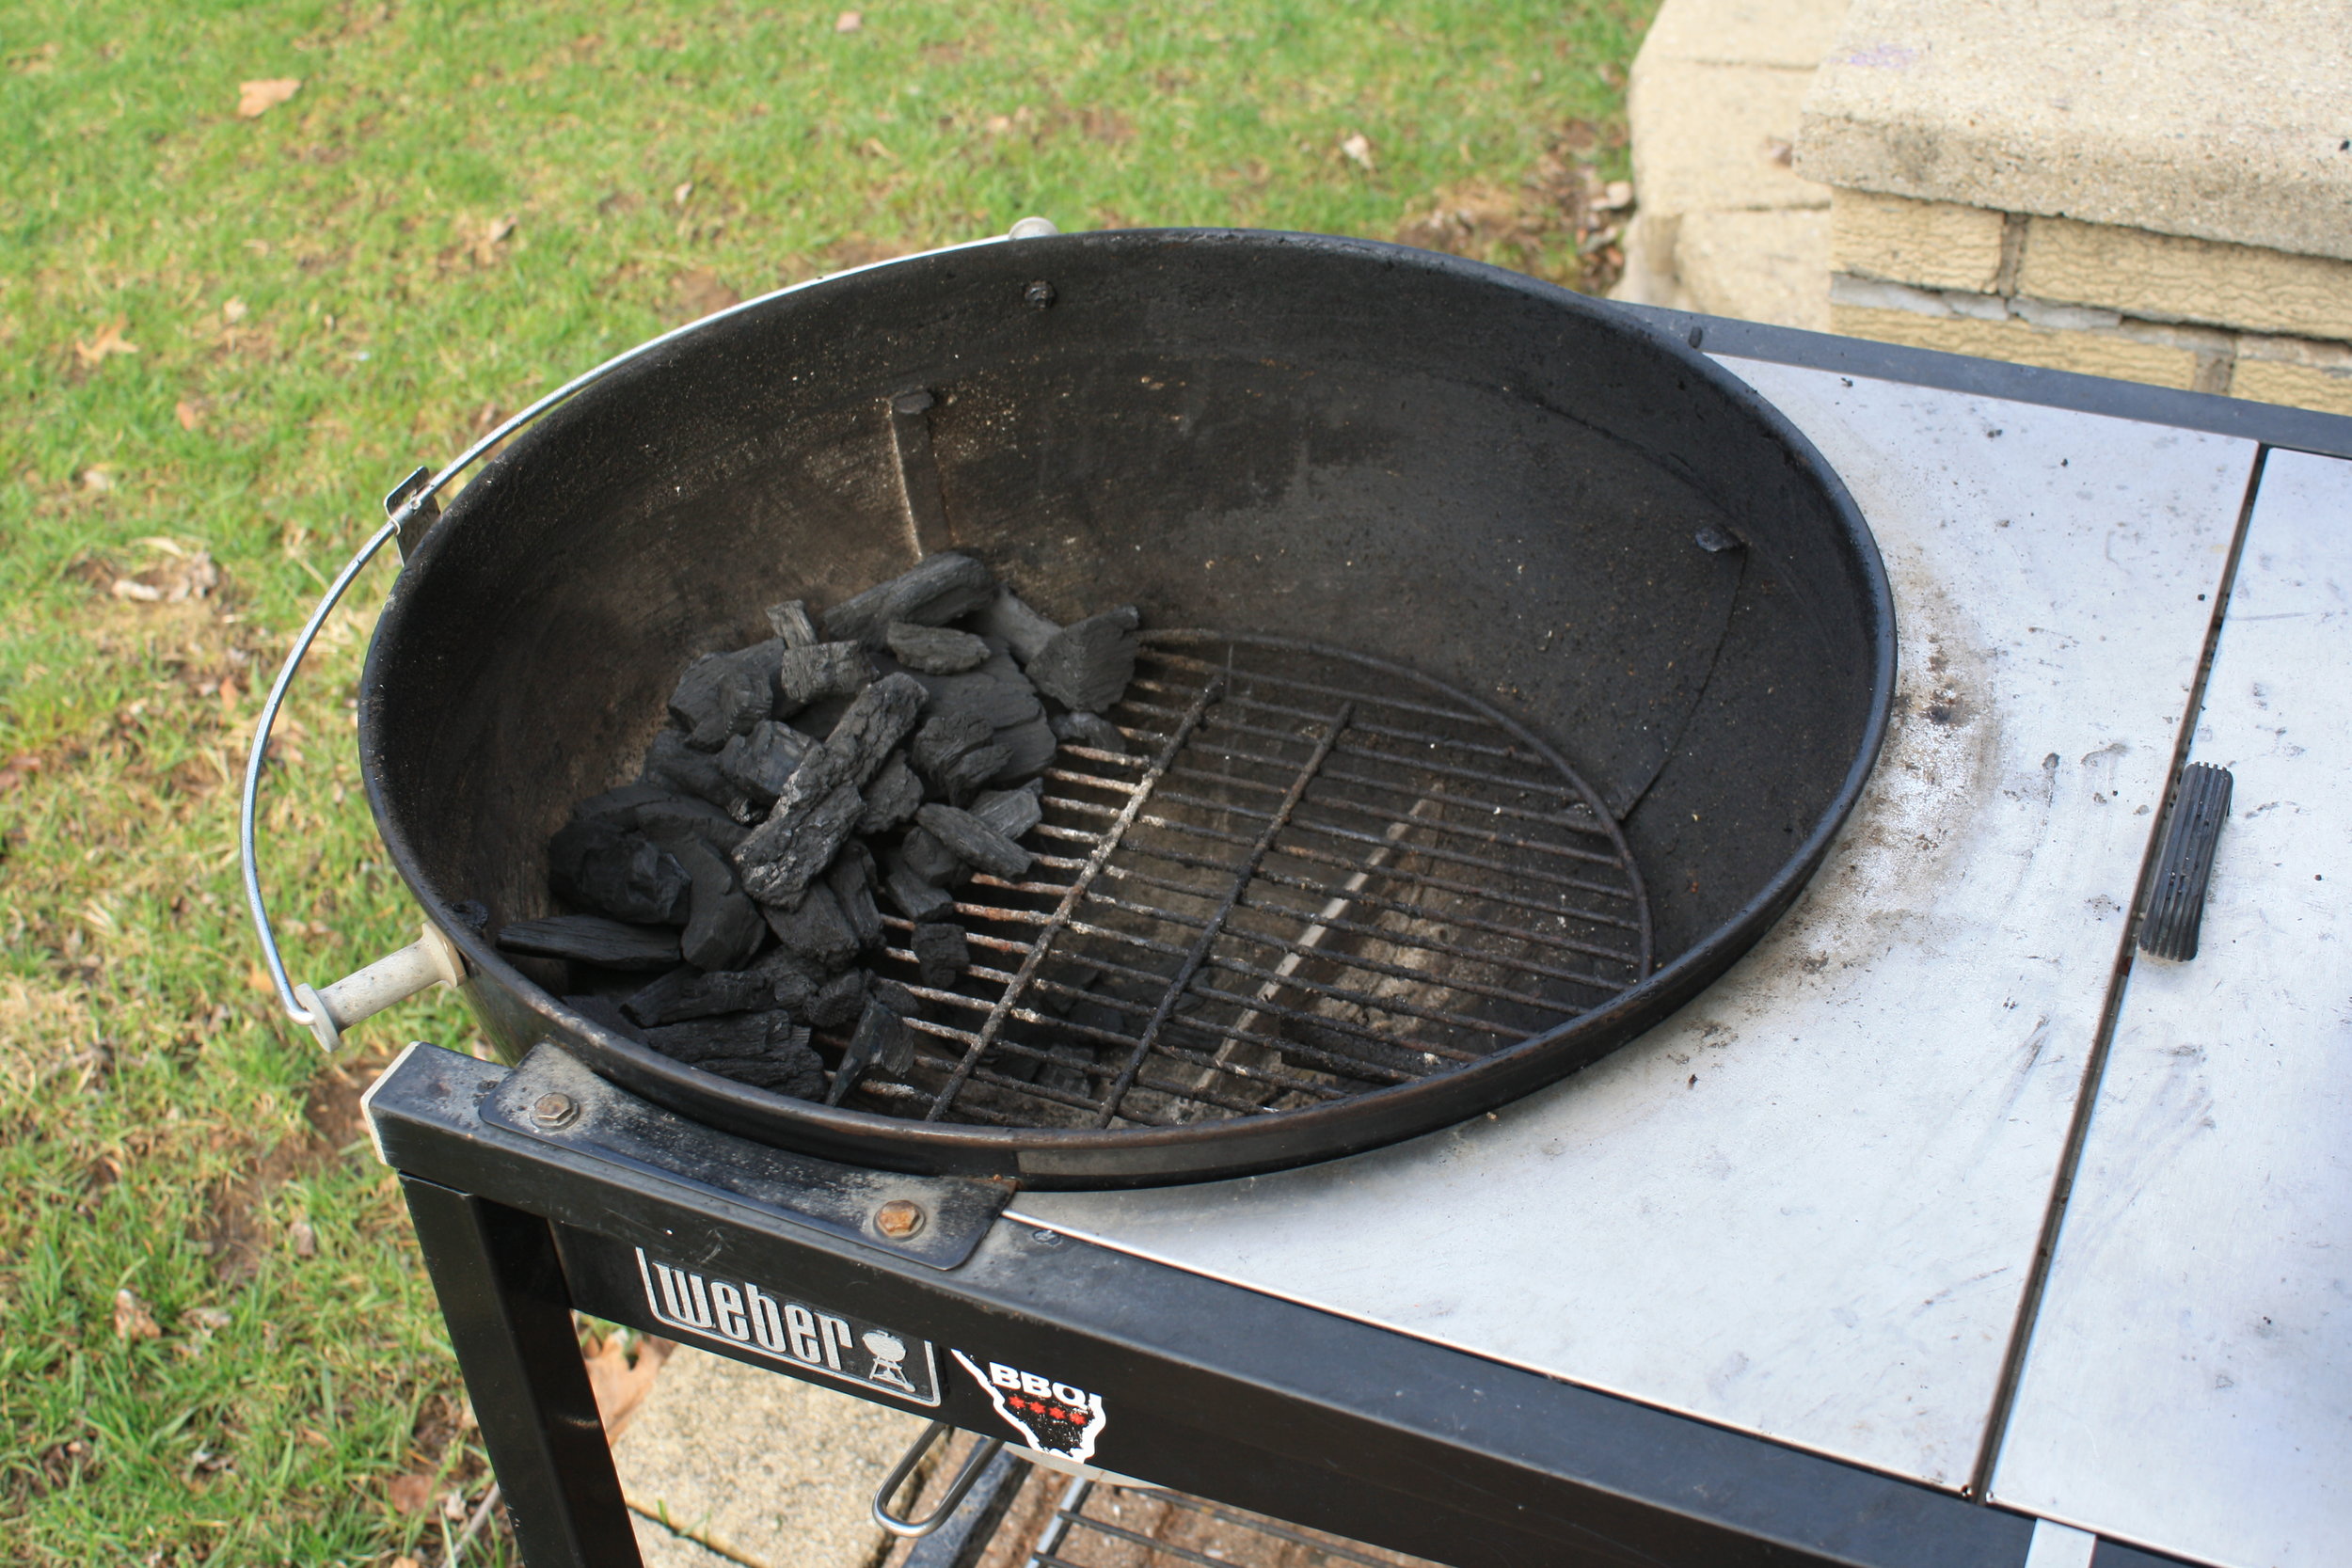
The next point to consider was how to cook this roast. Now there are a ton of different variations on the web. I found a couple that seemed to be in line with what I could do and conferred with my mentor. After a short discussion, it was set. This looked to be a fairly simple cook. That is assuming one can keep their cooker at the right temp...which as you know, is a bit of a struggle for me.
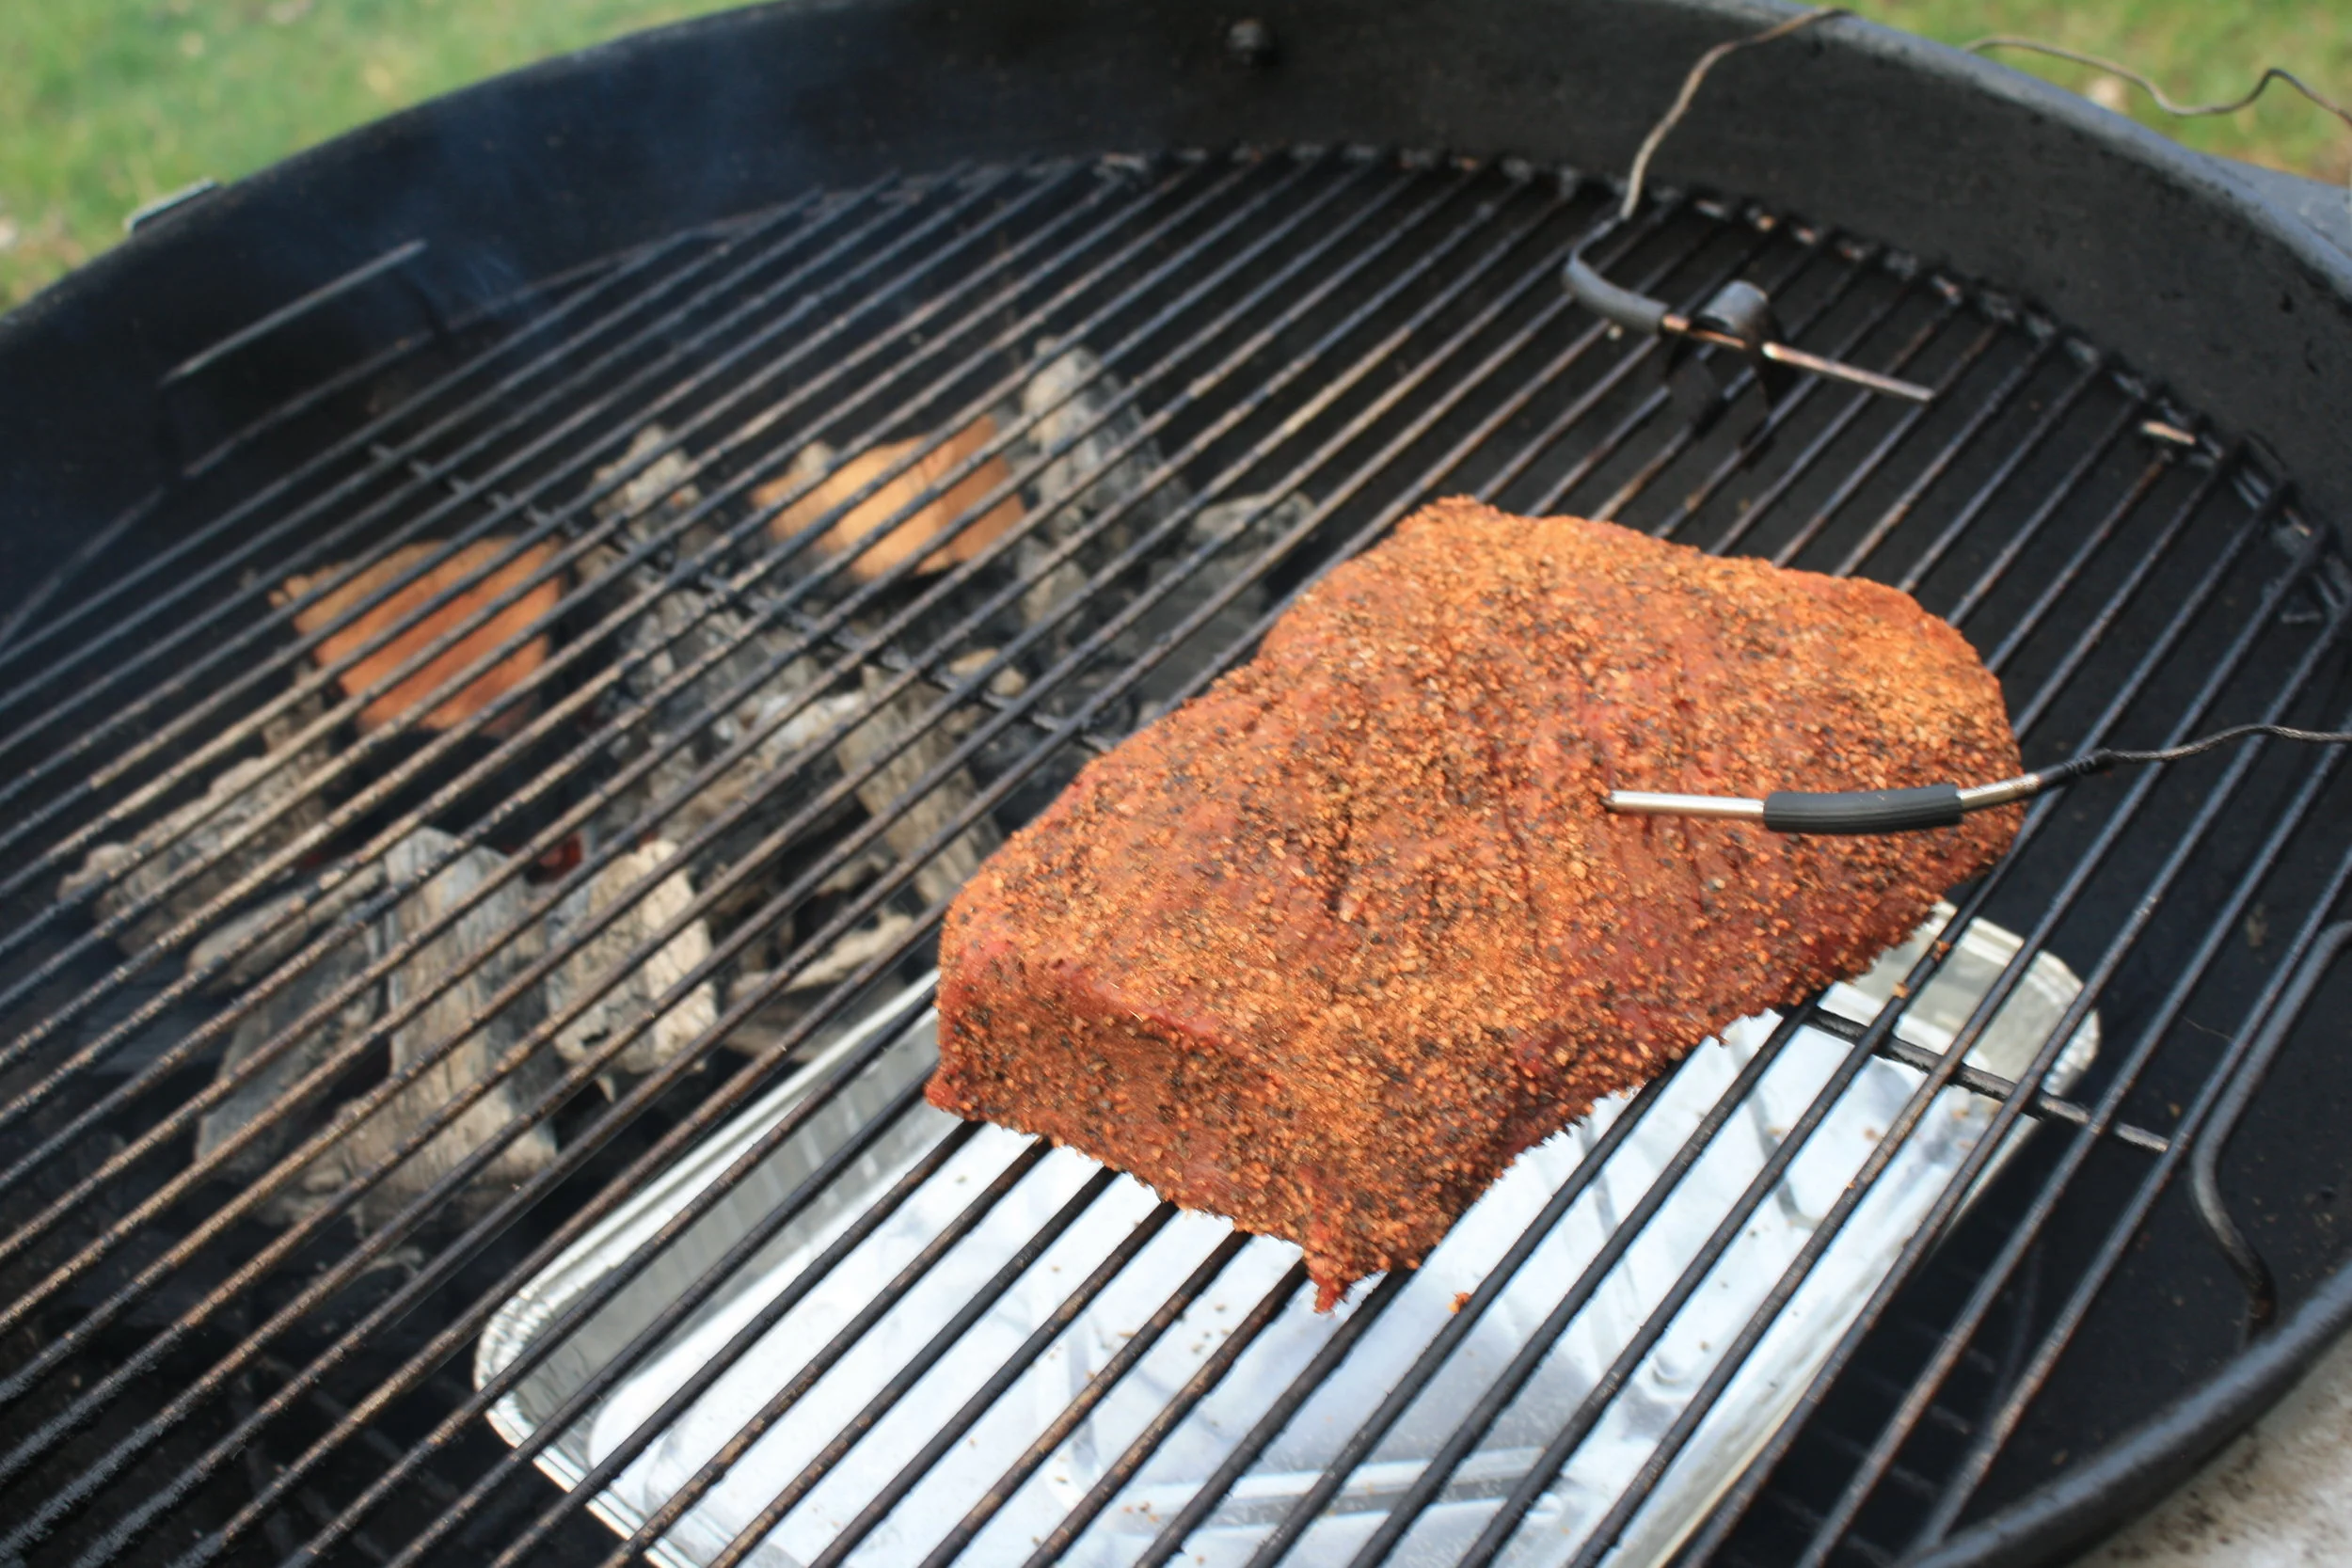
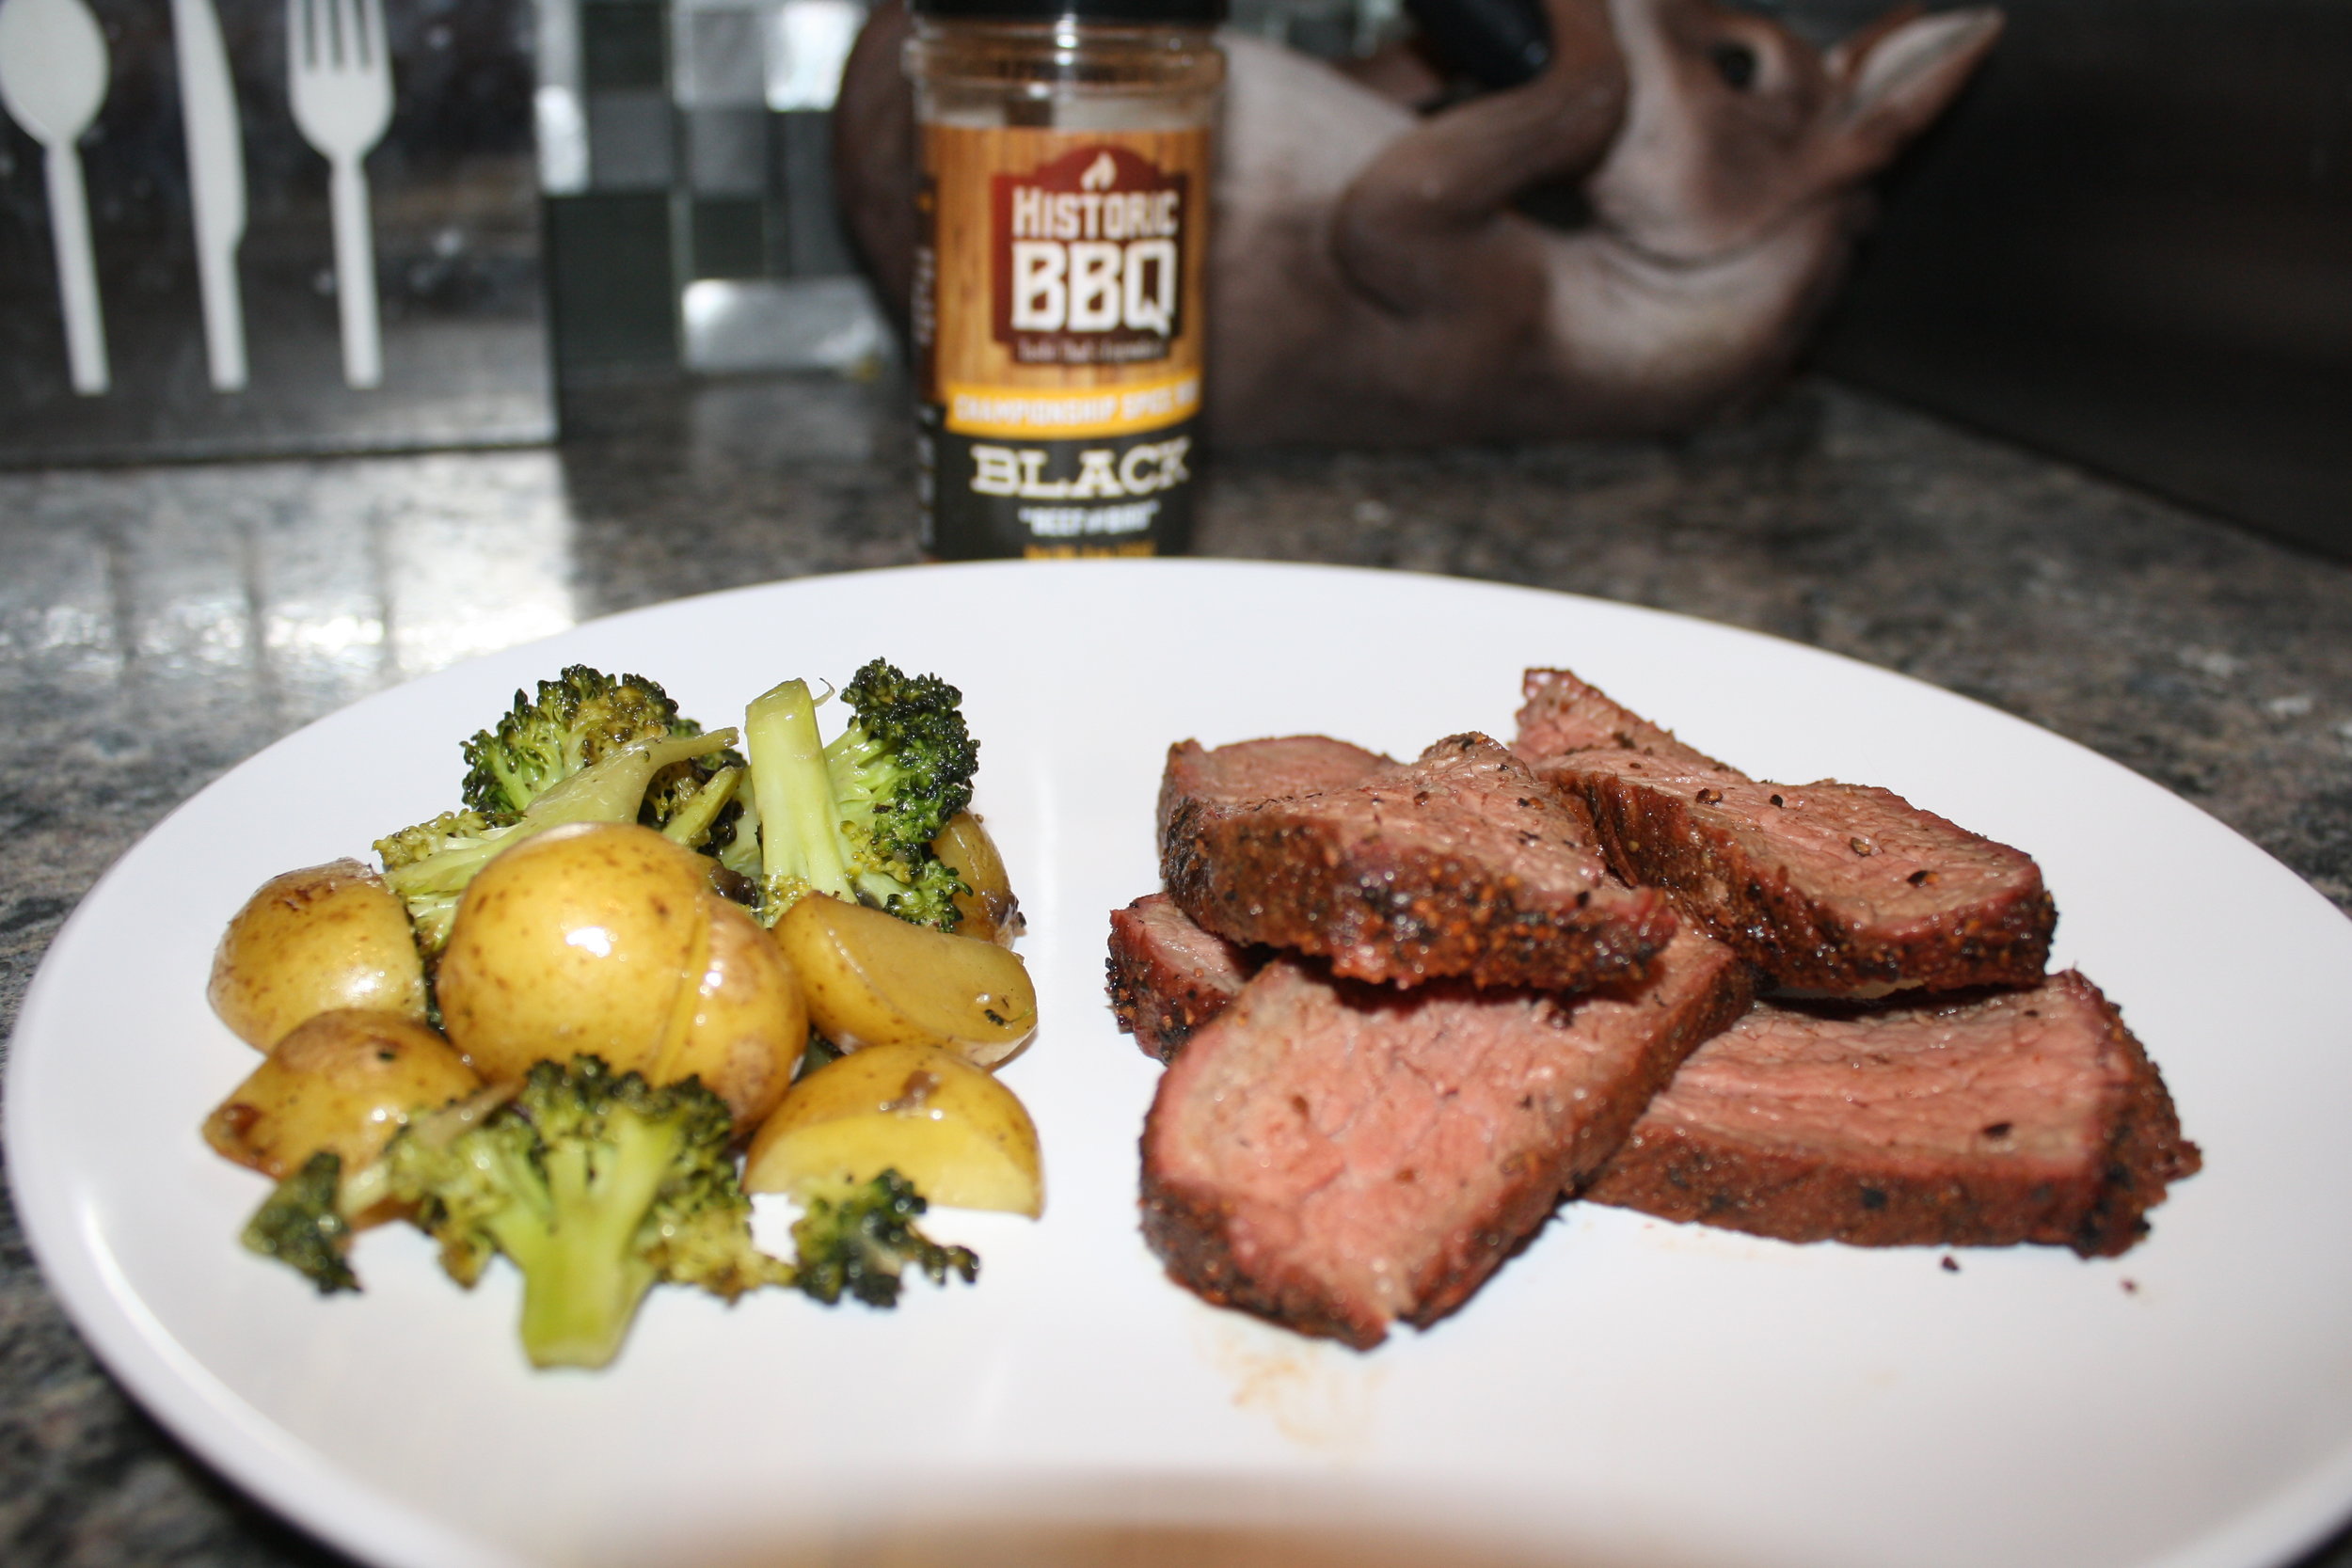
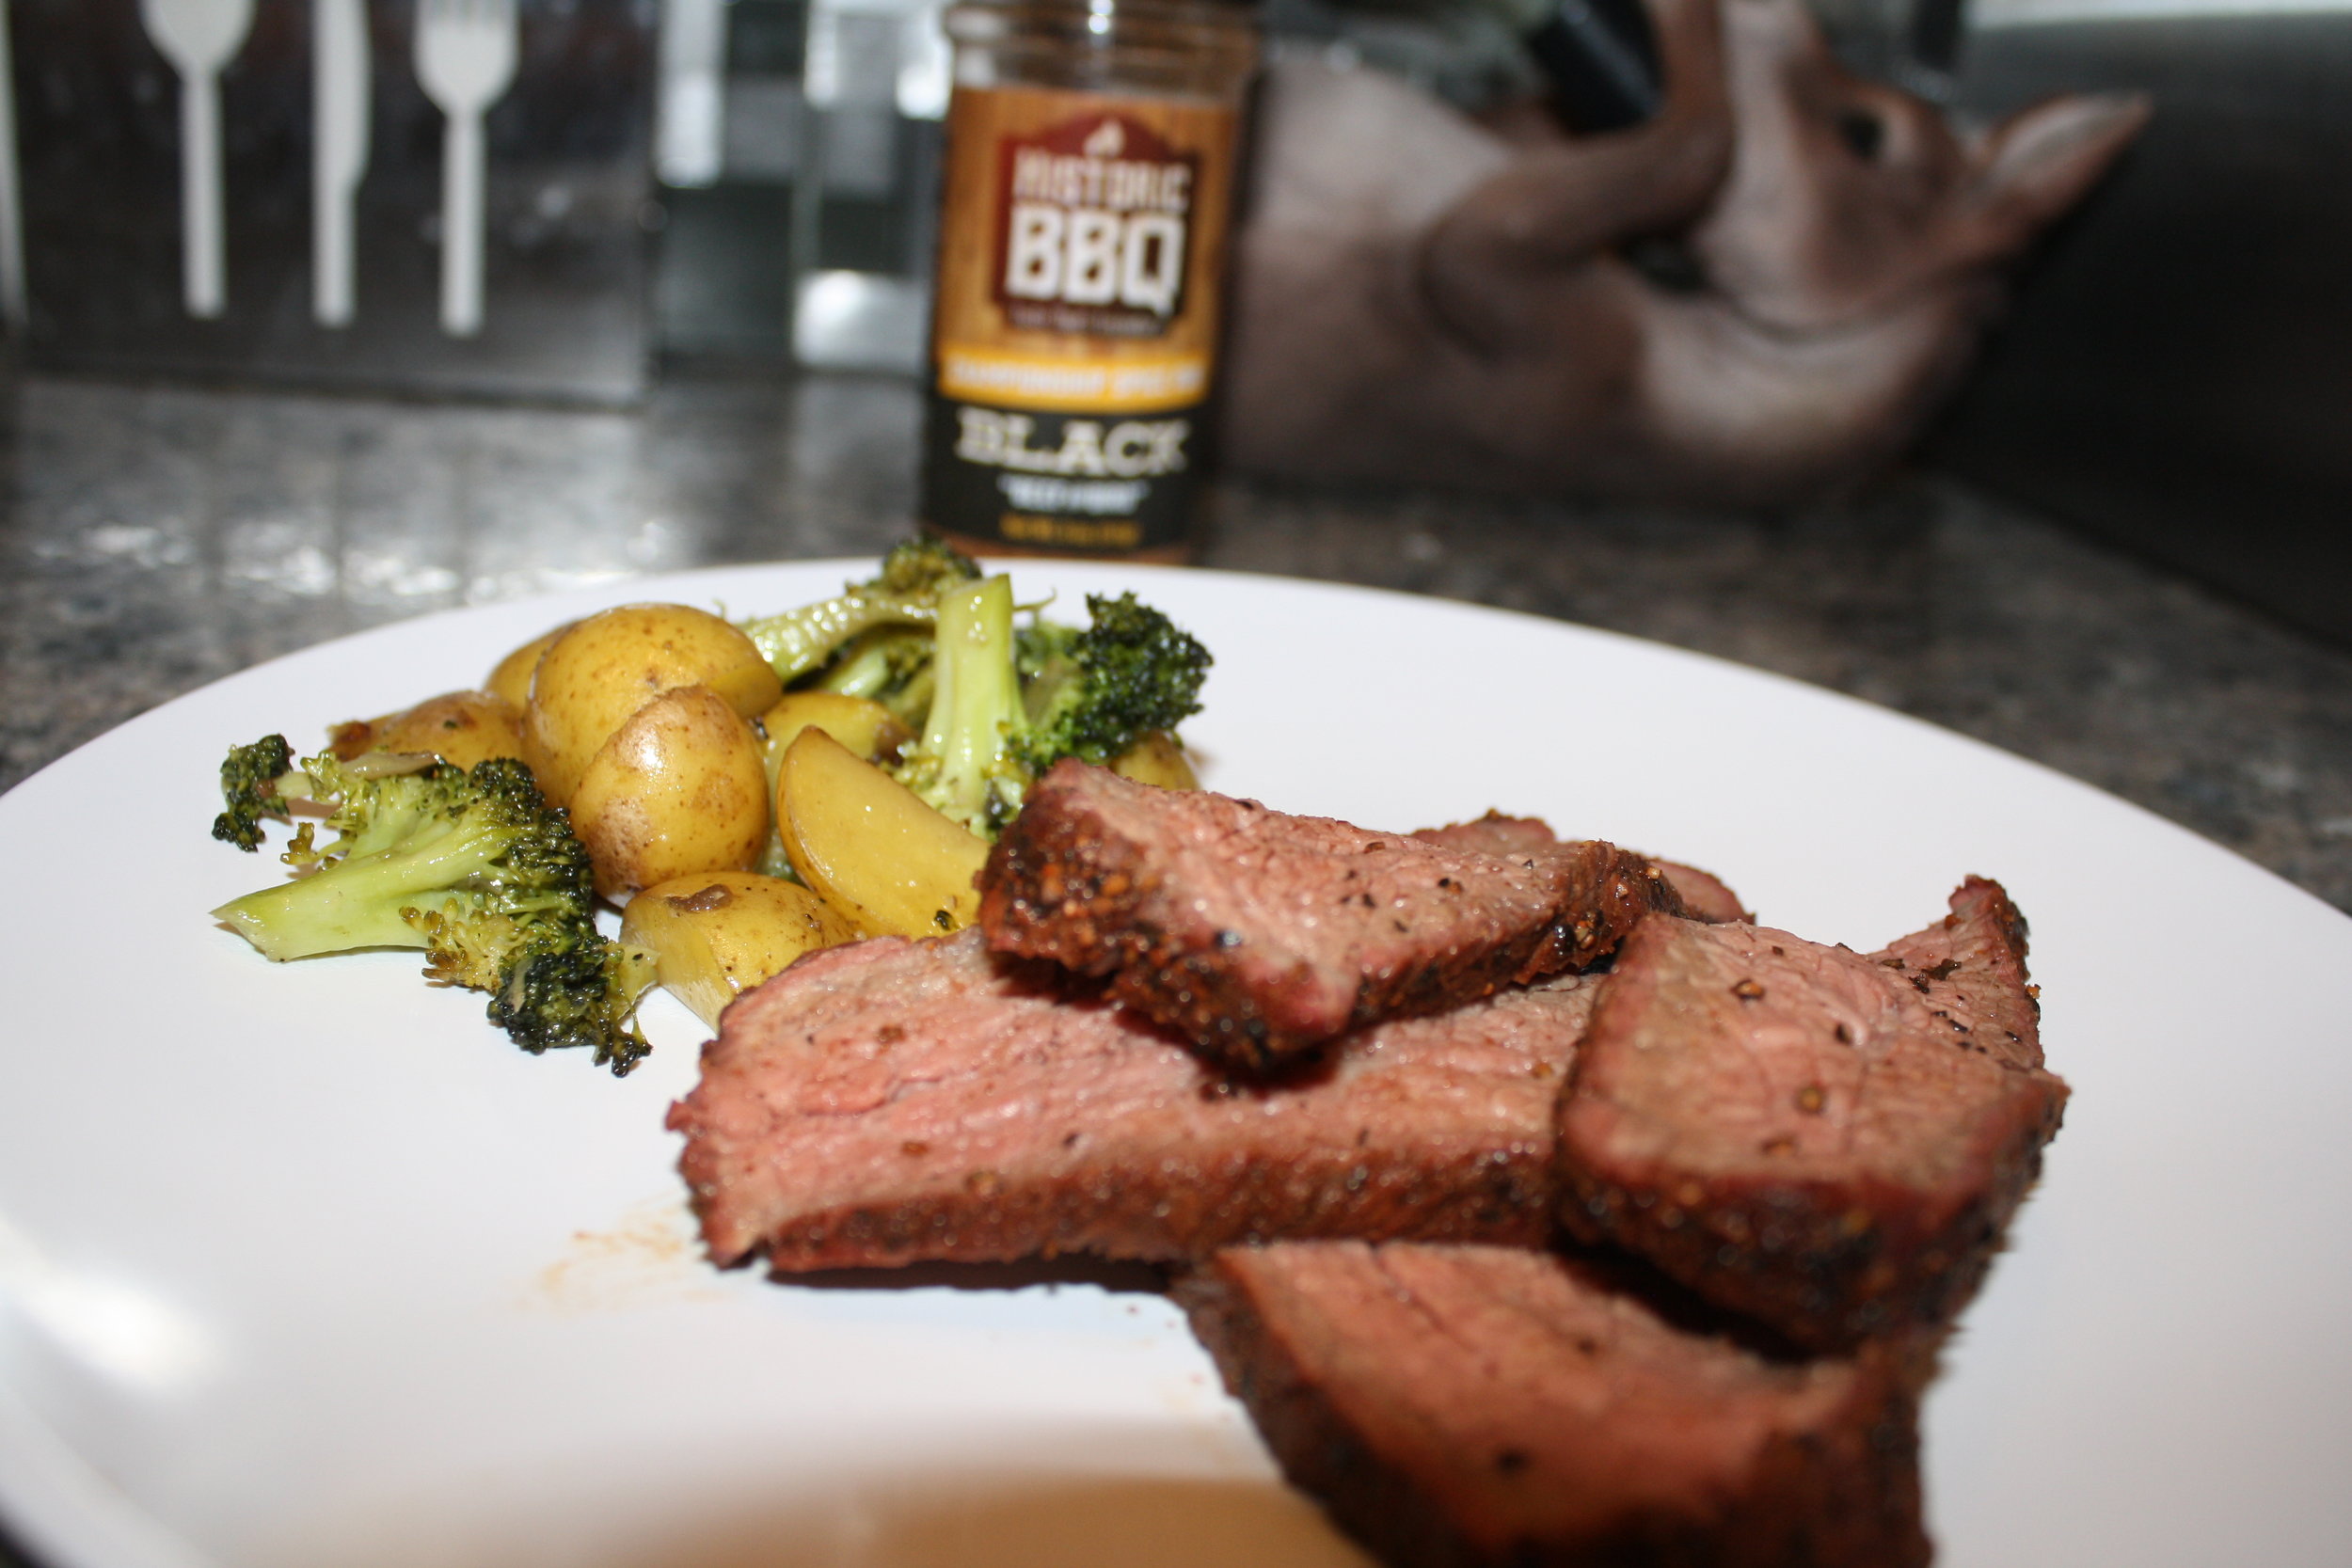
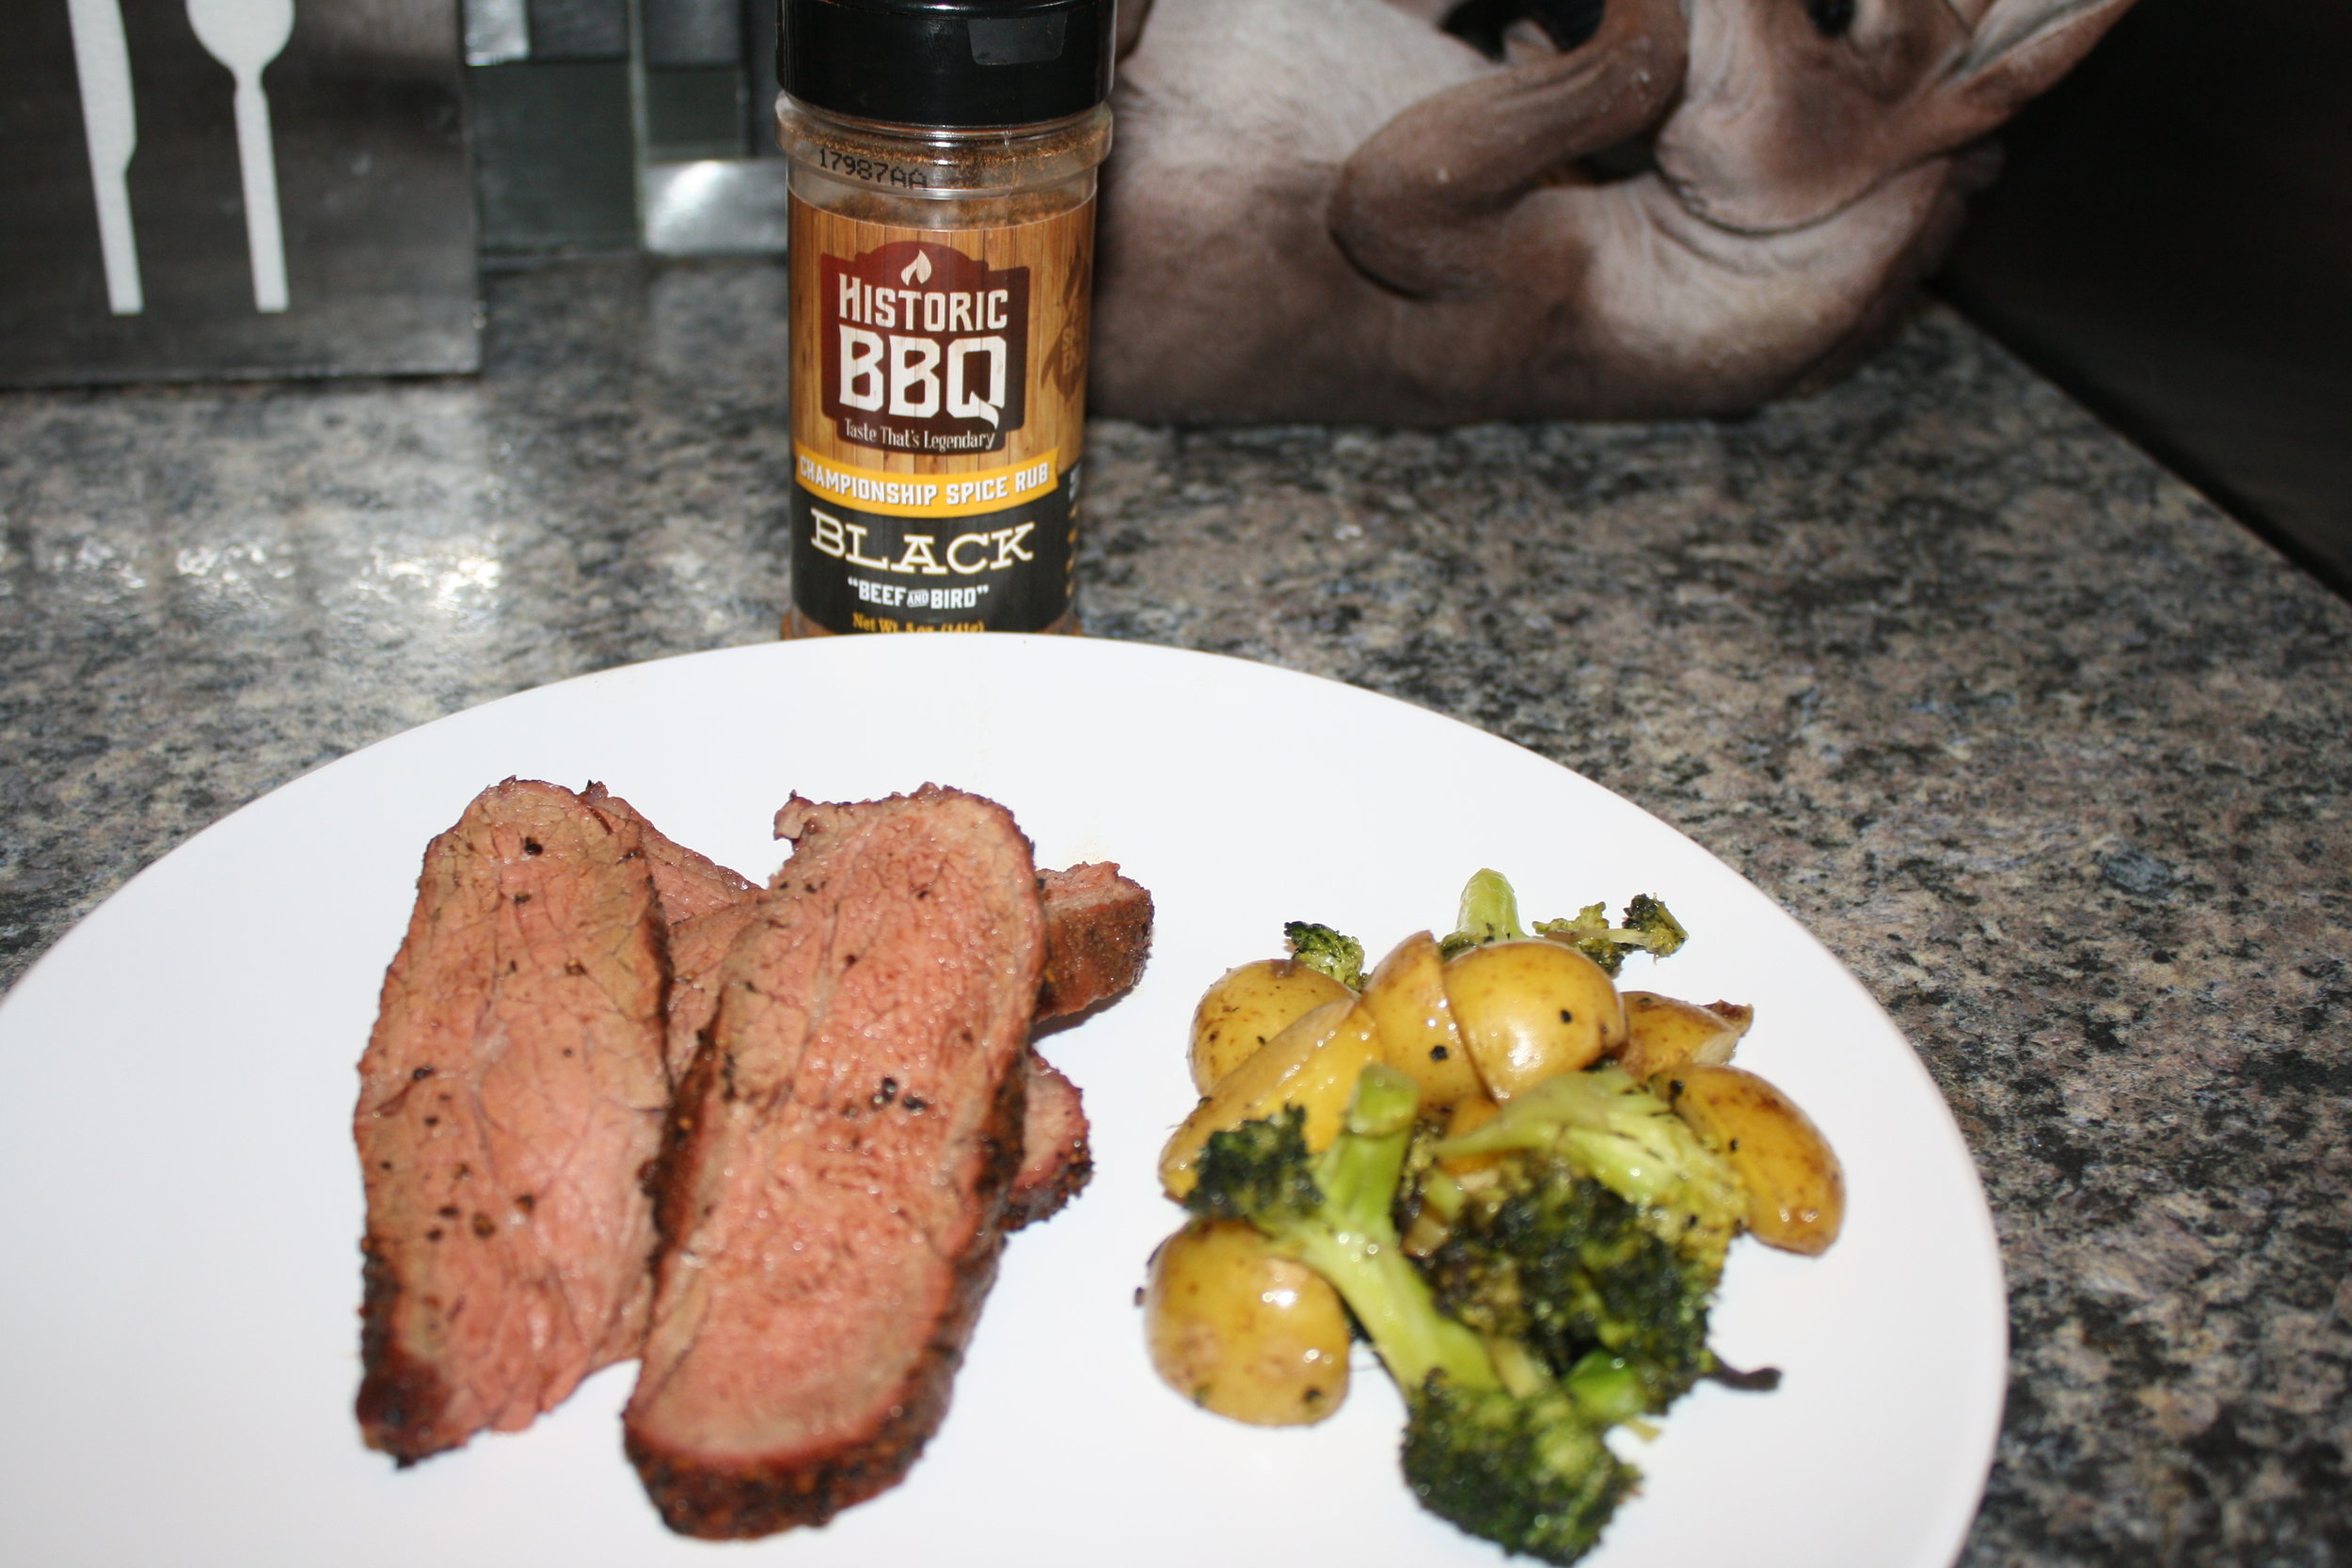
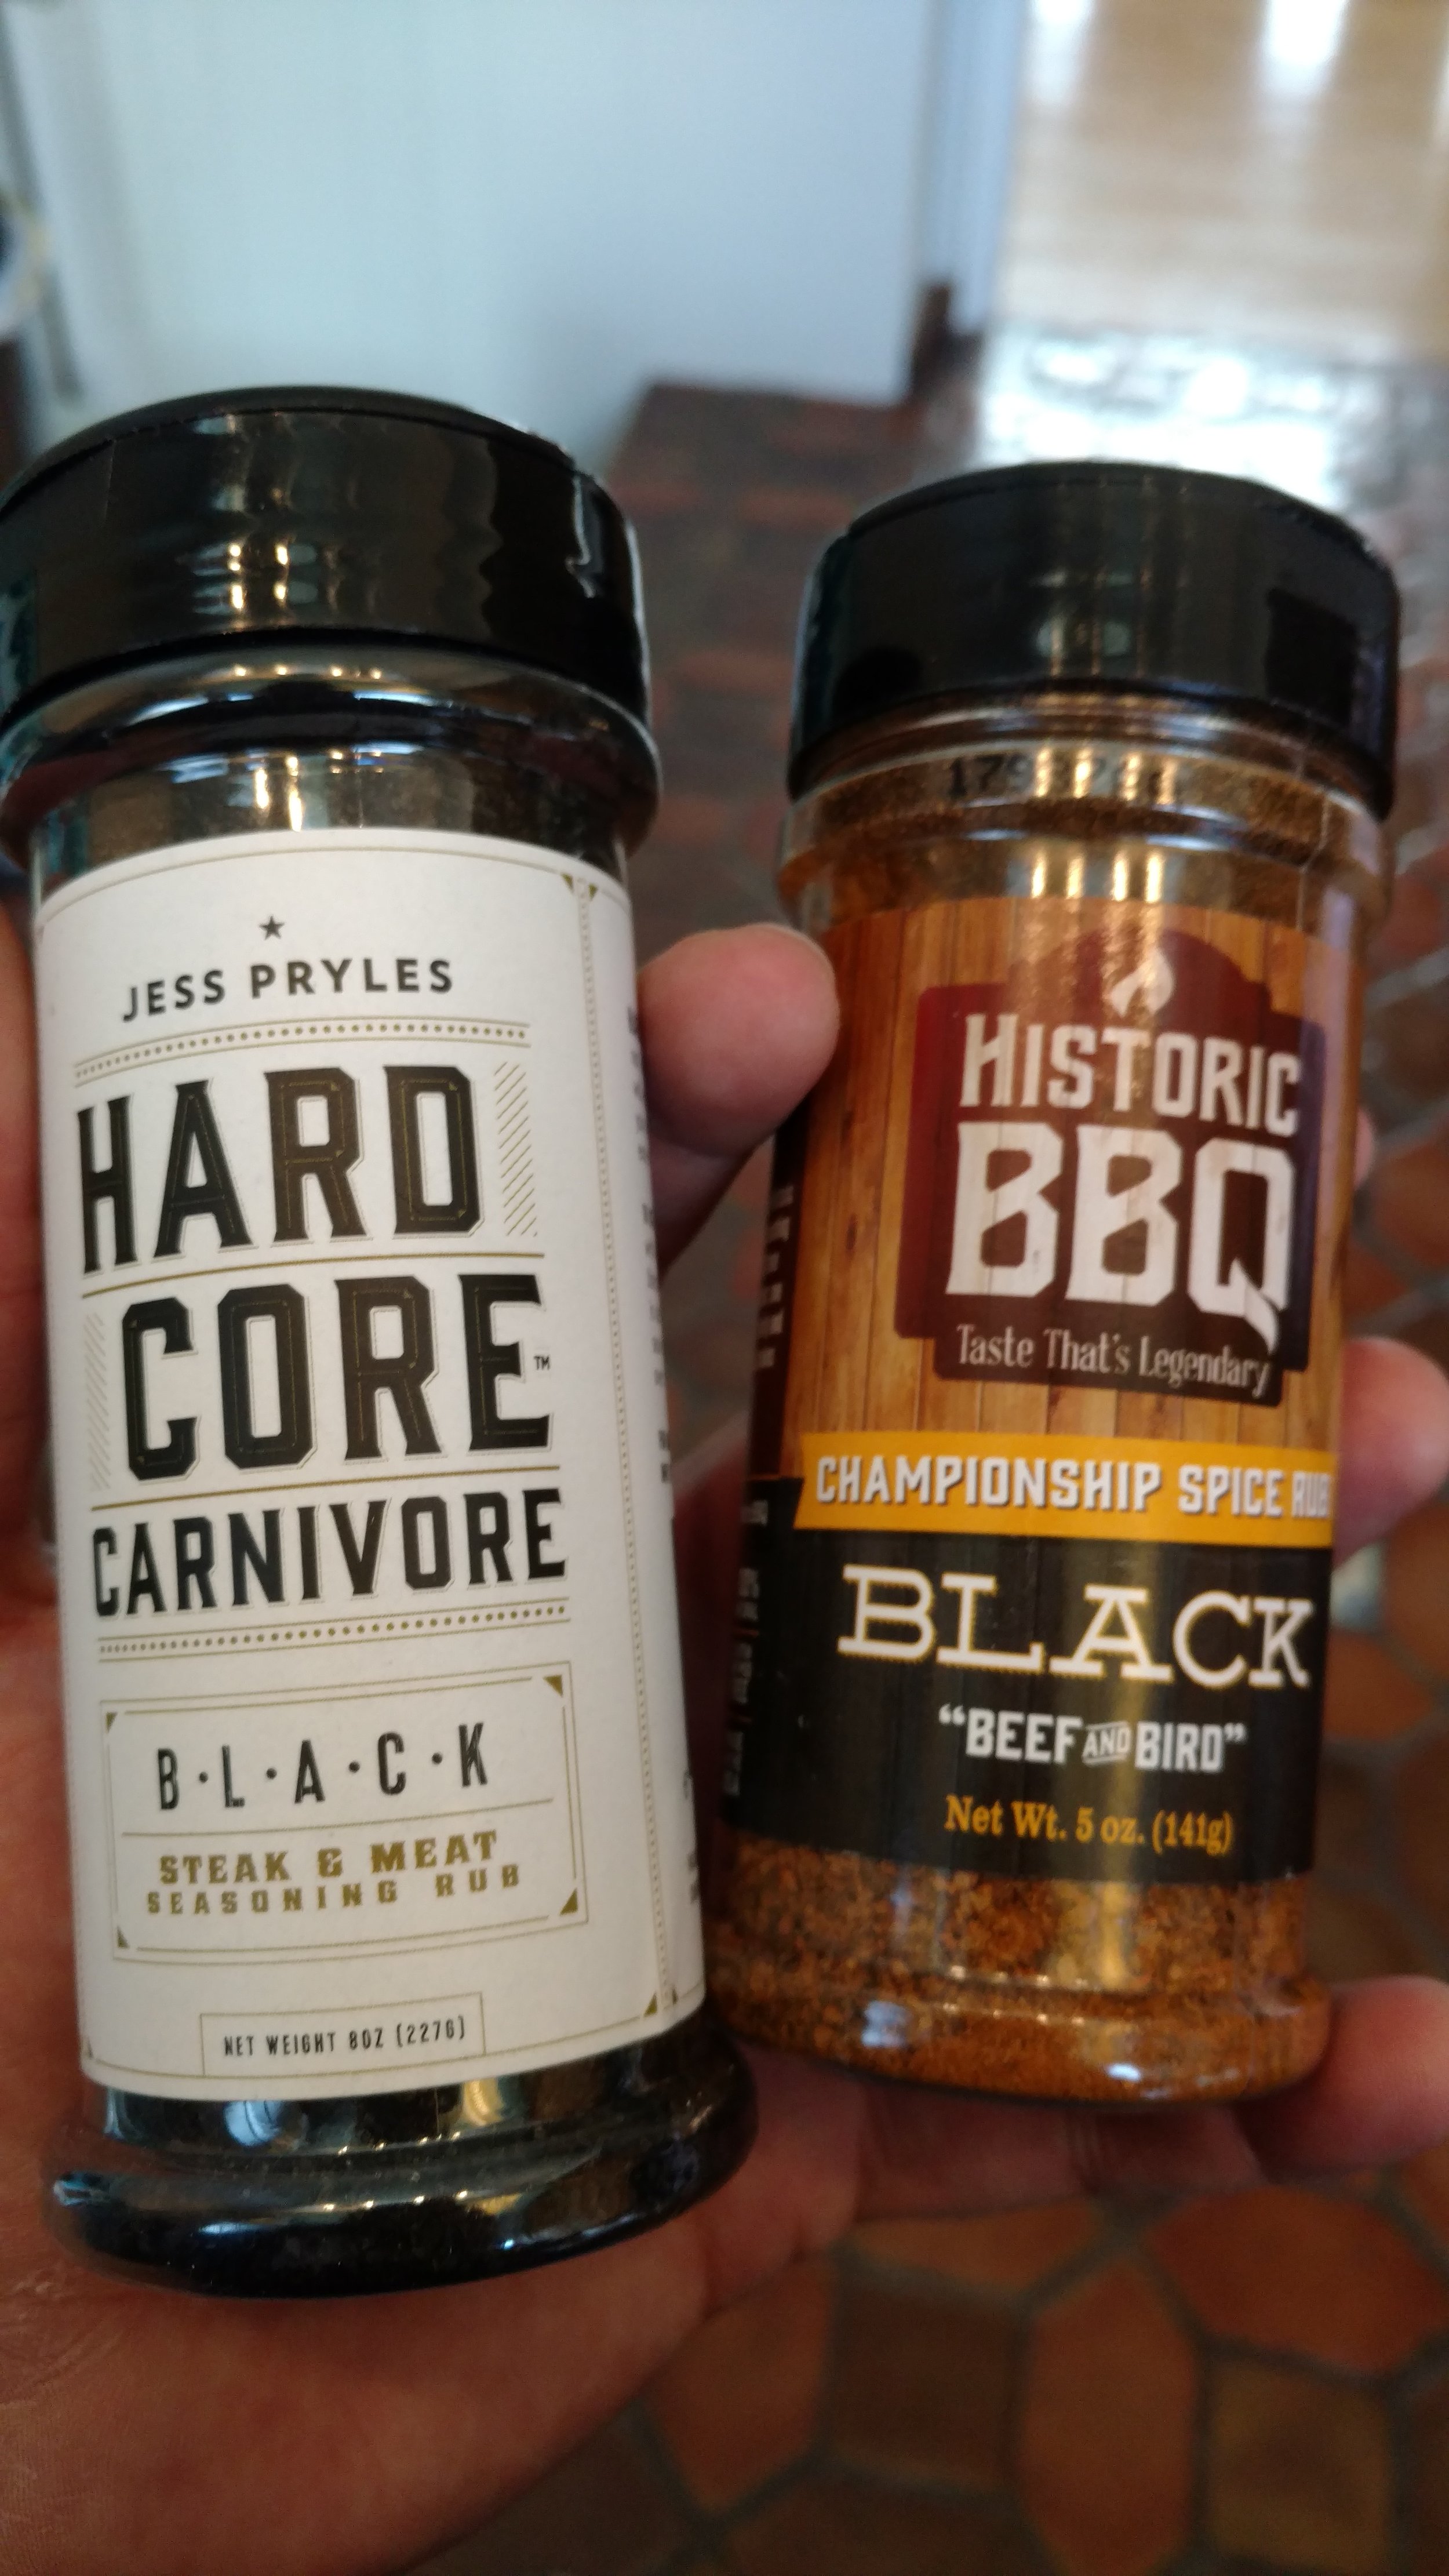
Simply rub the roast, cook at this elusive 250, and then finish it with a reverse sear. Sounds pretty simple. For the rub selection, originally I was going to go with Hardcore Carnivore Black. However, a nice box arrived at my door just before the cook with some Historic BBQ Black in it. I was dying to give this rub a go, so I changed the plans.
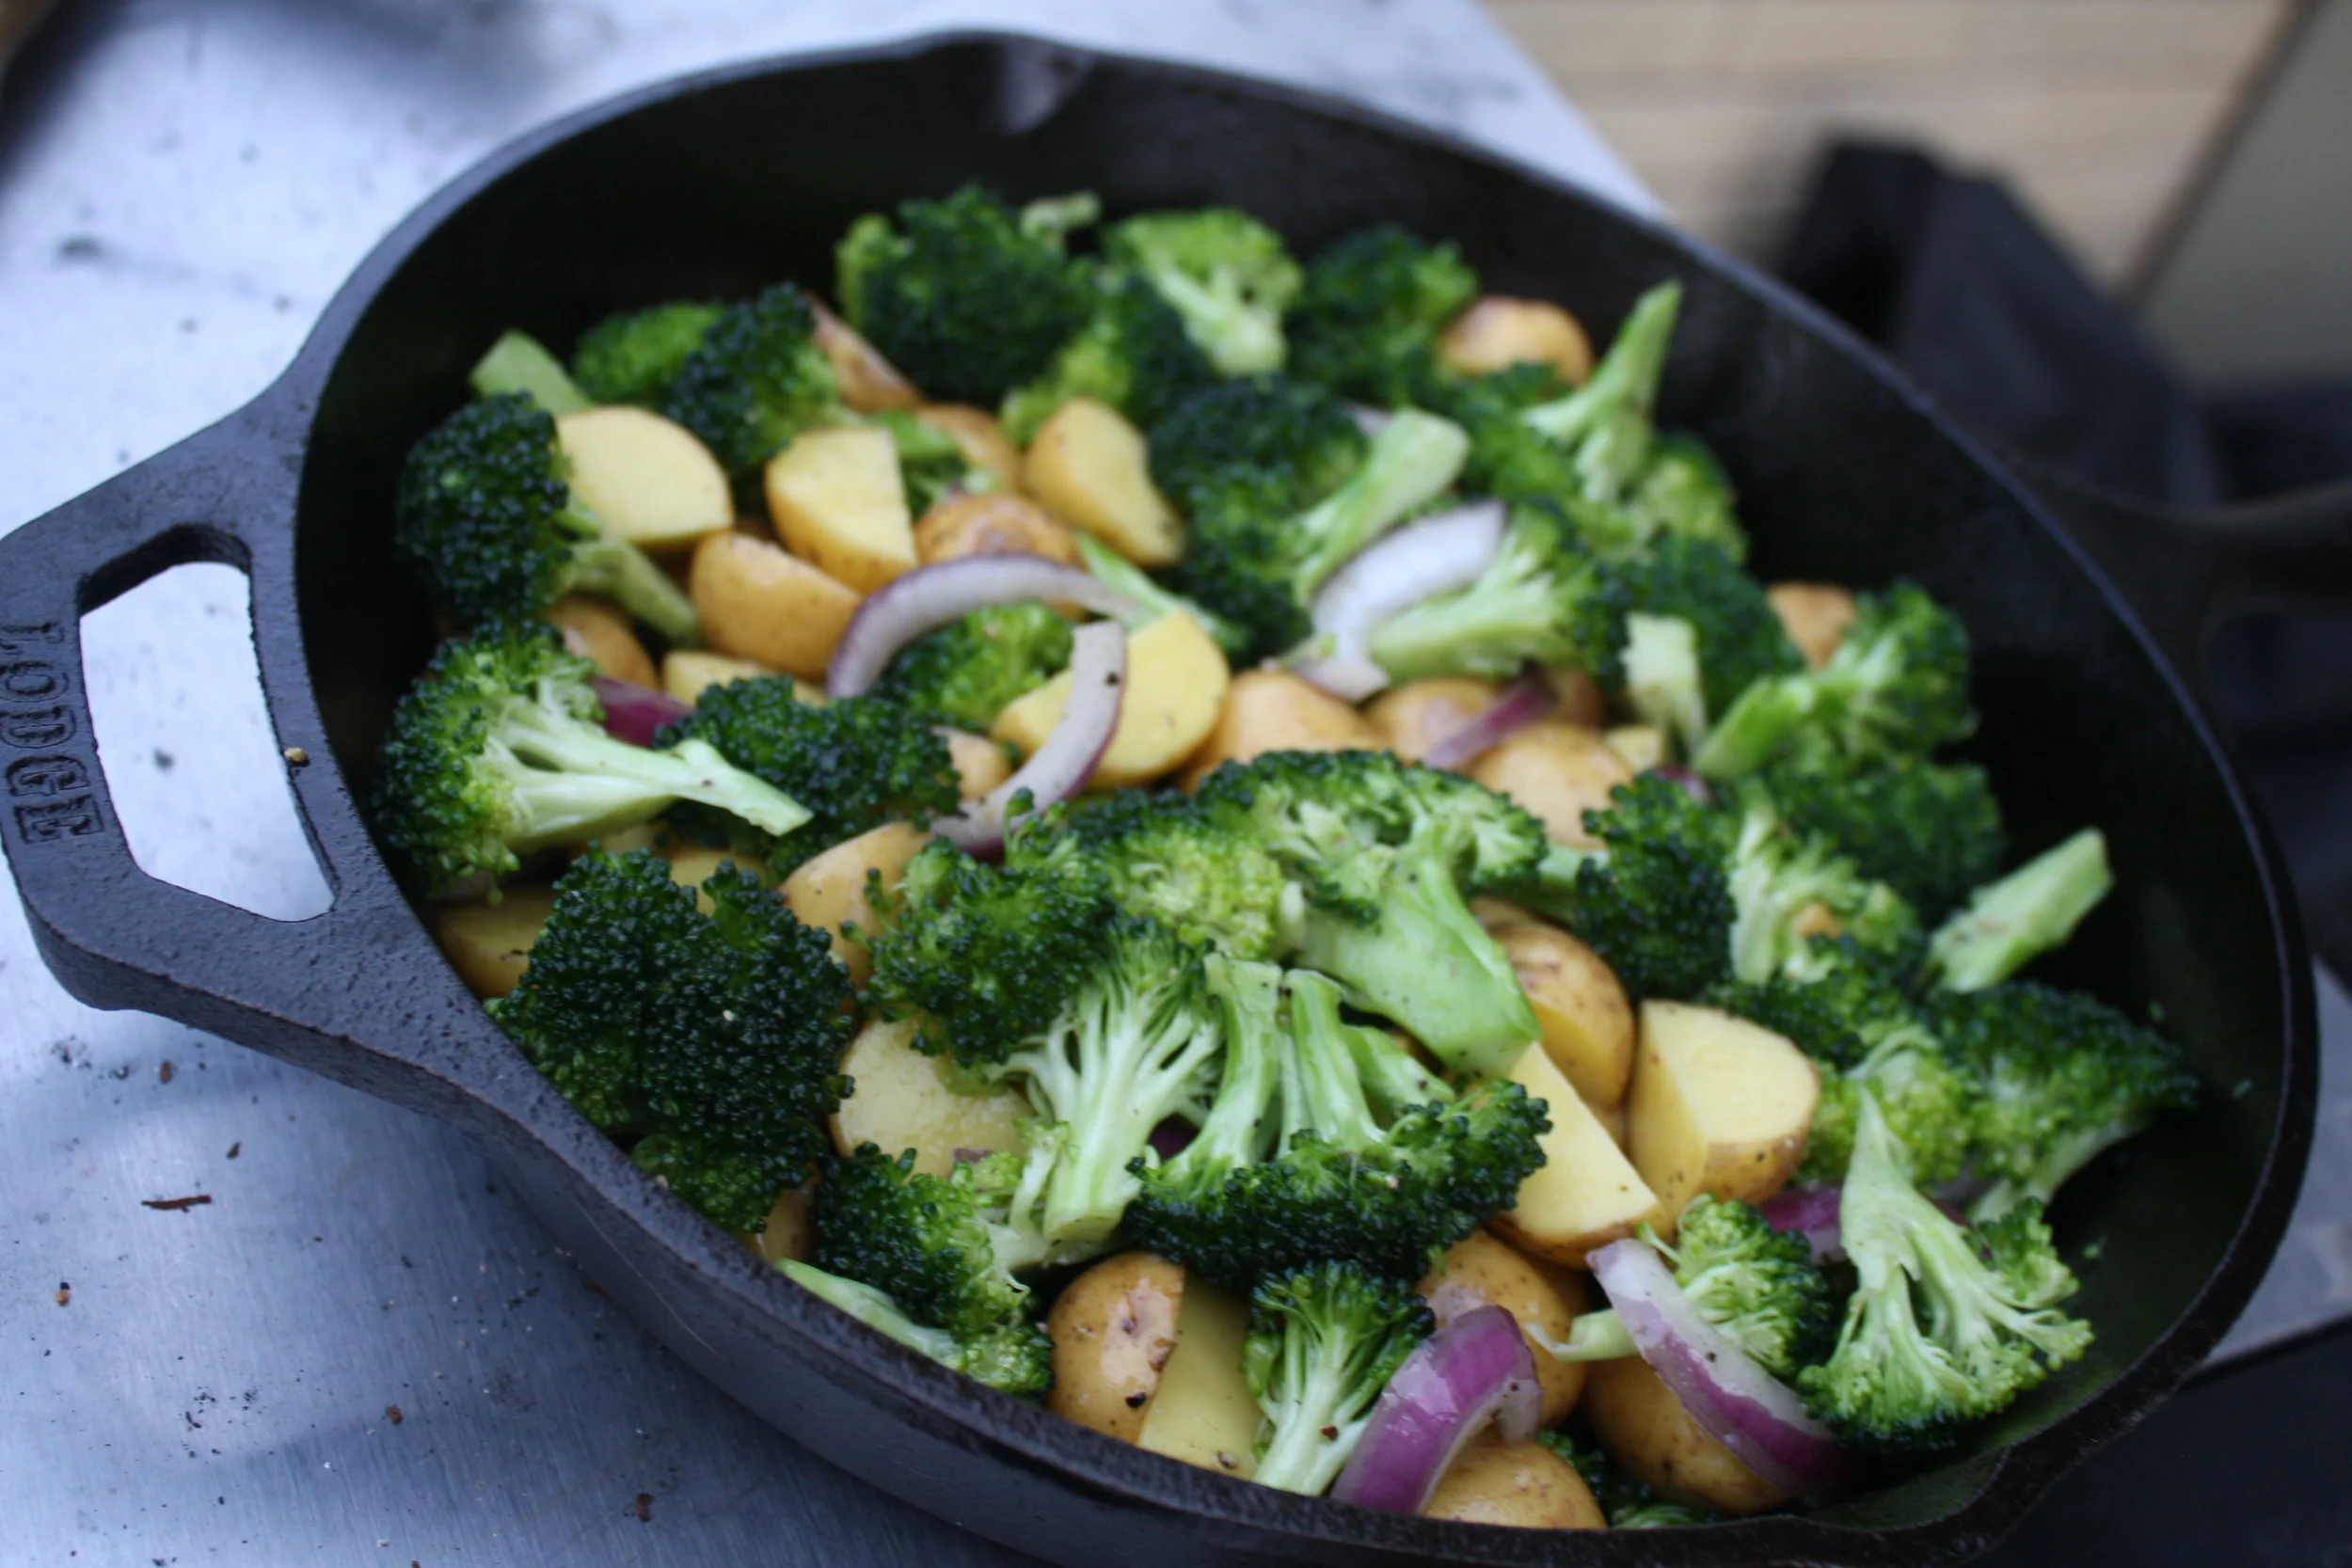
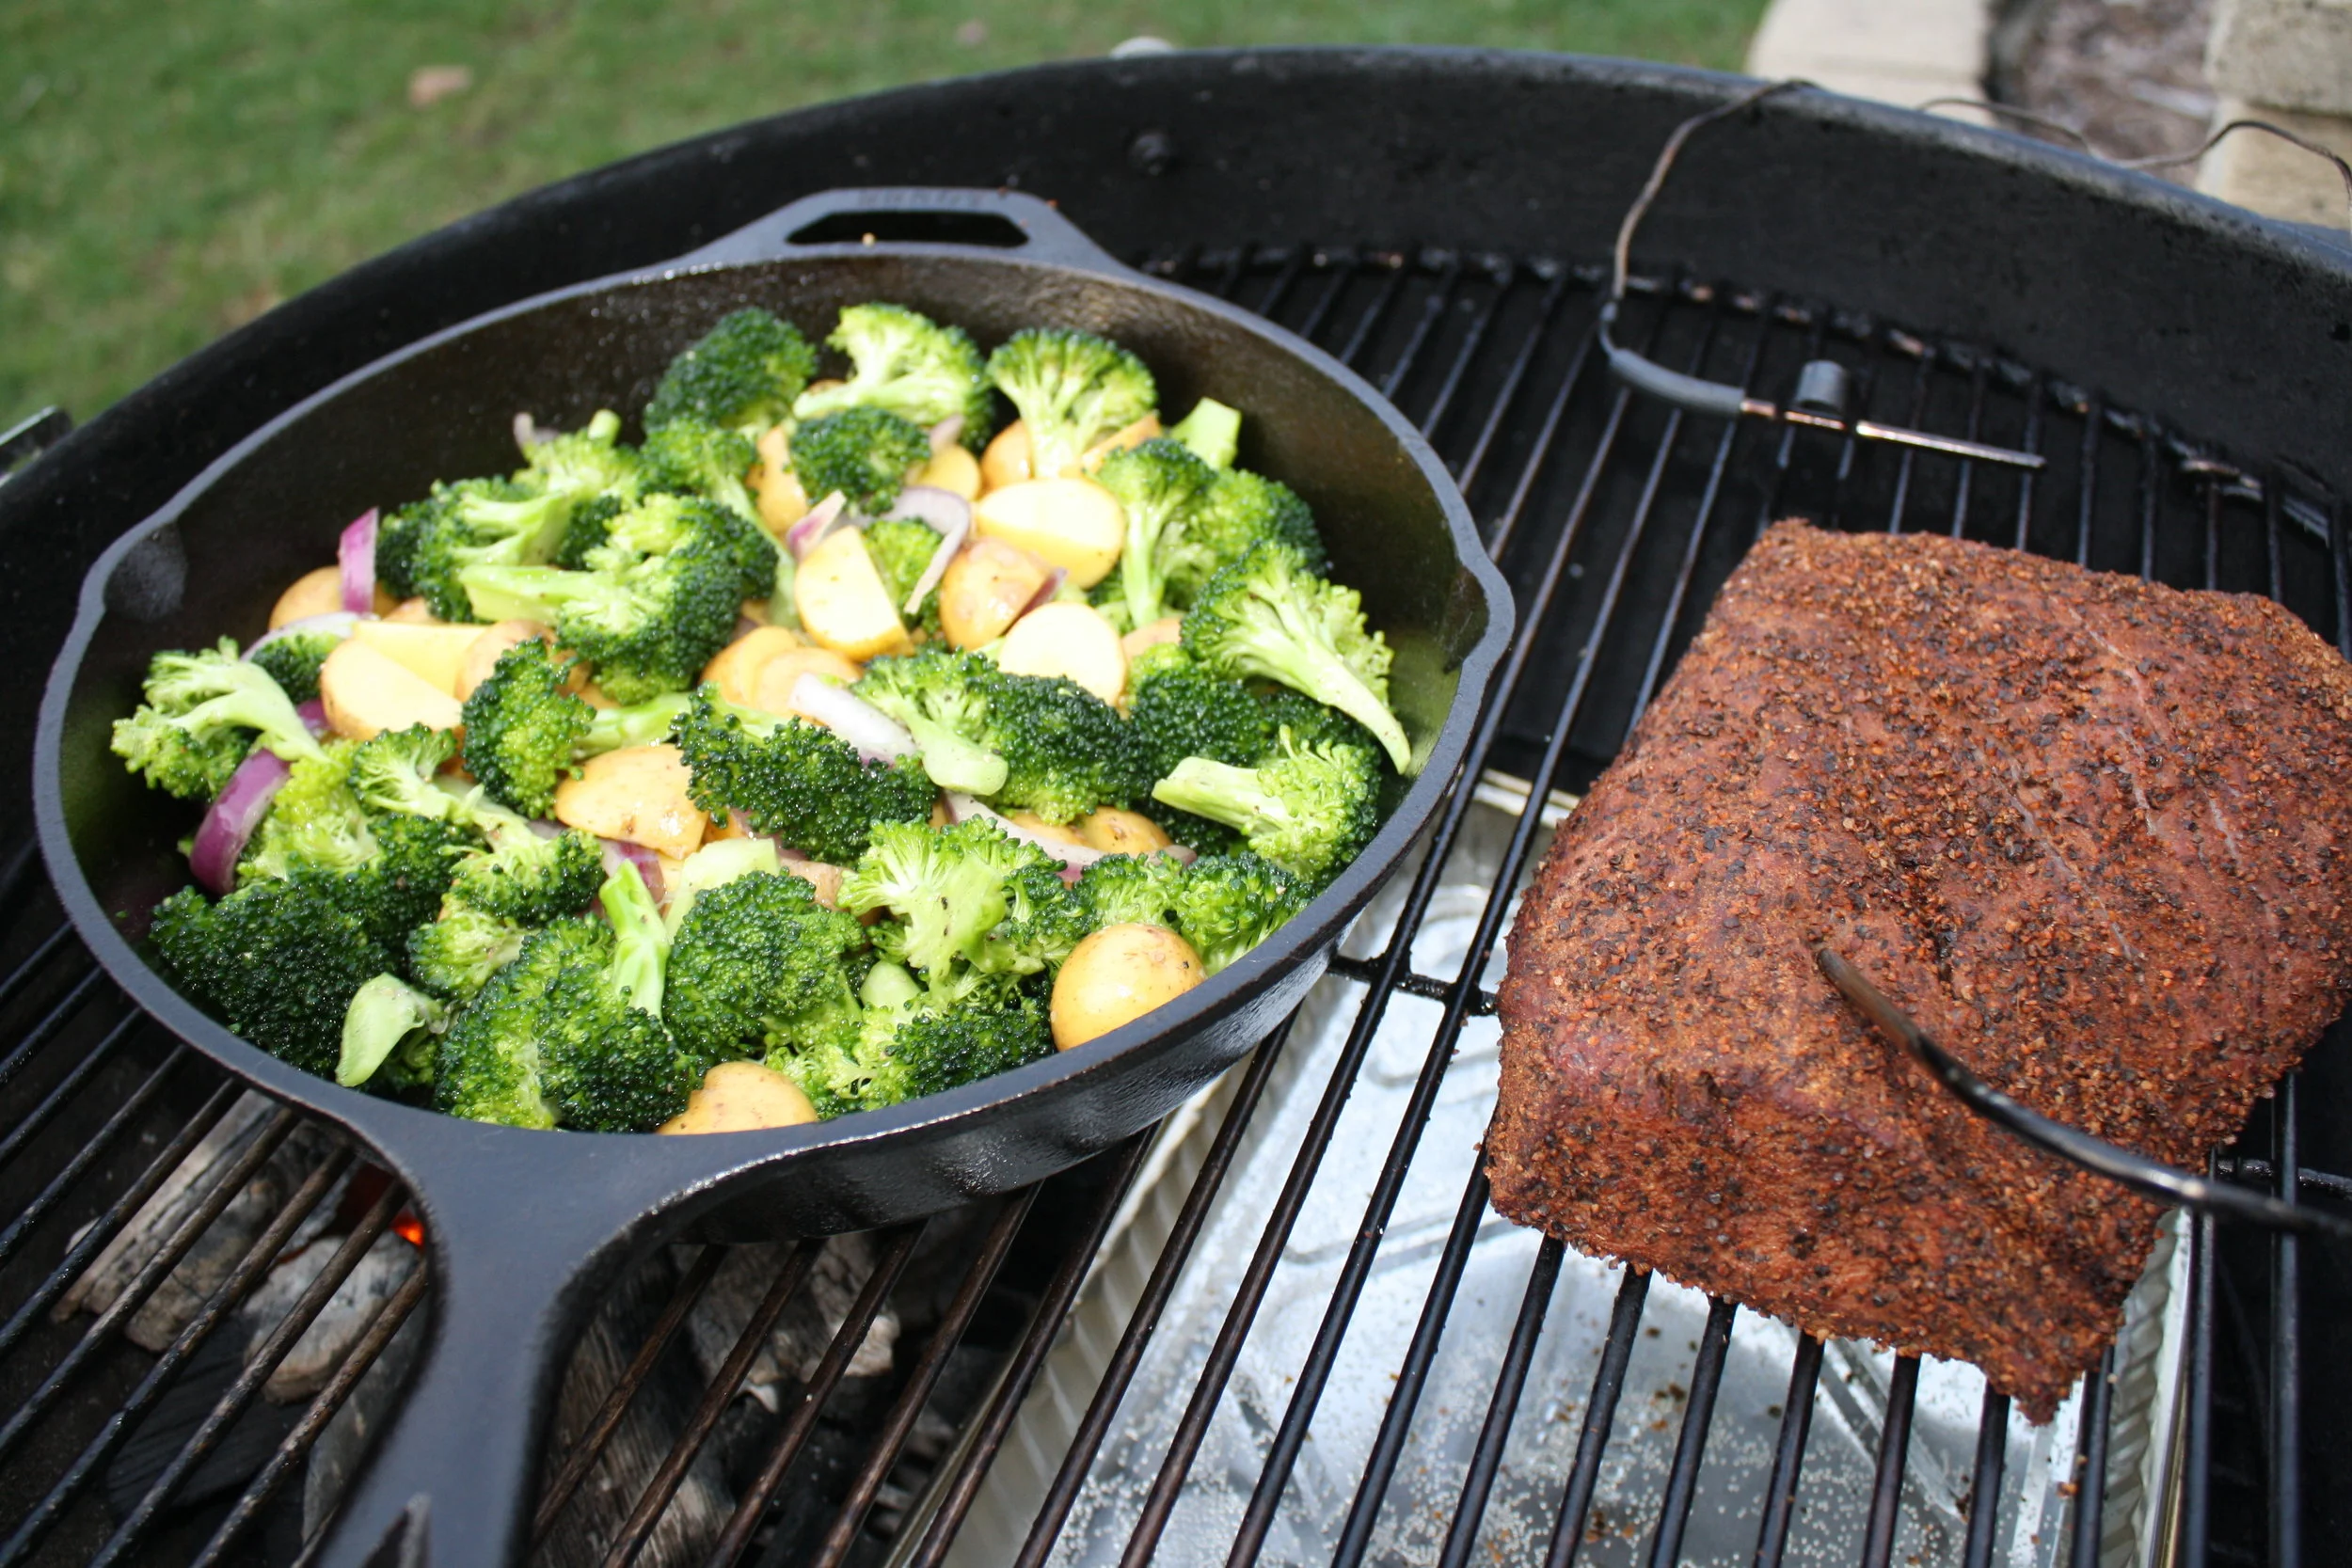
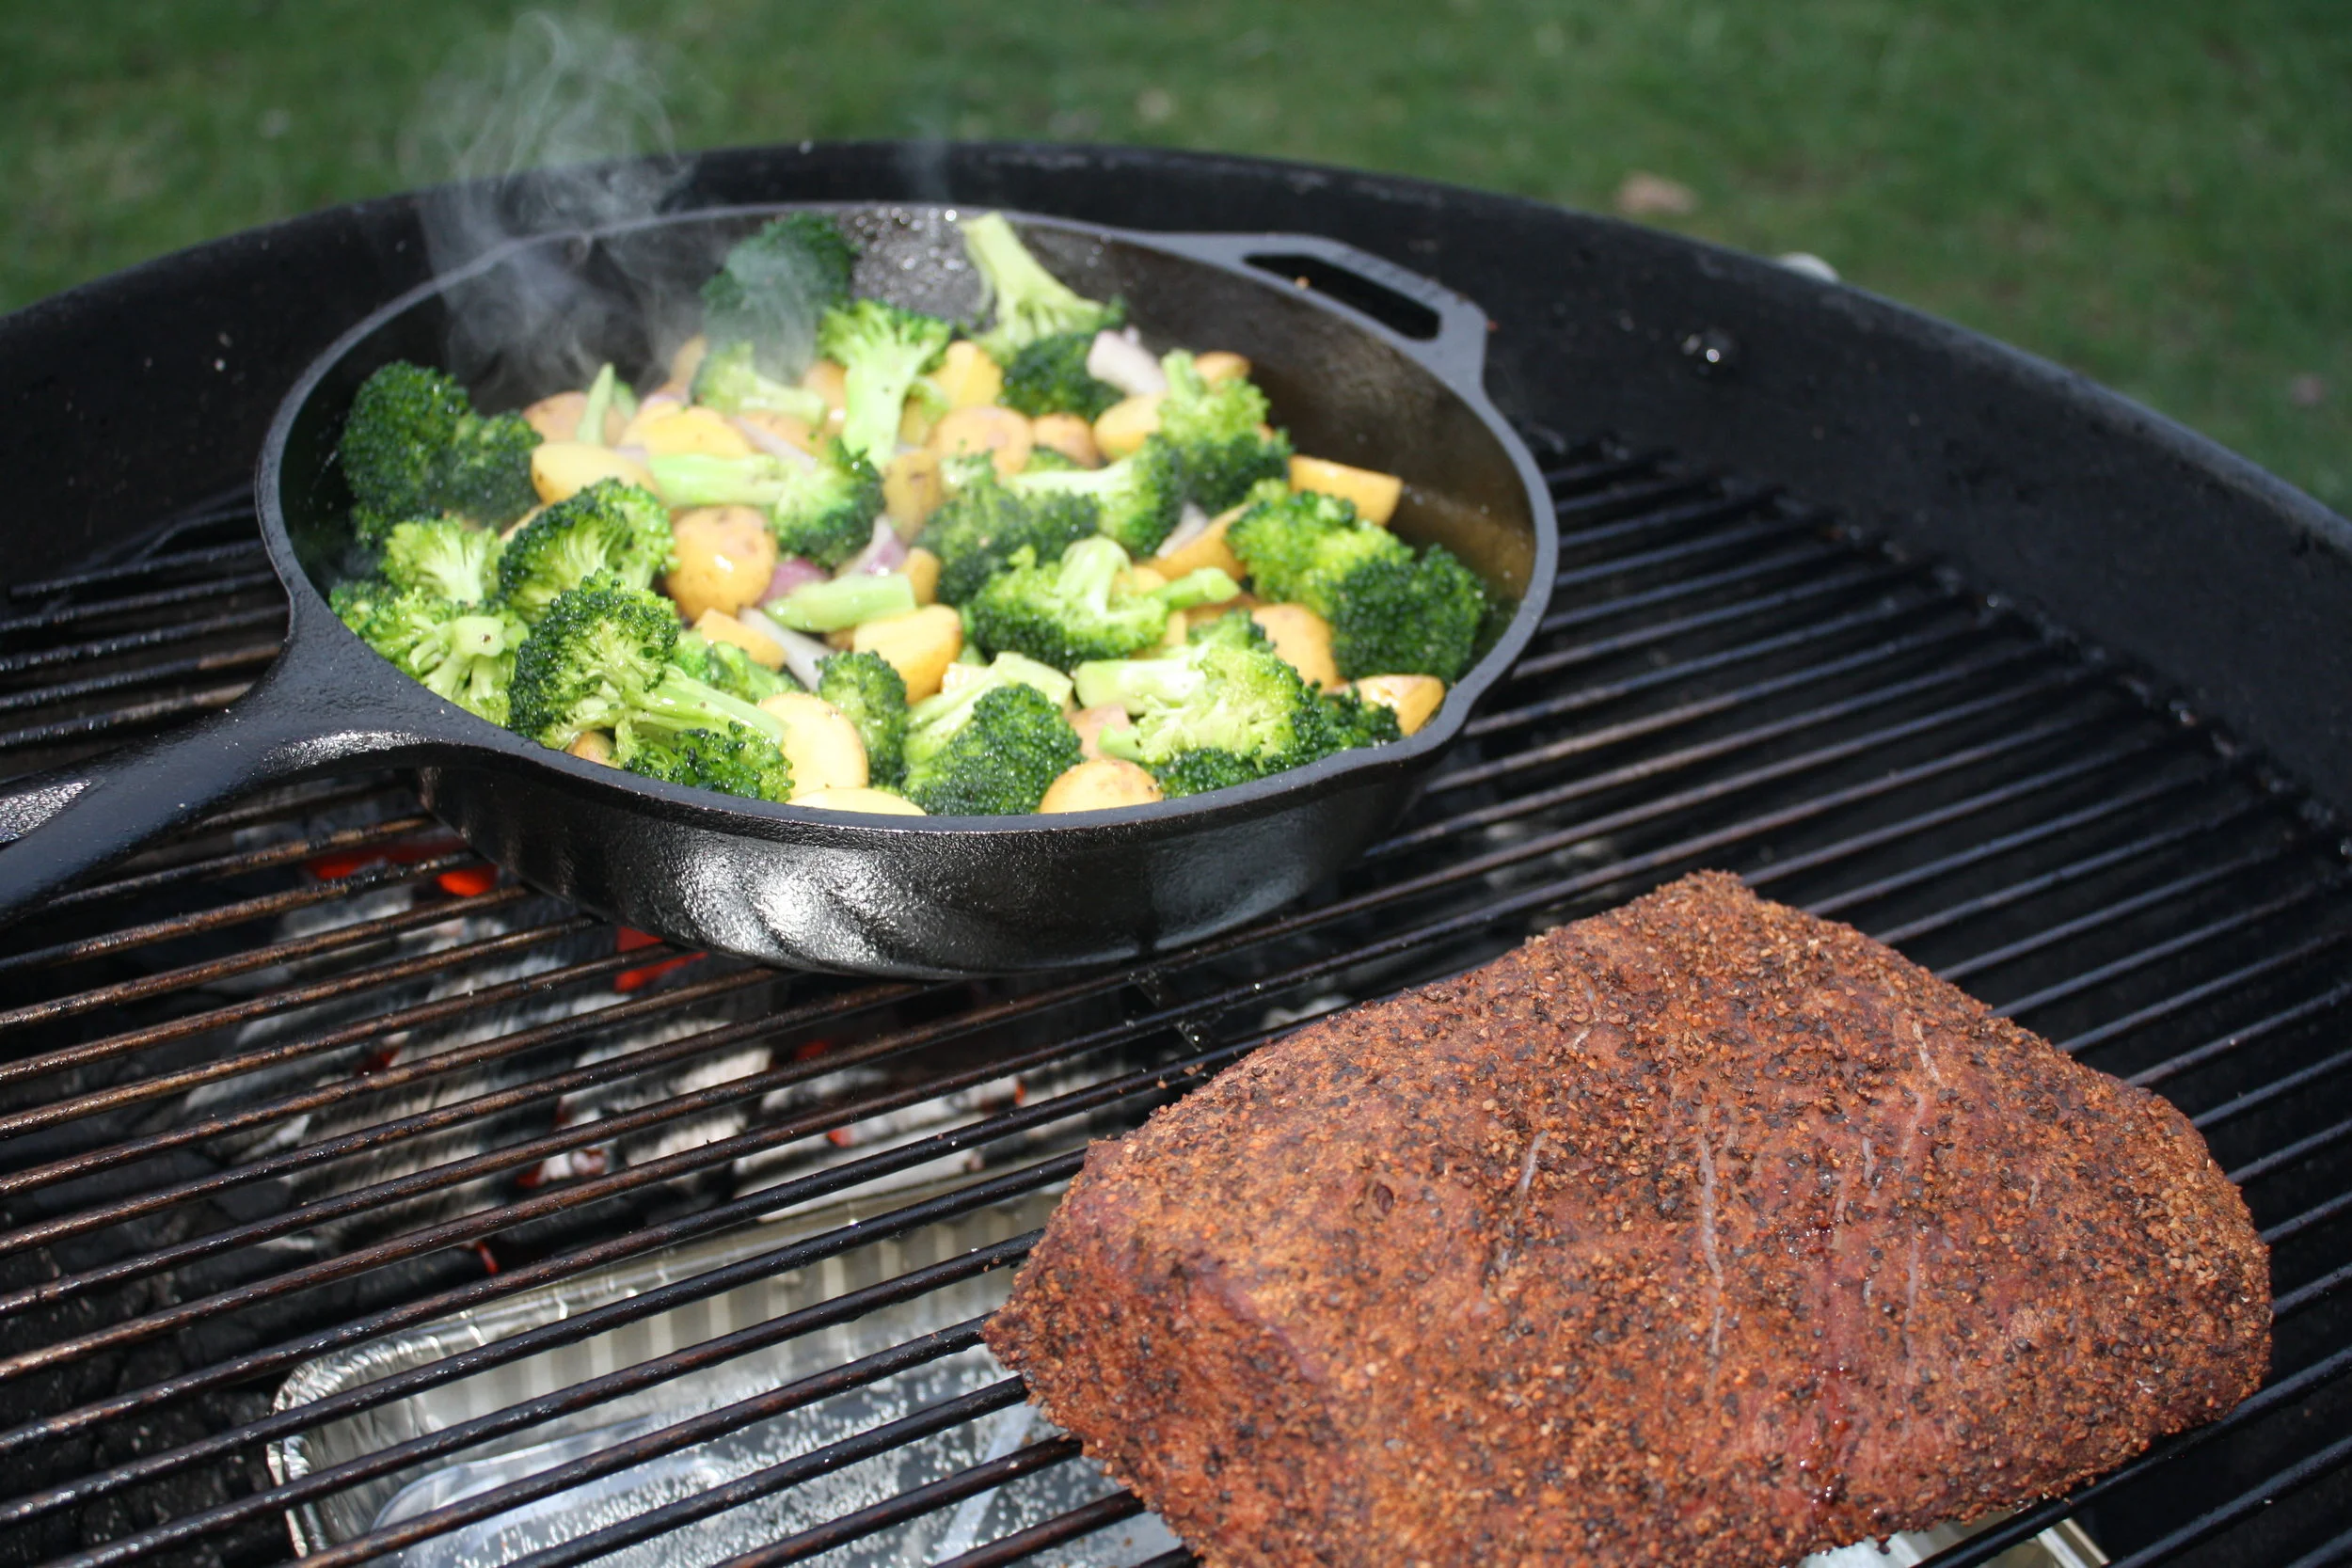
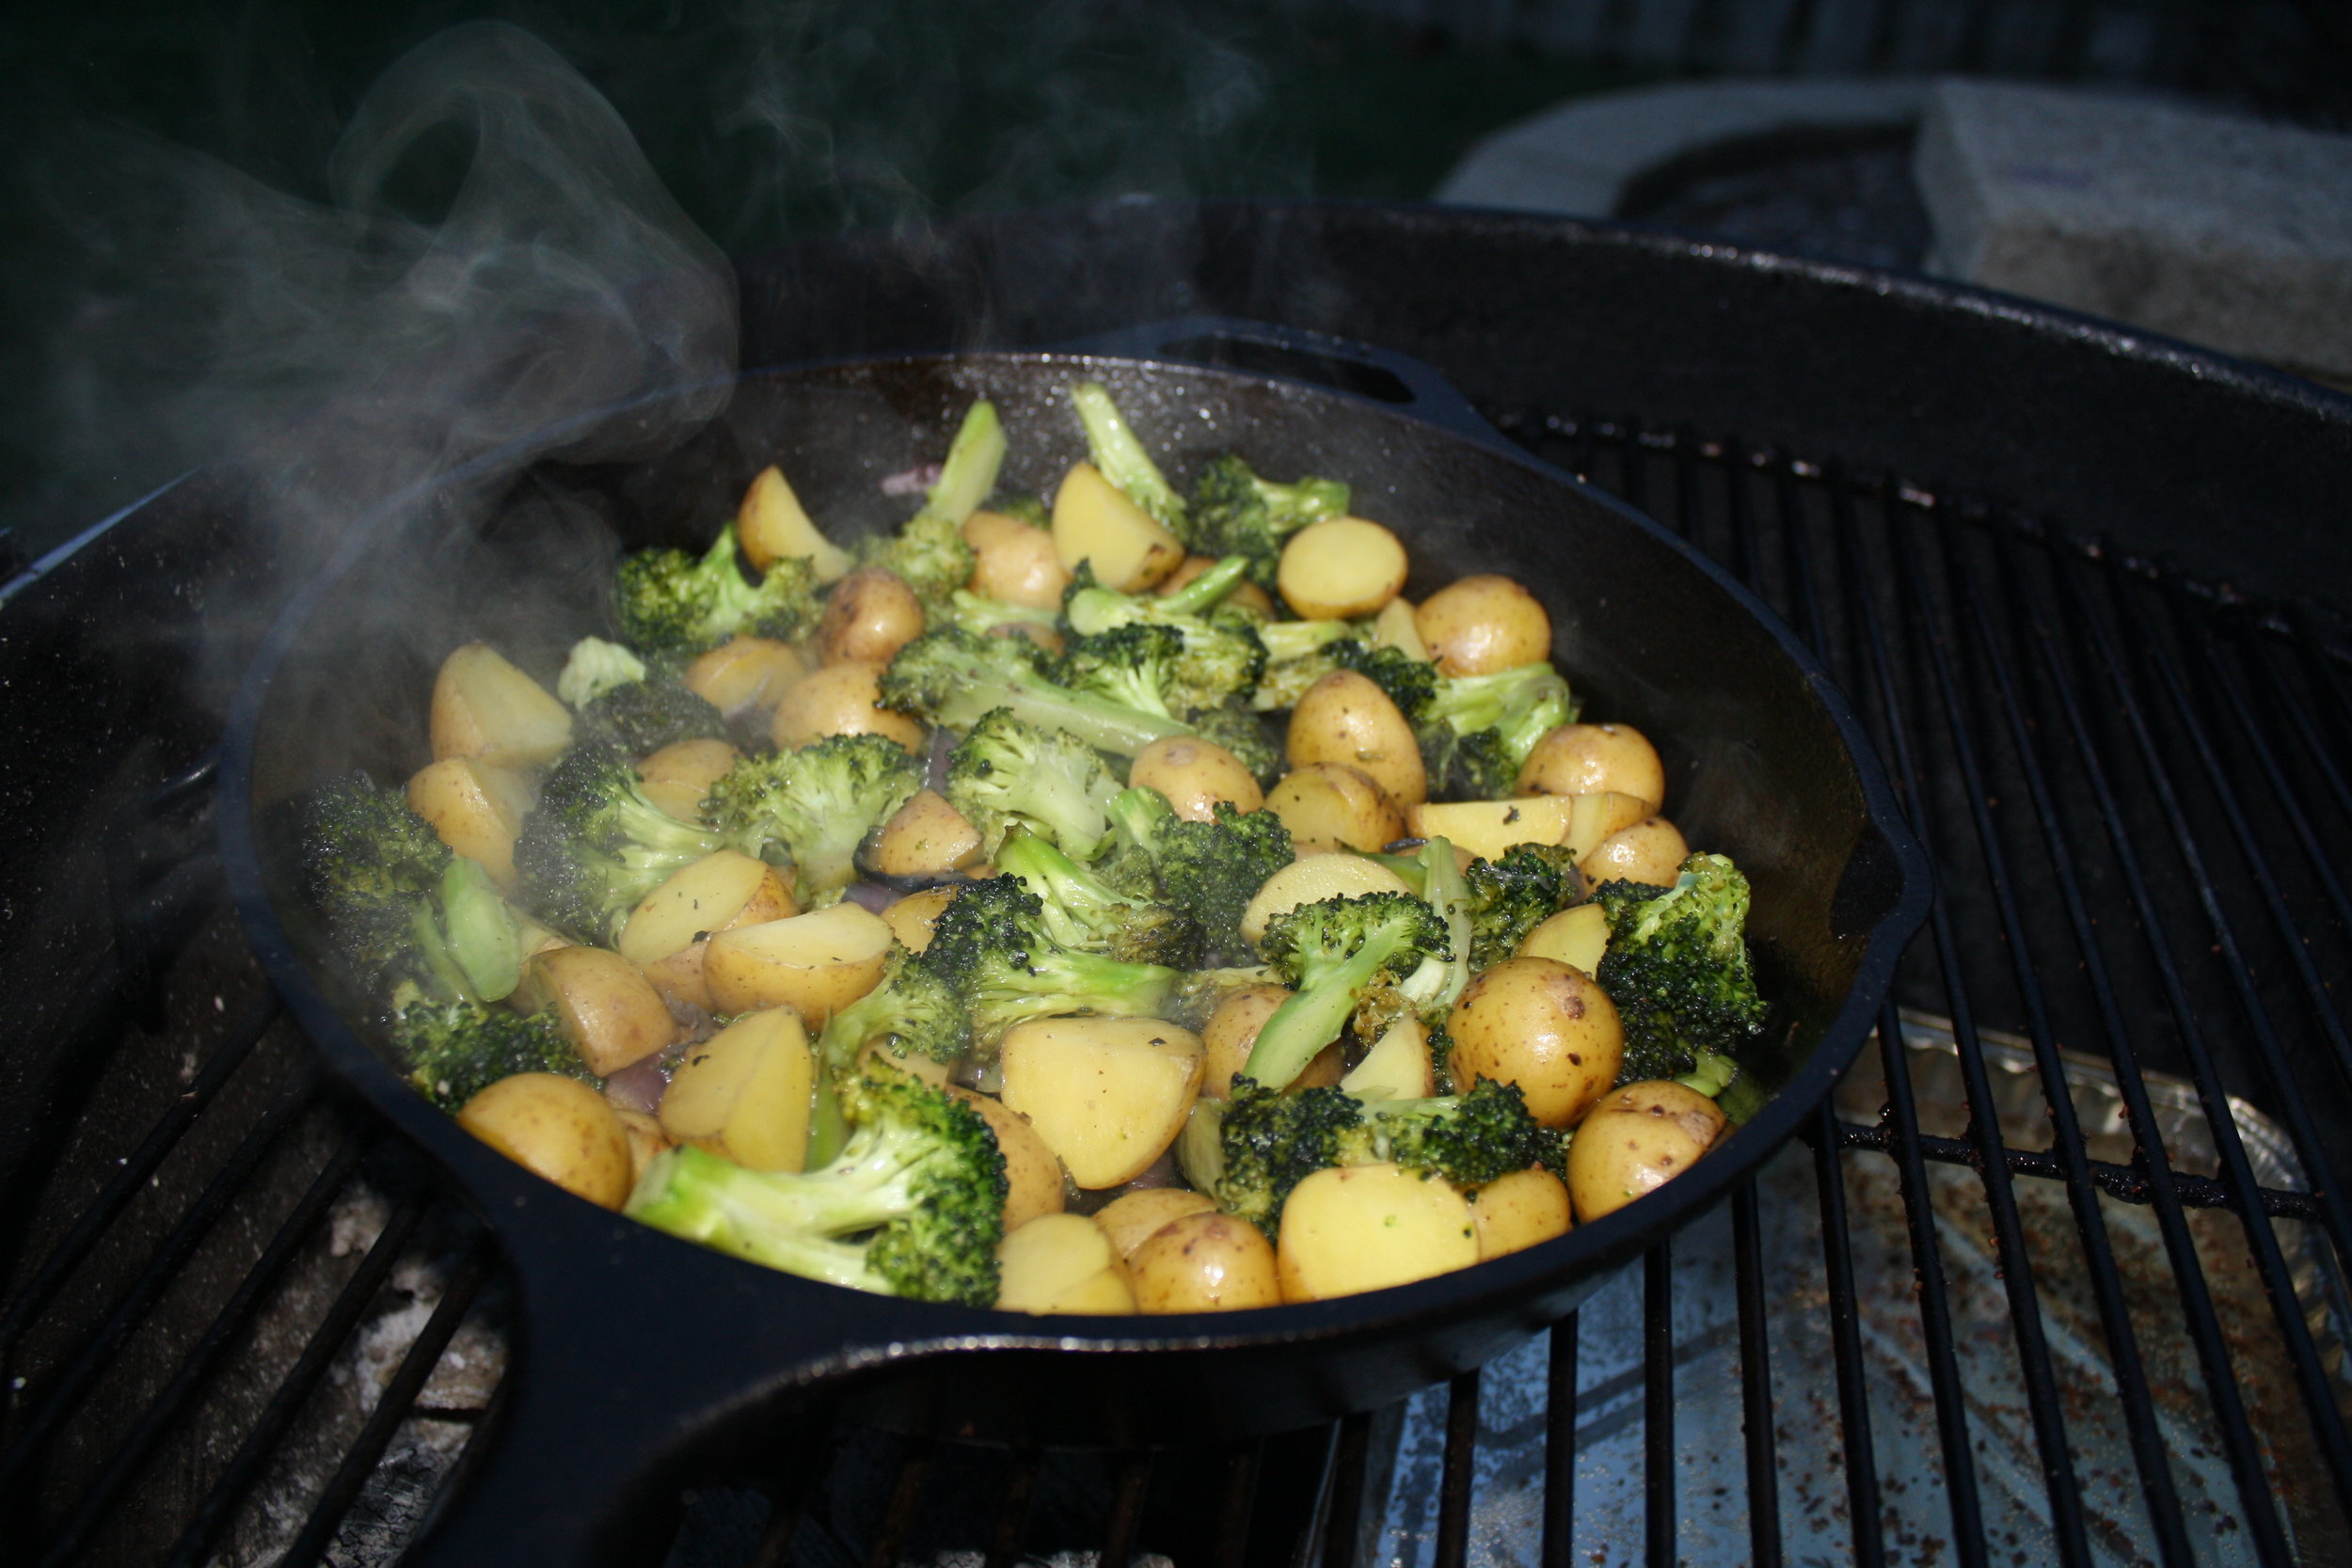
To accompany this beautiful roast, I also stepped into new territory. I had picked up a Lodge cast iron skillet, which I spent a long night 'seasoning'. So this cook would be a chance for me to cook the entire meal on the weber! For the sides, I cut up some broccoli and mini potatoes. I threw them into the skillet along with some salt, pepper, a red onion and some olive oil.
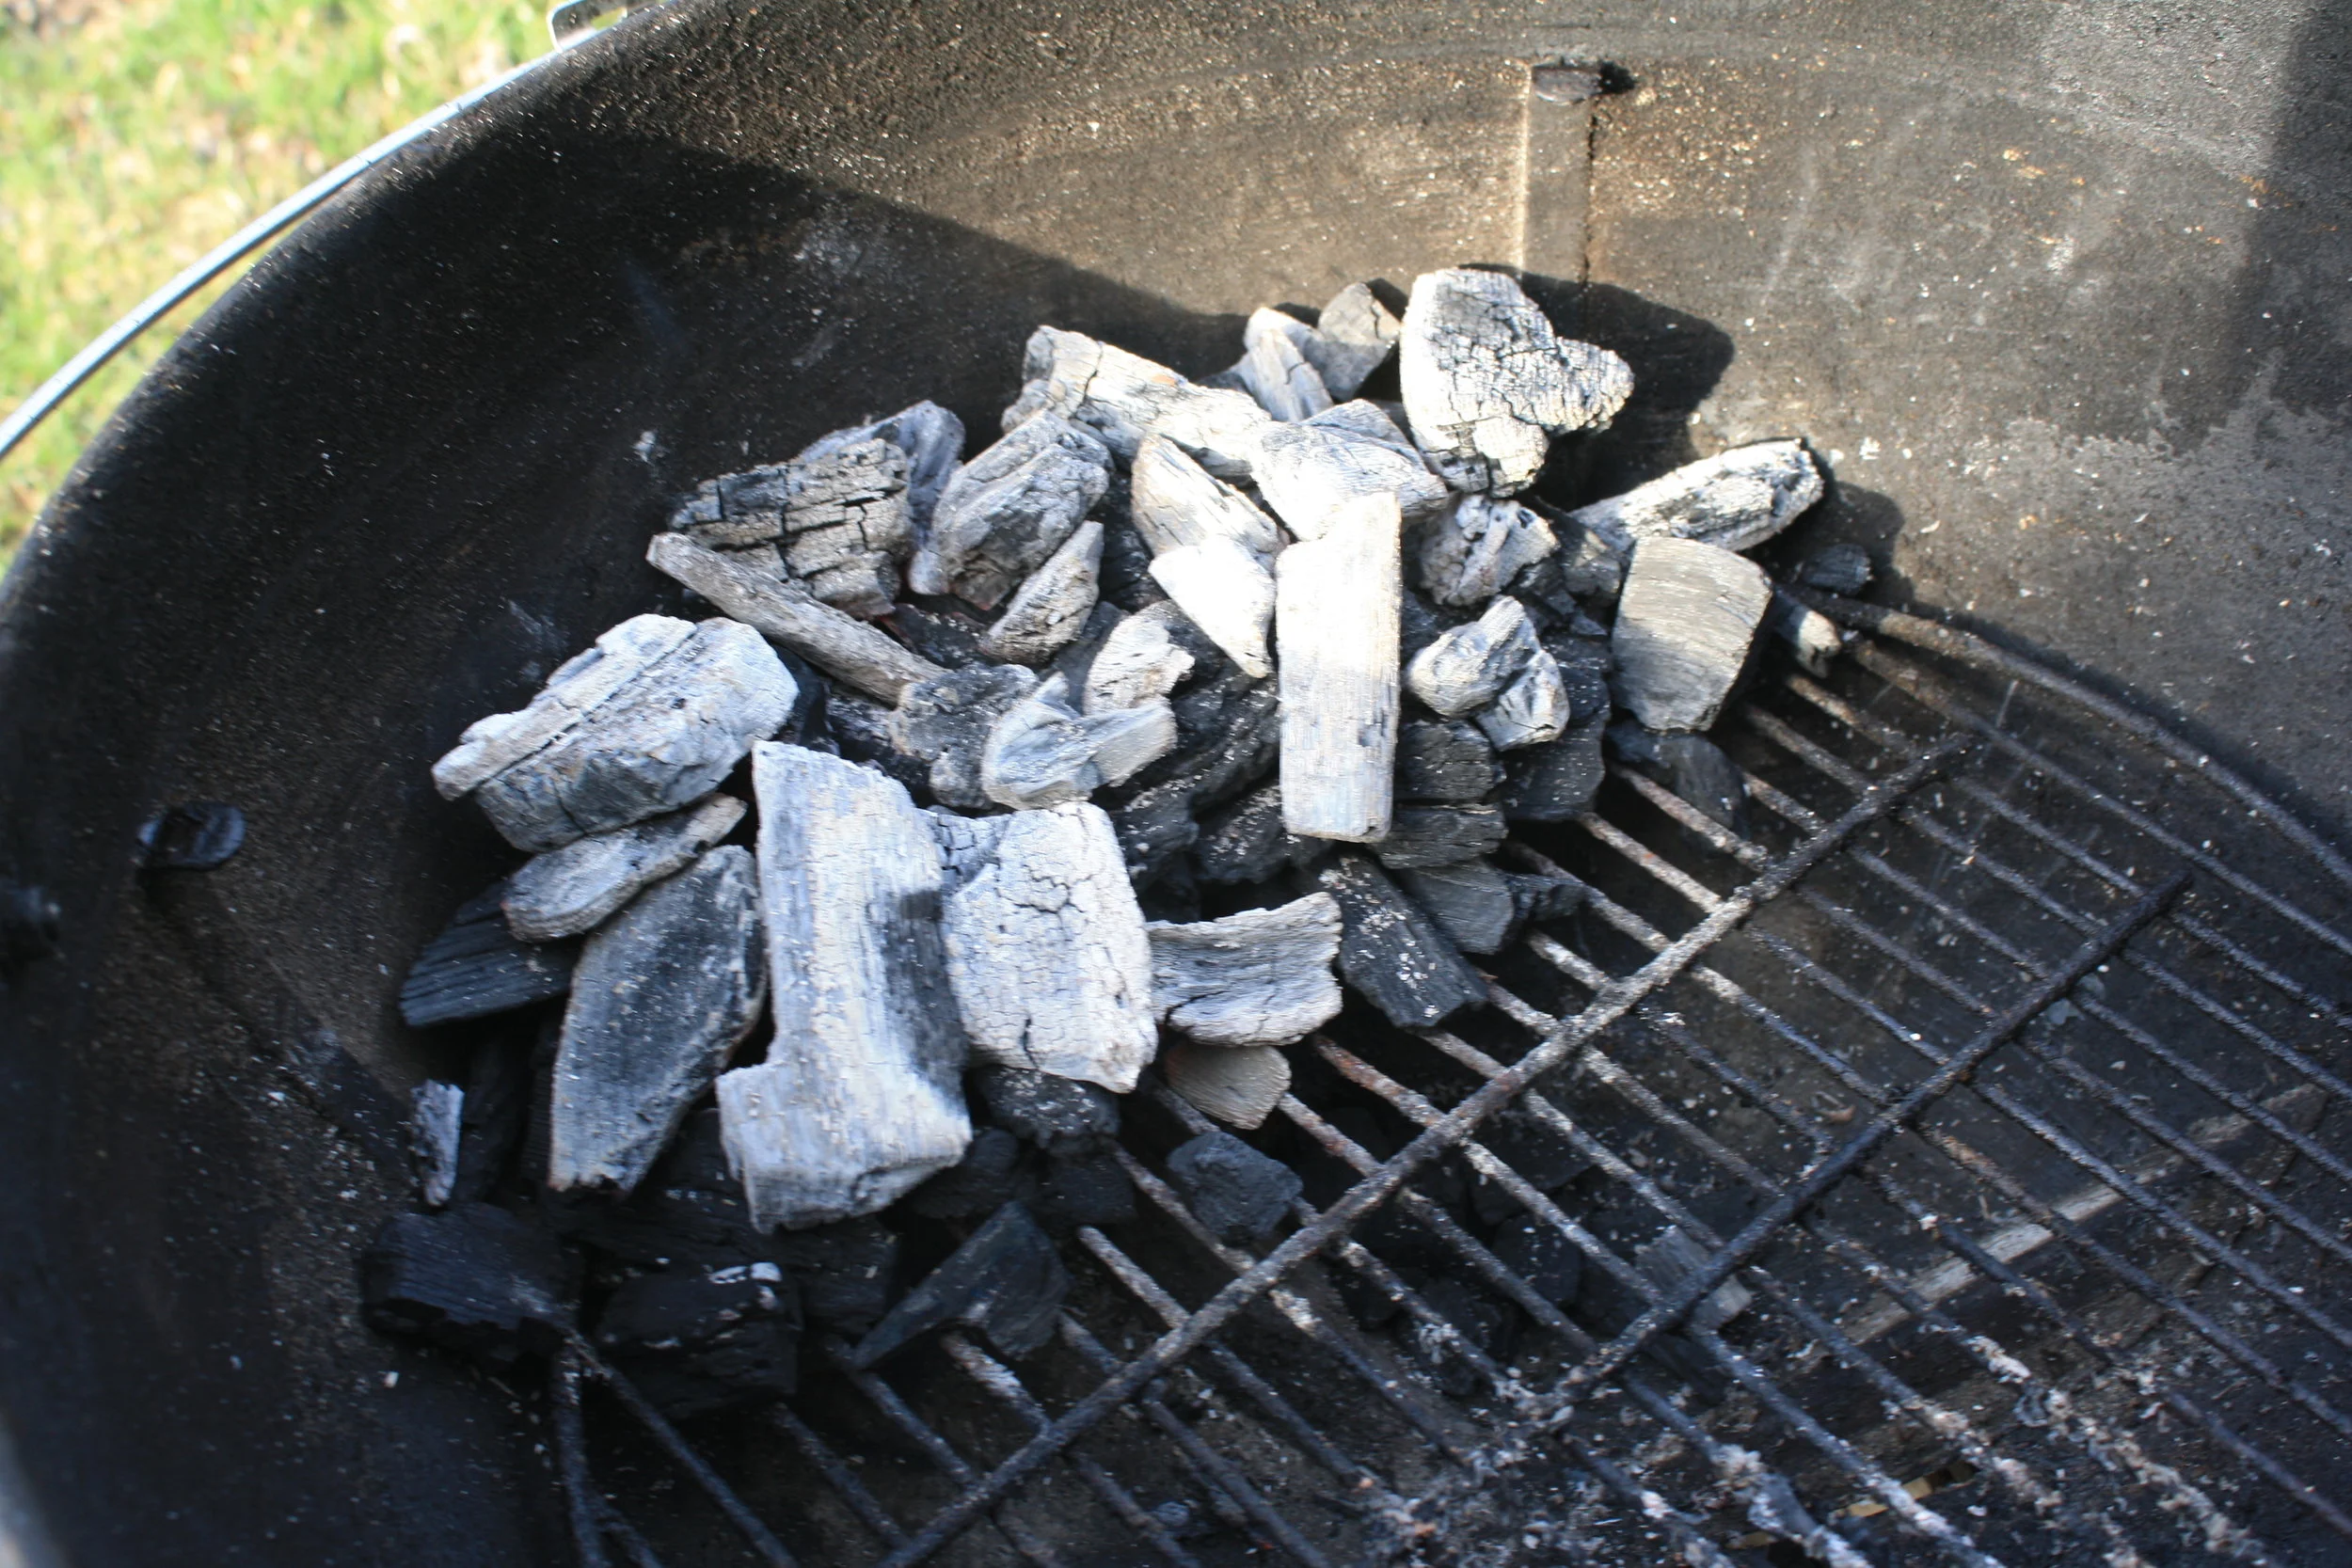
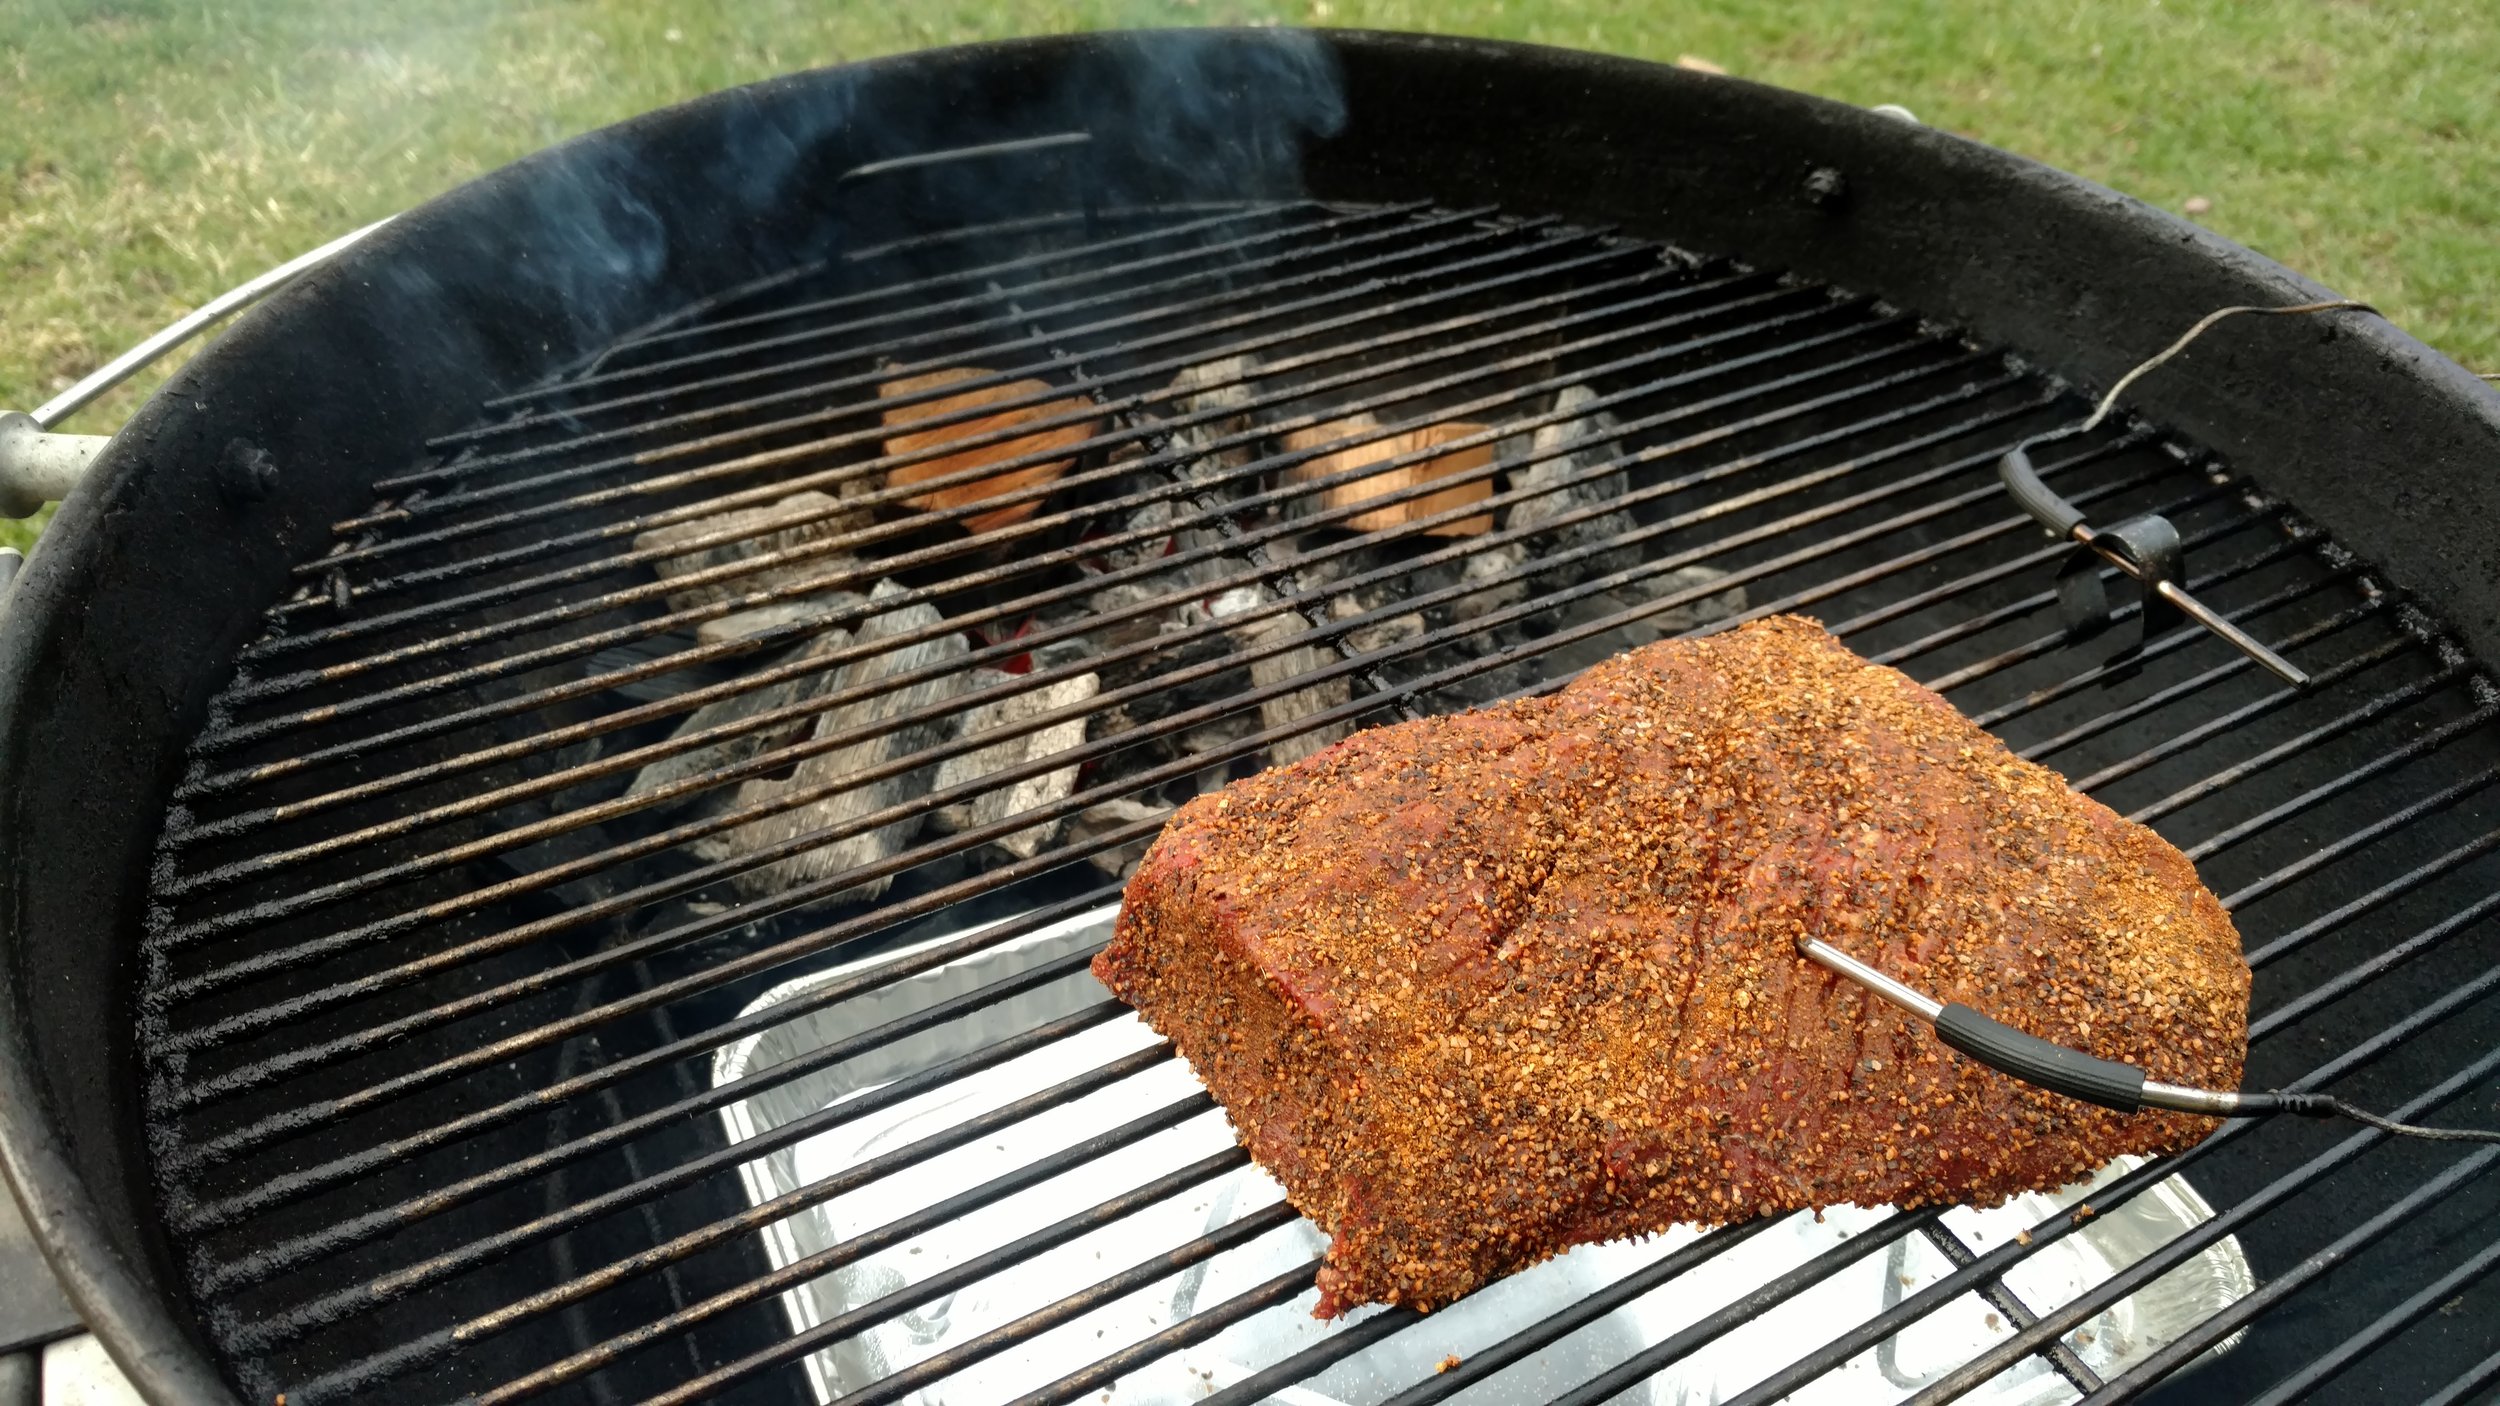
Saying a prayer to the gods of BBQ, I forced the memory of my last failed cook out of my head and lit the charcoal. Soon after, I got the kettle to 250 without any trouble at all. I added a couple small chunks of apple wood and finally set the roast on the grill. With changing the batteries in the iGrill, everything was proceeding free of any technical difficulty.
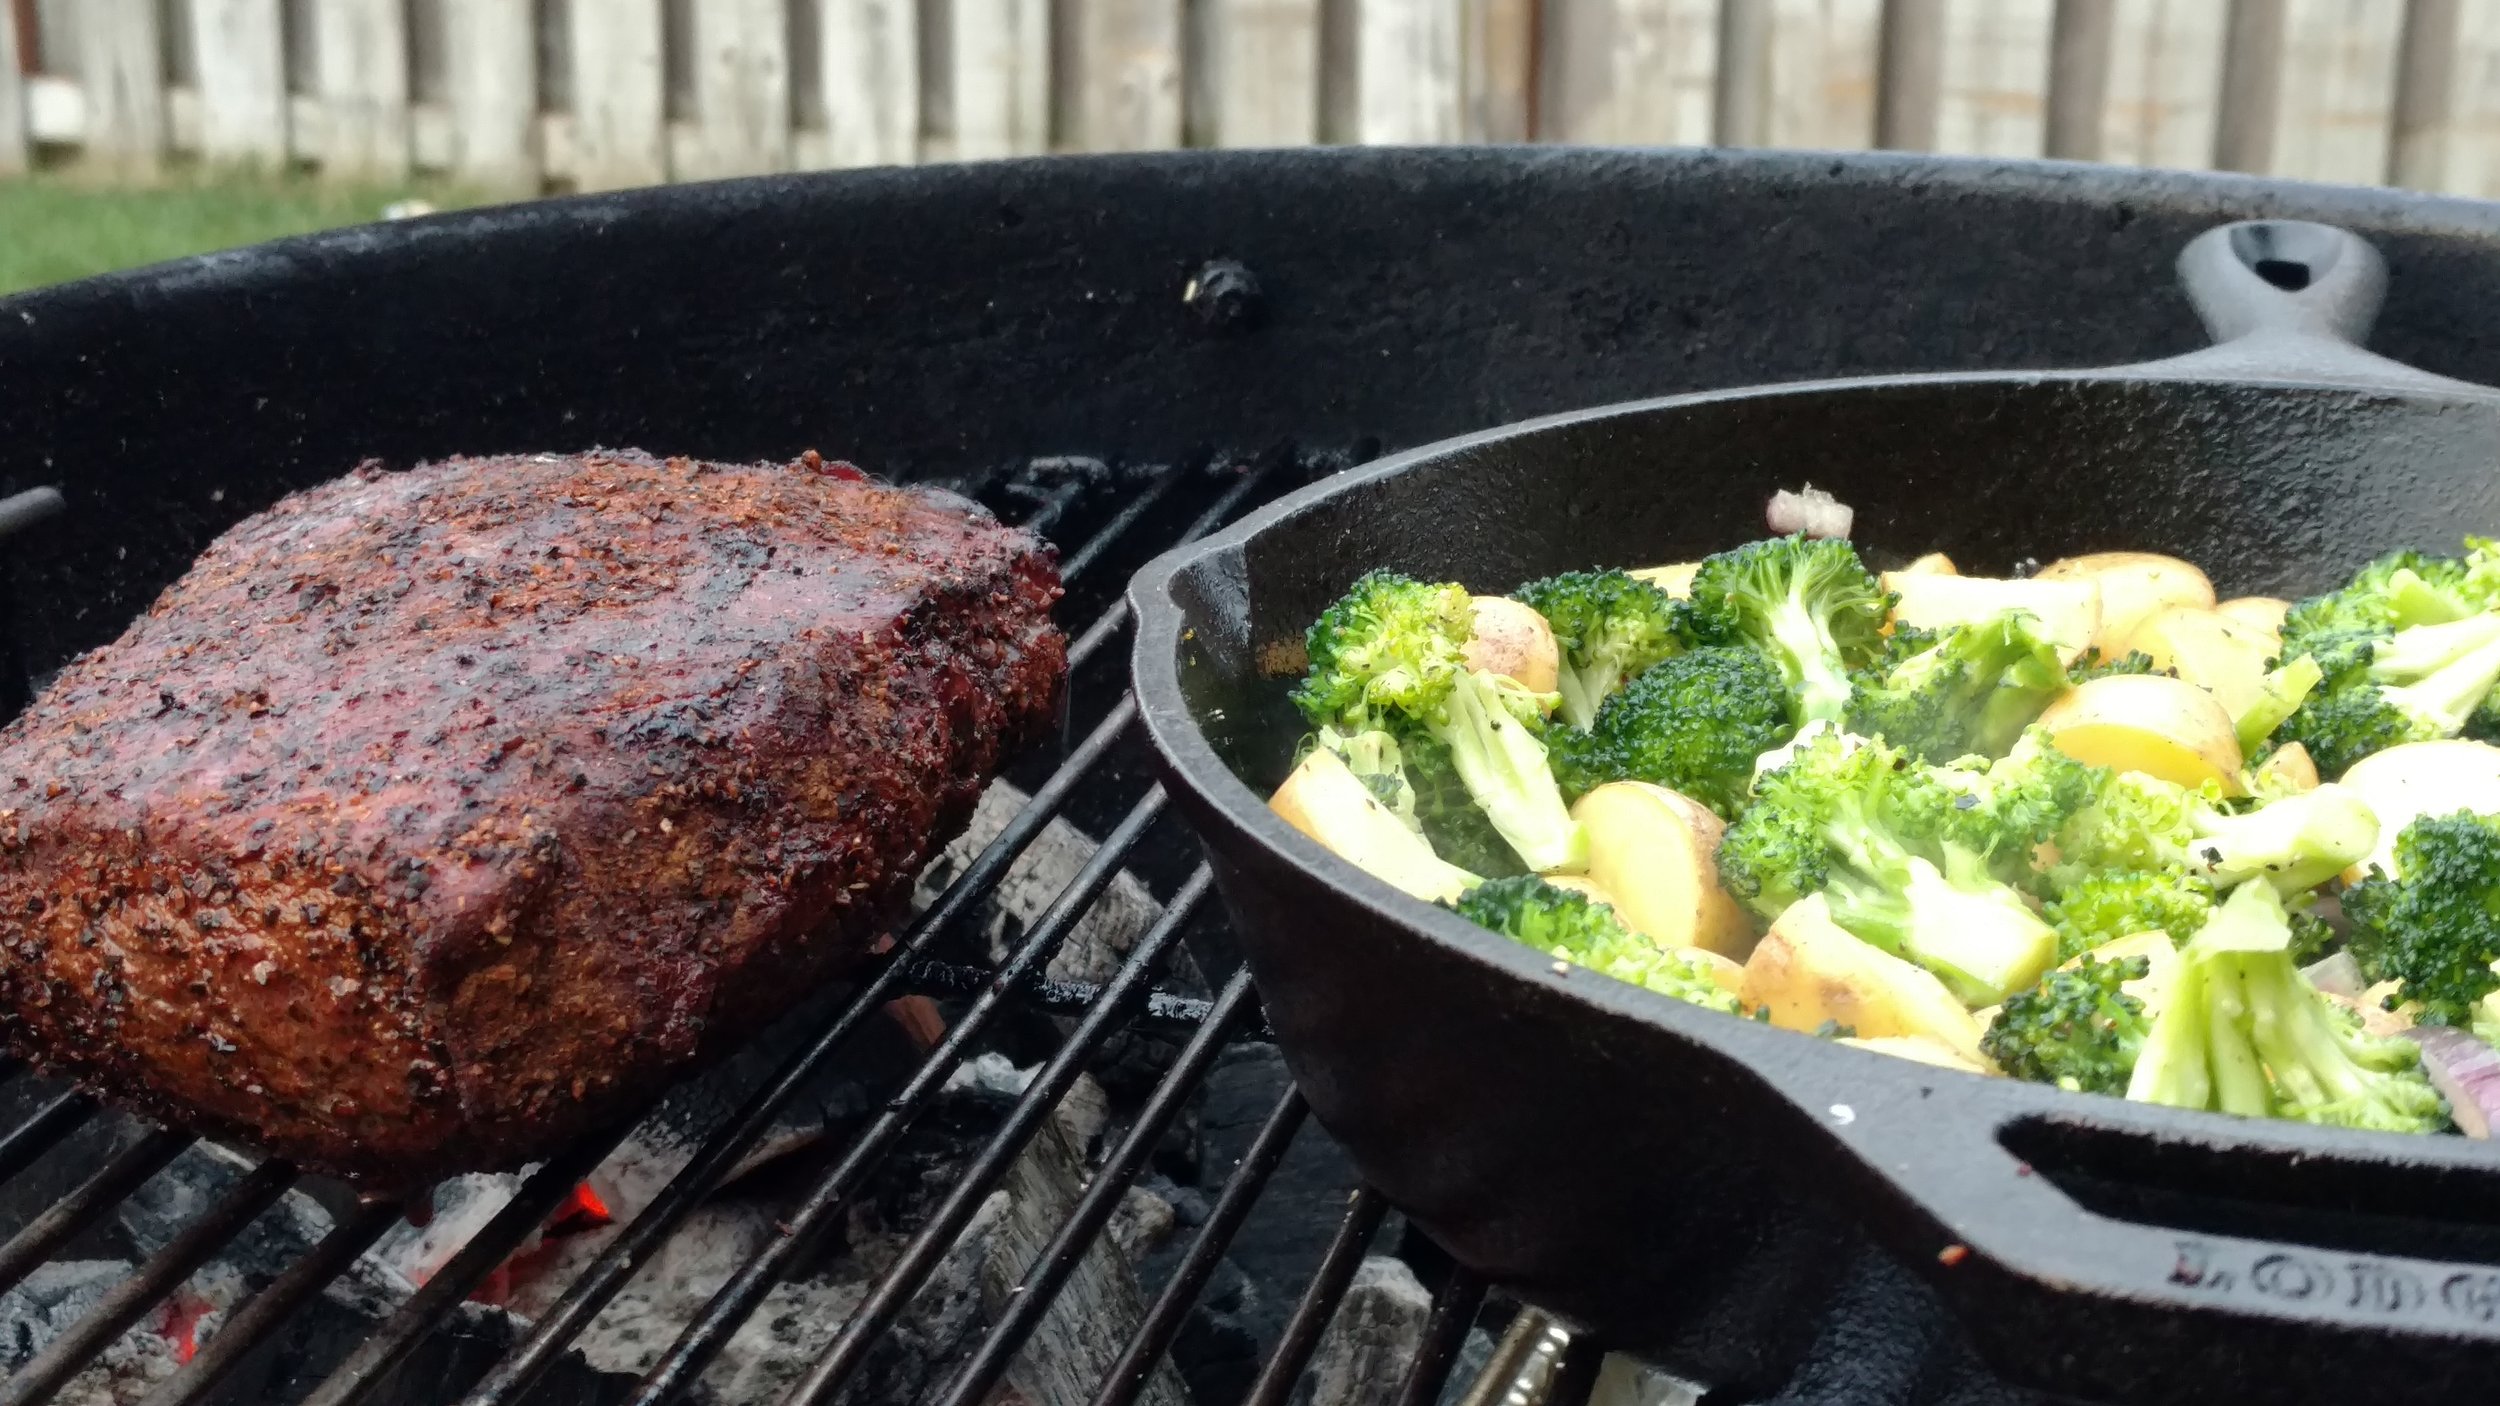
Oddly enough, this is the first cook where holding temperature felt like a natural motion which I handled with ease. About halfway in, I added my Lodge cast iron to the mix and set it over the coals. For all of the struggles I have had with even my successful cooks, this one seemed to be going perfectly. I realized I shouldn't jinx it. So for good measure, I opened a beer.
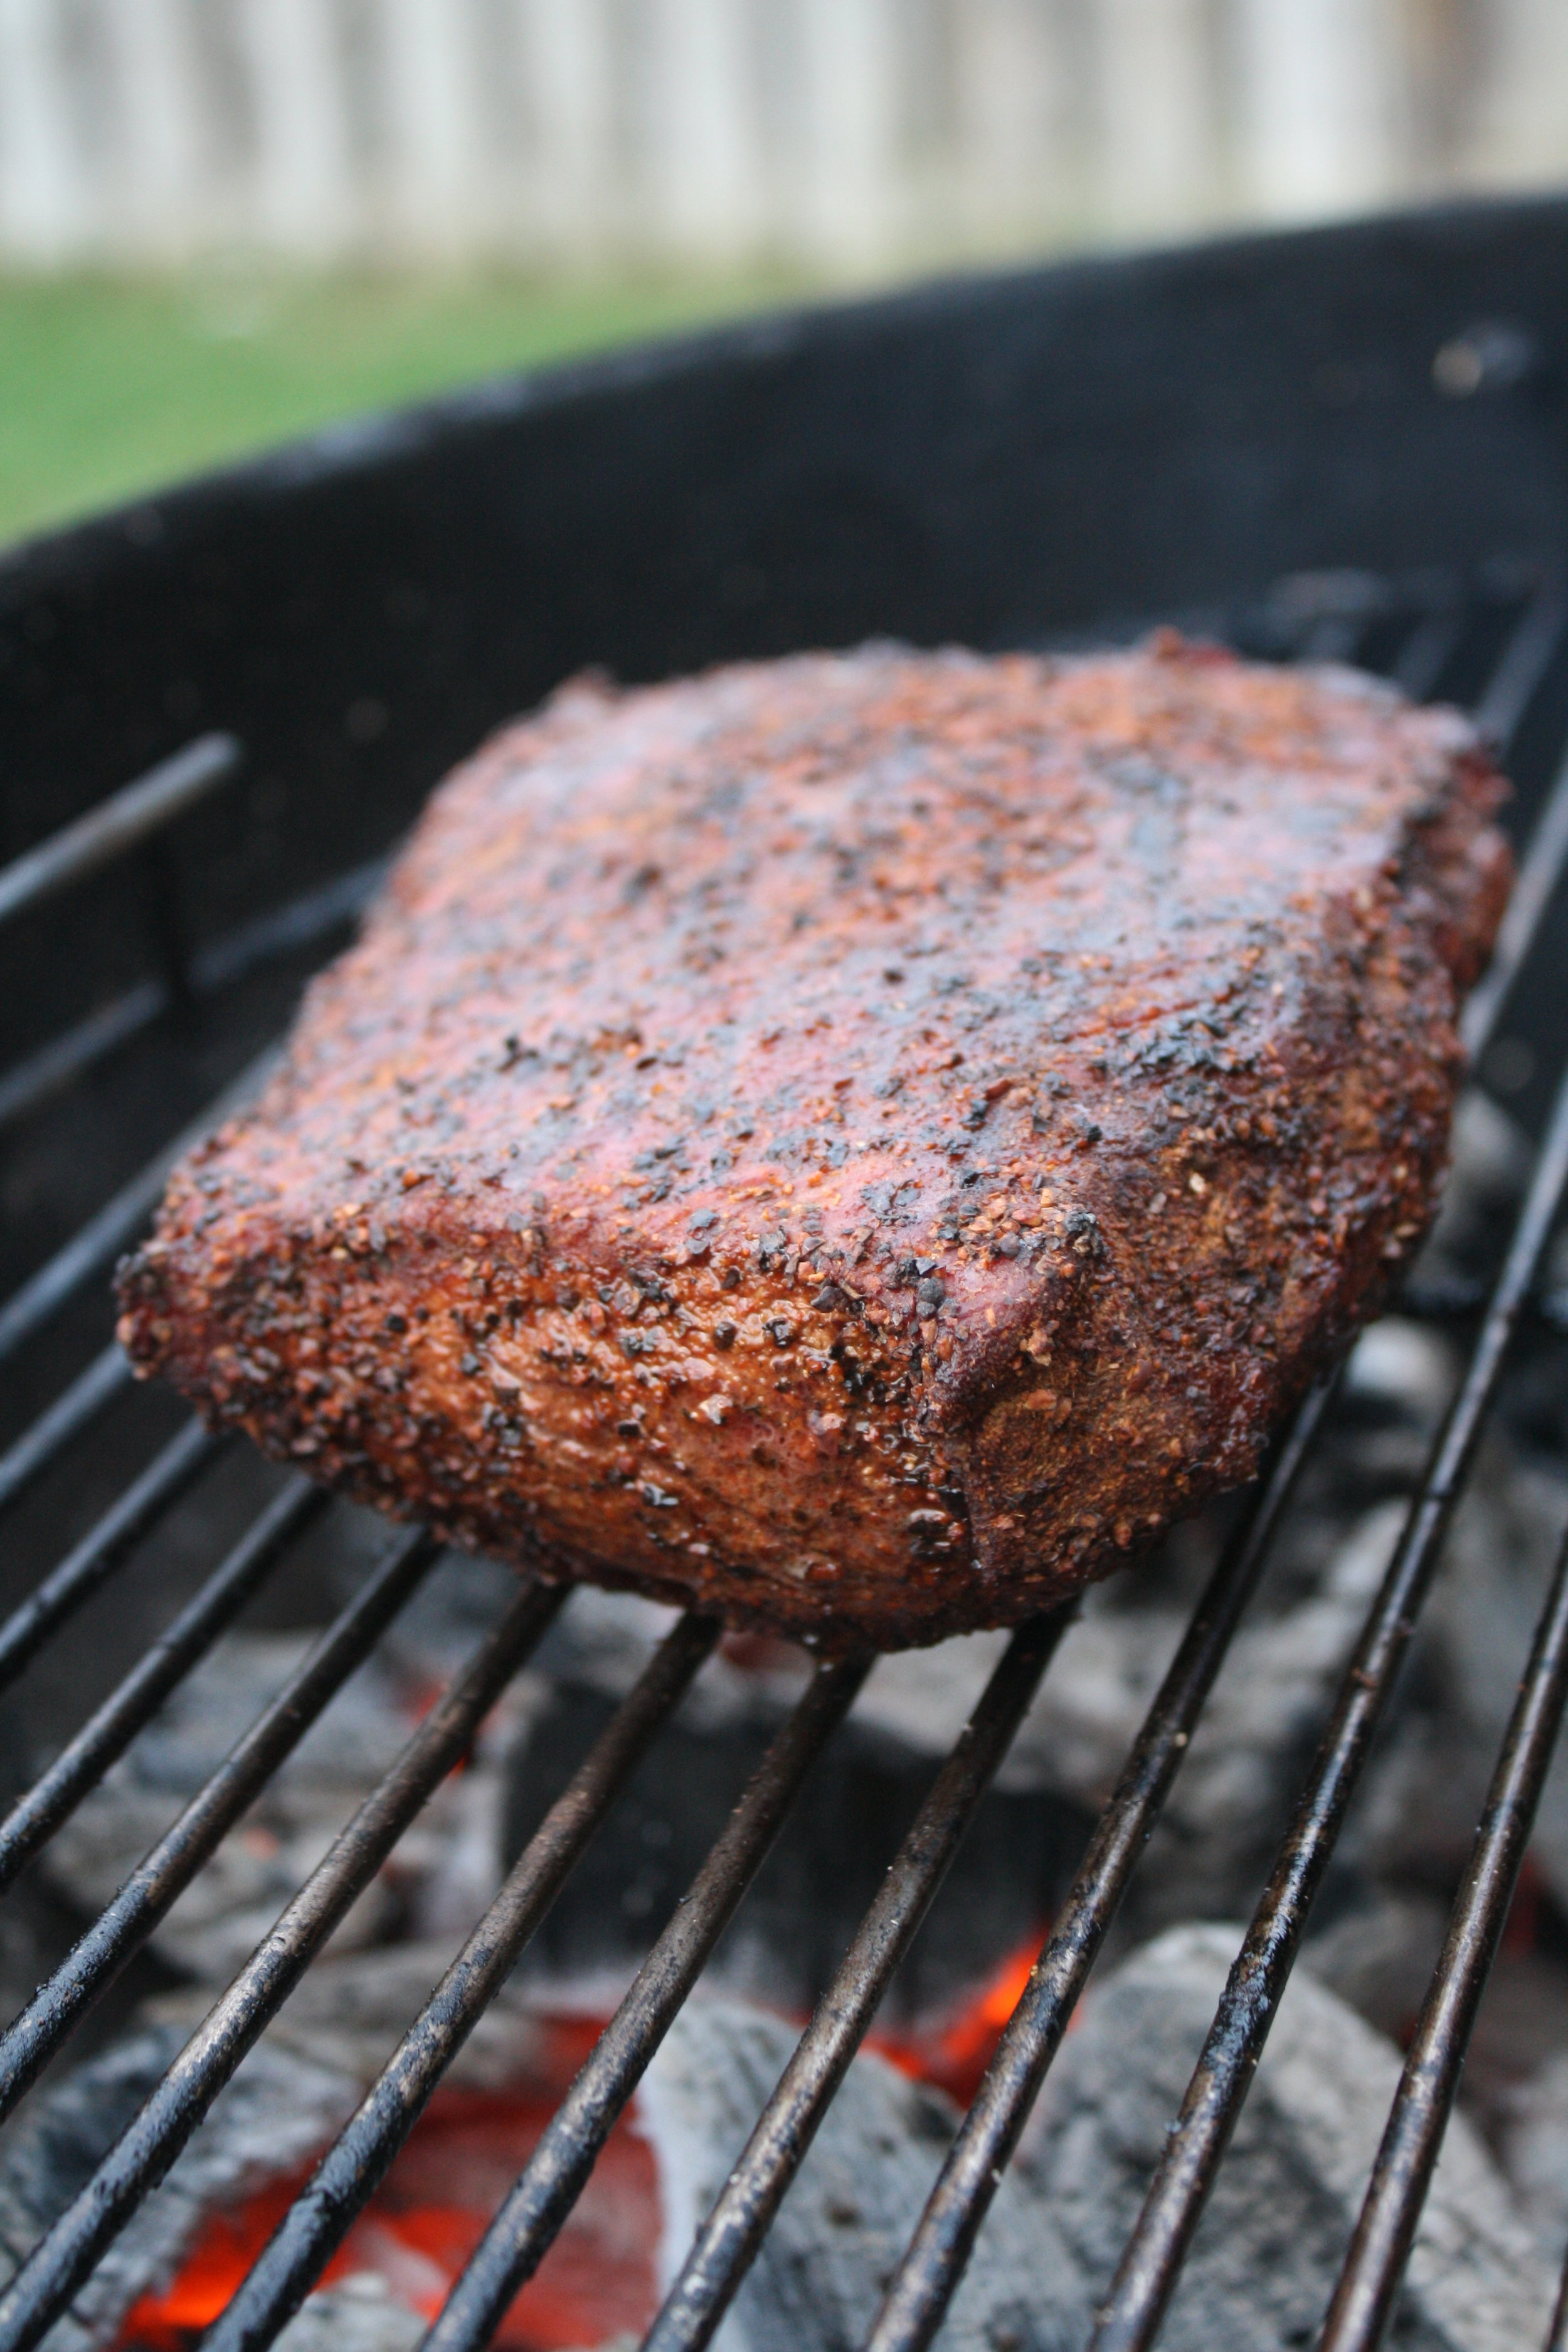
A short while later, the roast hit internal temp and was ready to be seared. I put it directly over the coals for a couple minutes on each side and the brought it inside to rest. I realized that I kinda missed the mark on how long my sides would need to cook, so I left the cast iron on the coals while the roast rested.
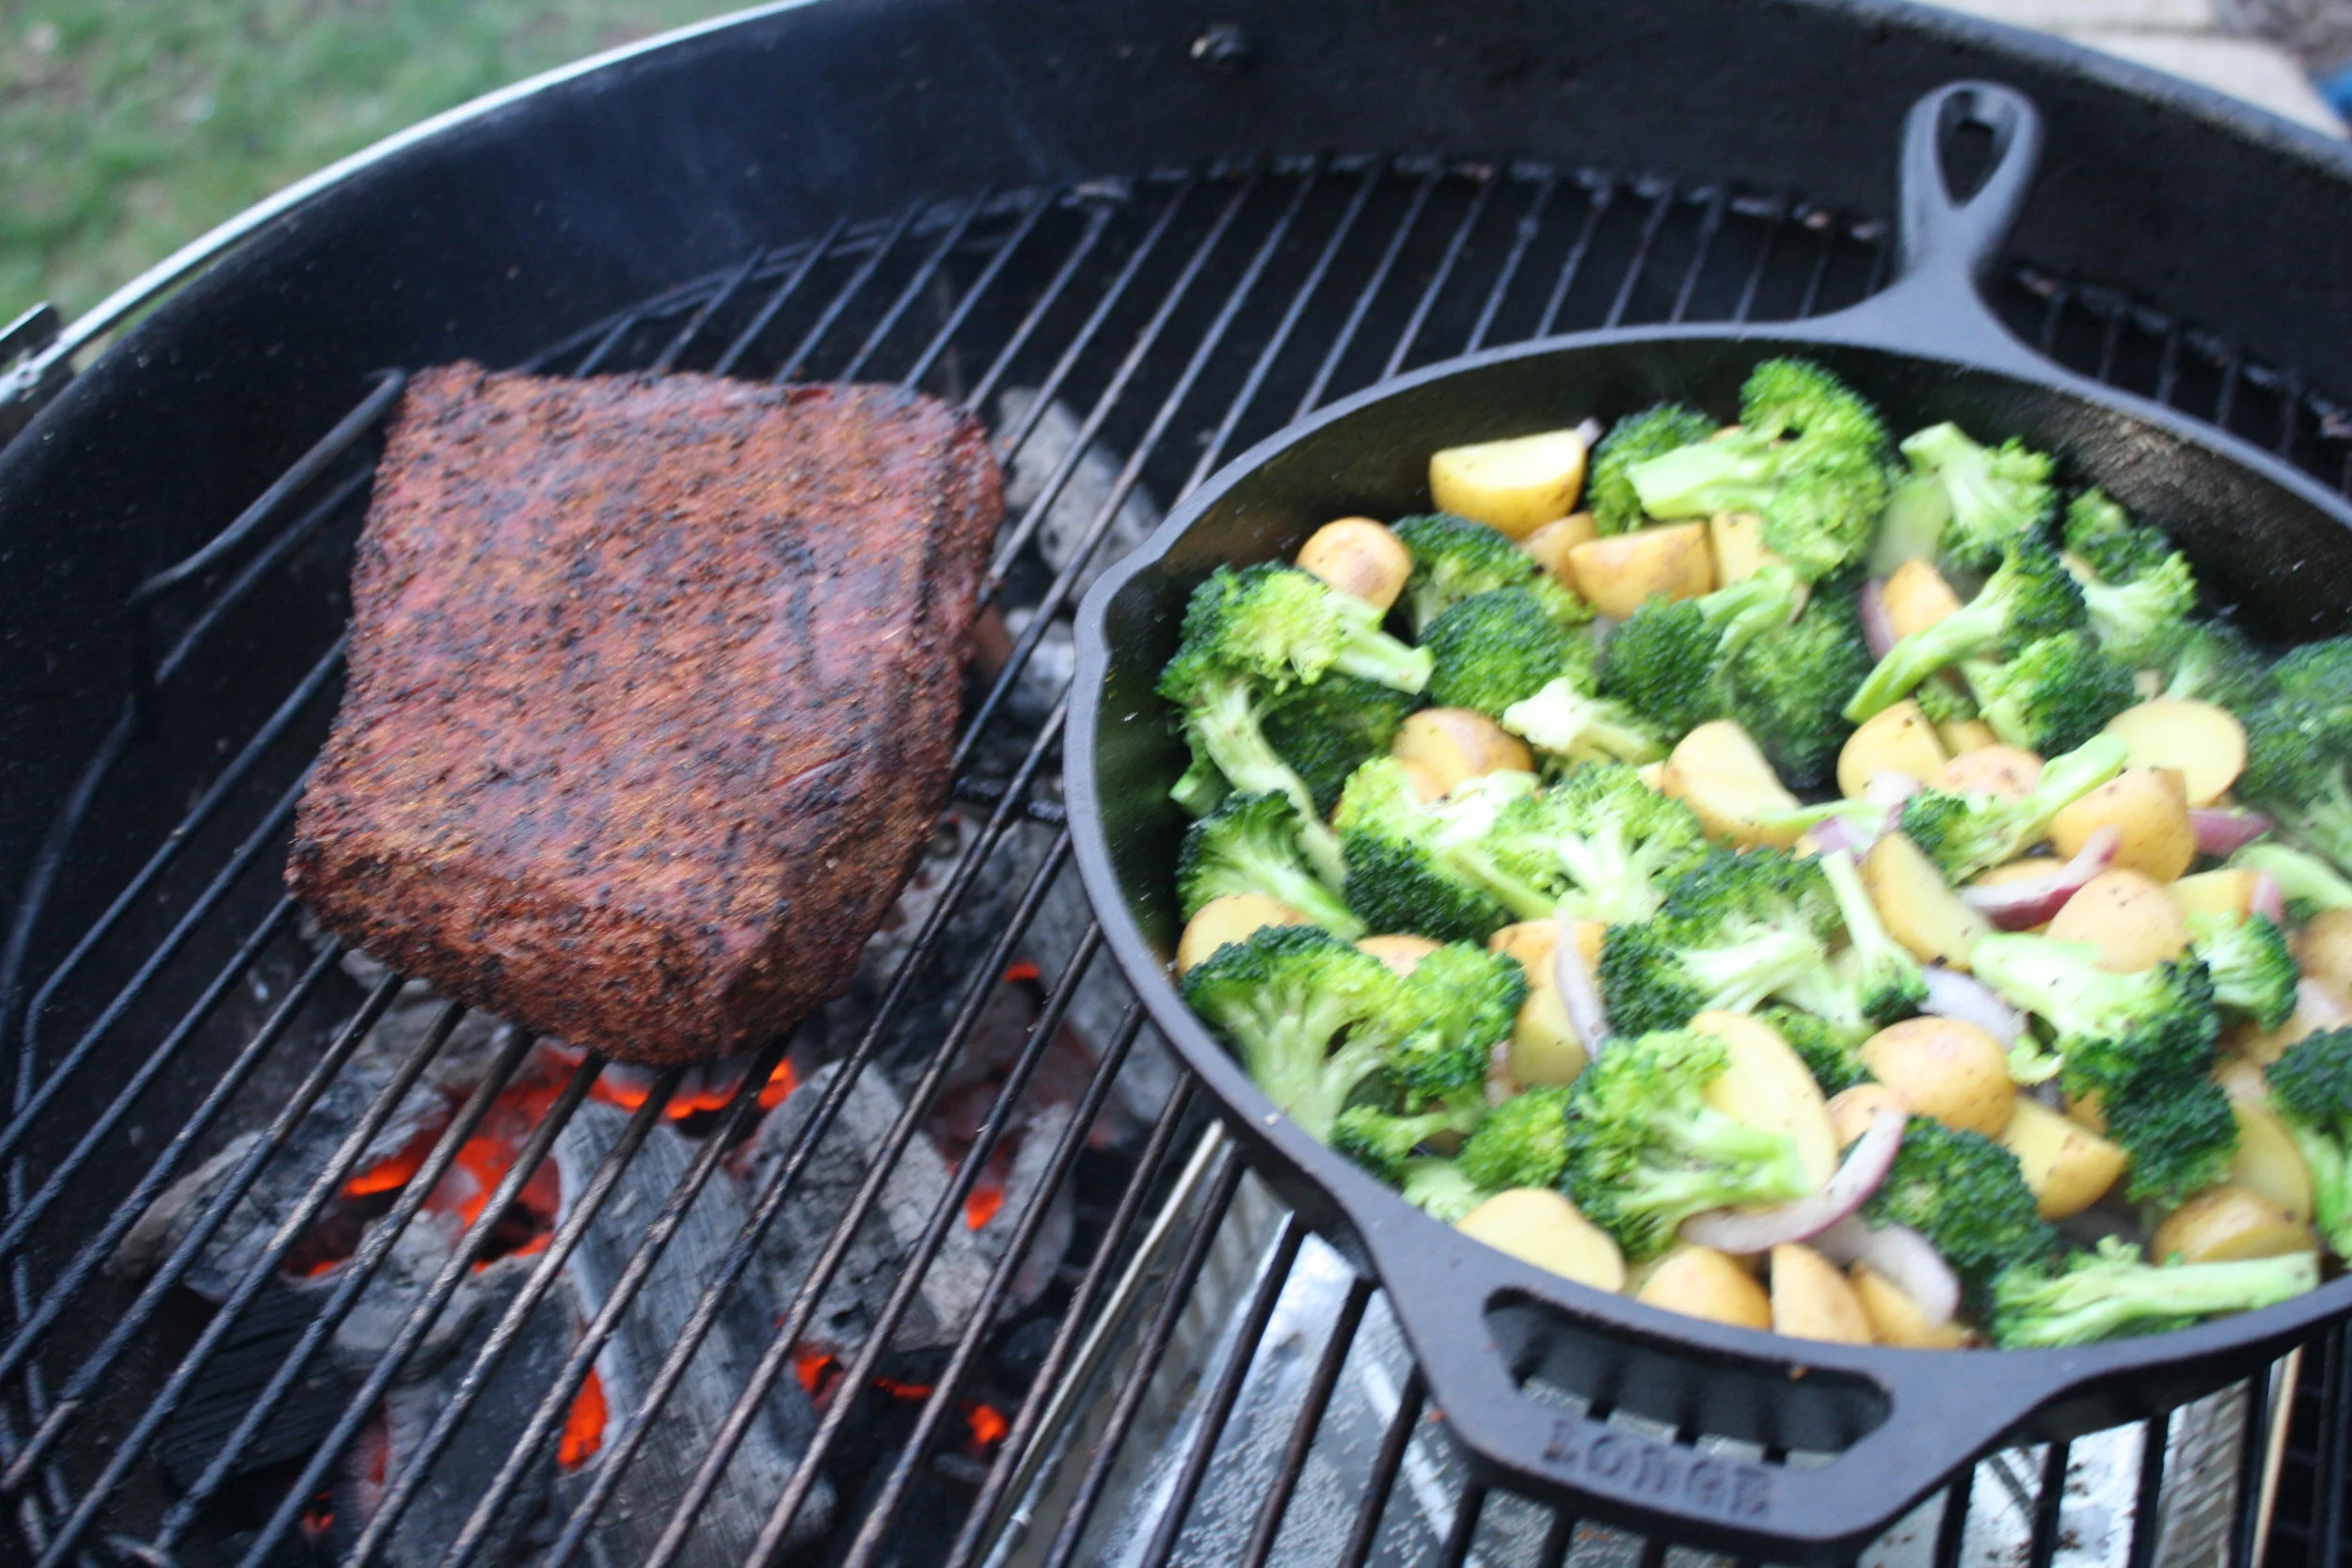
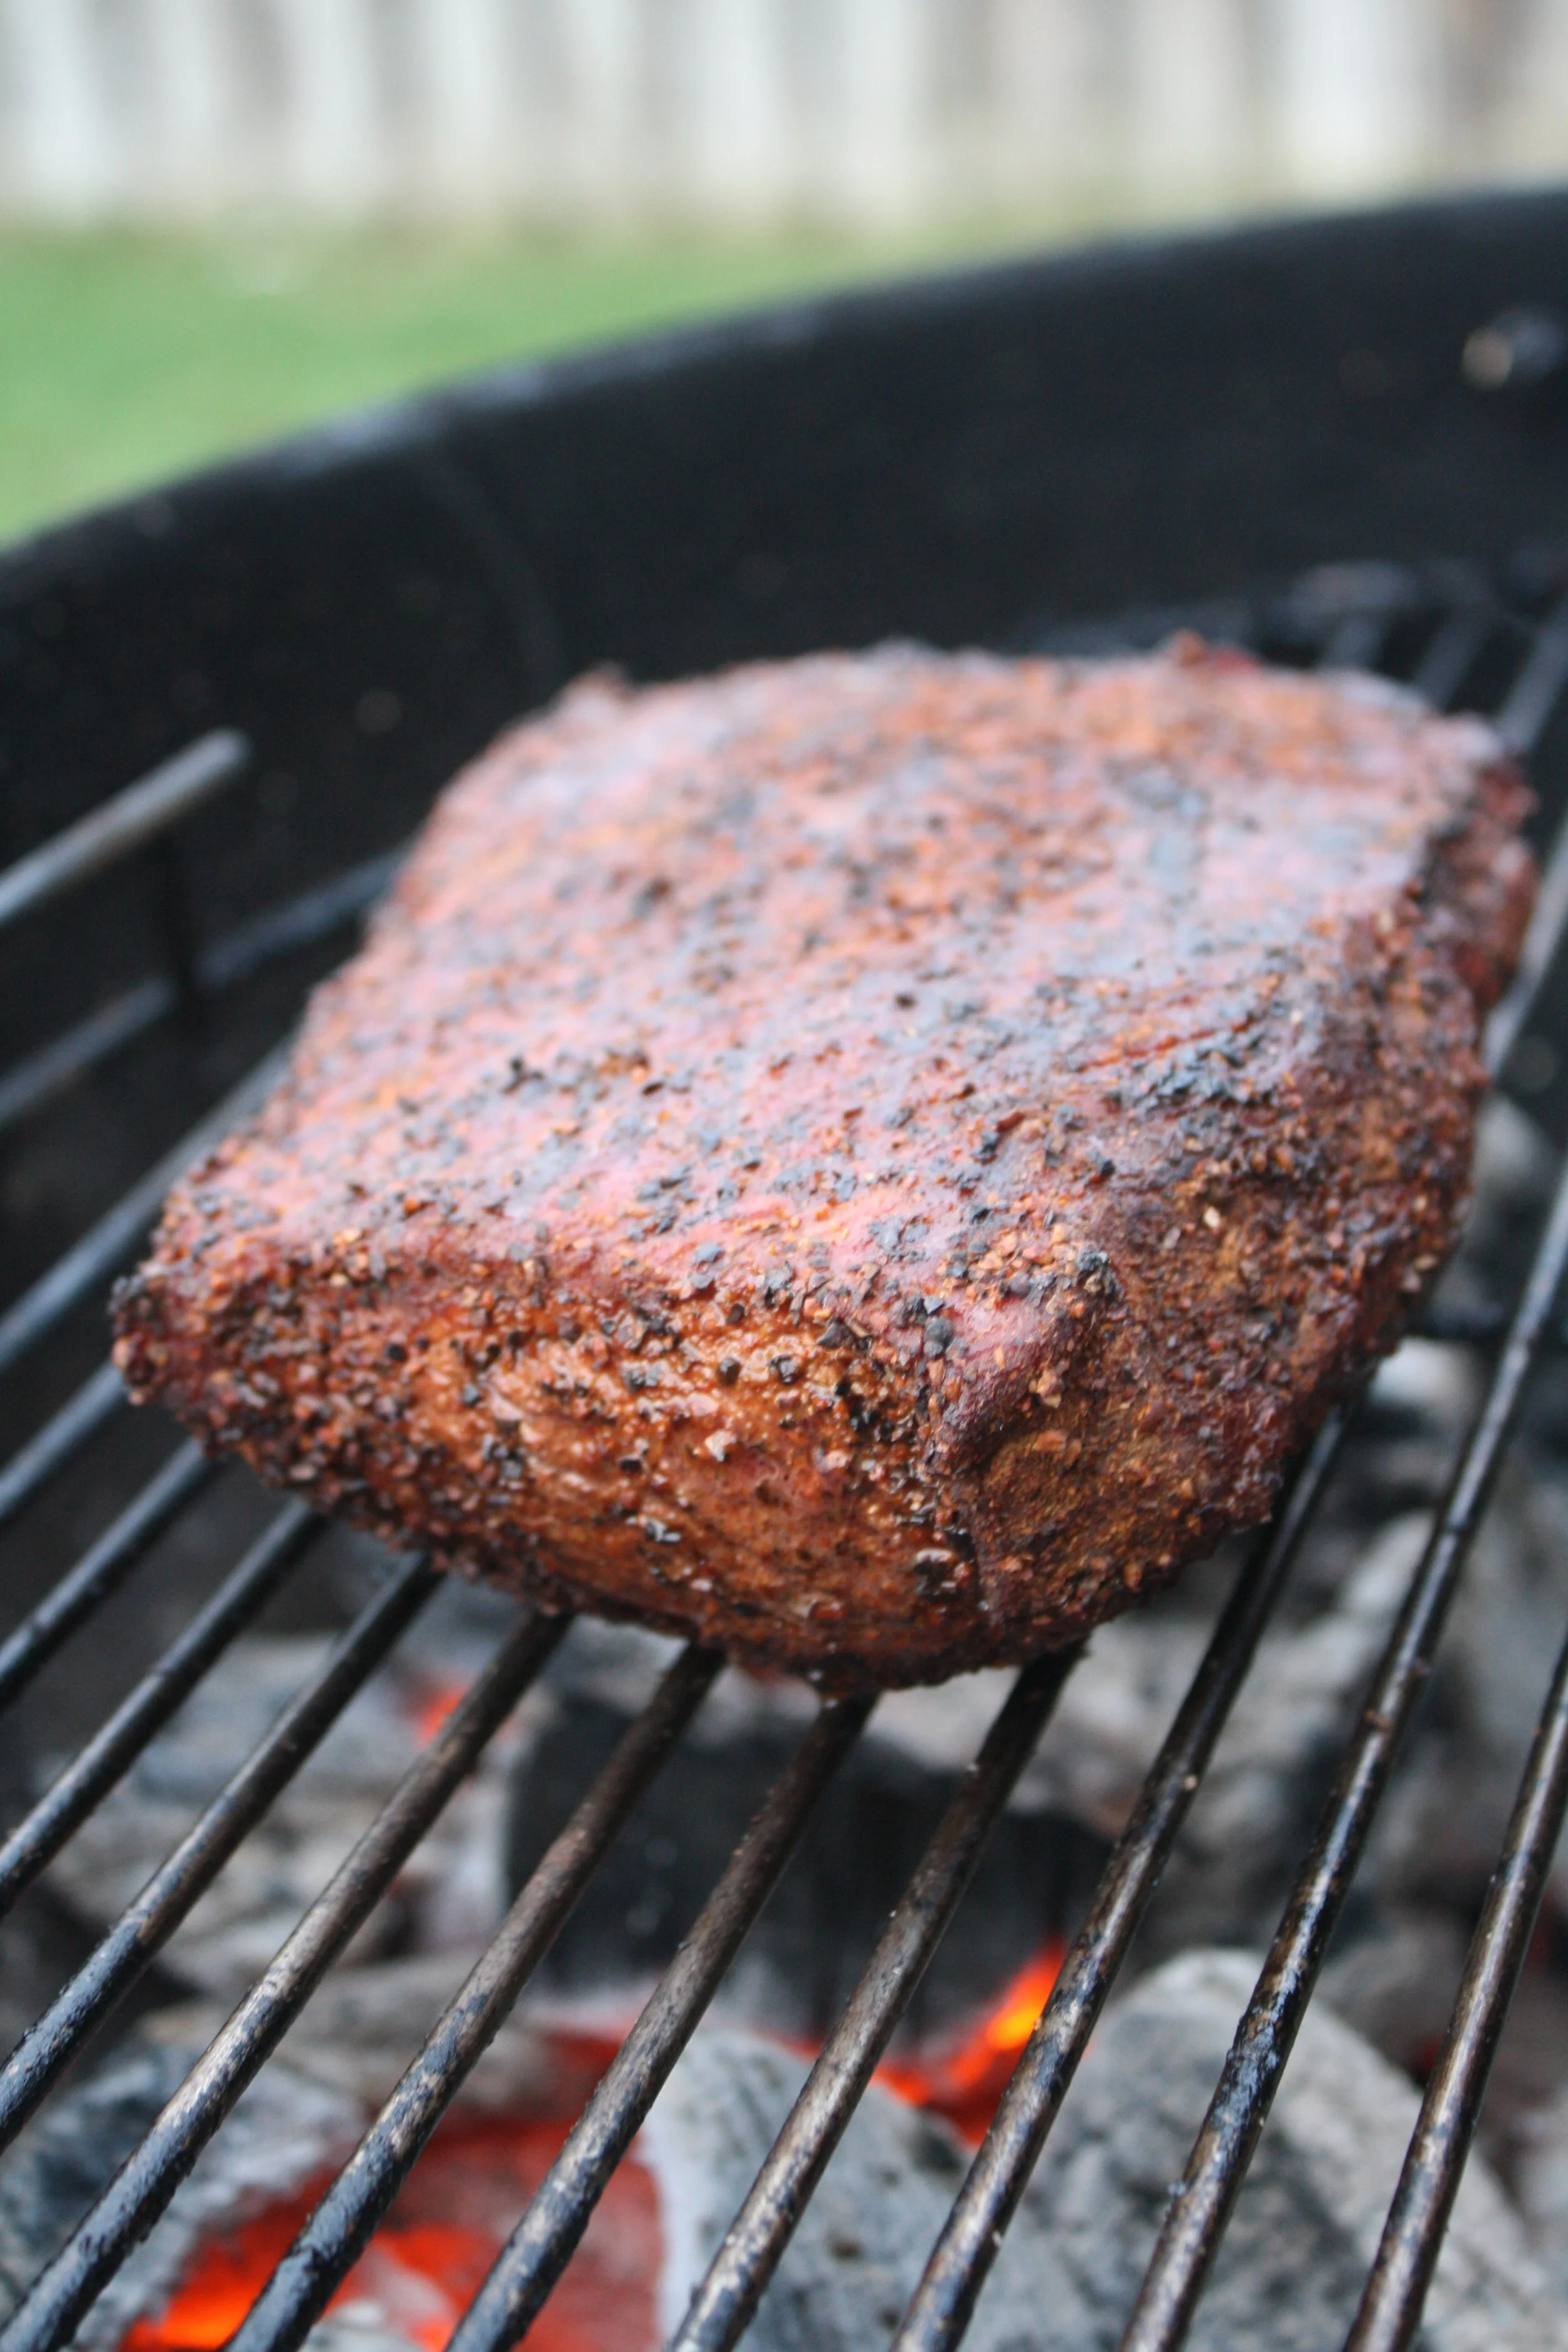
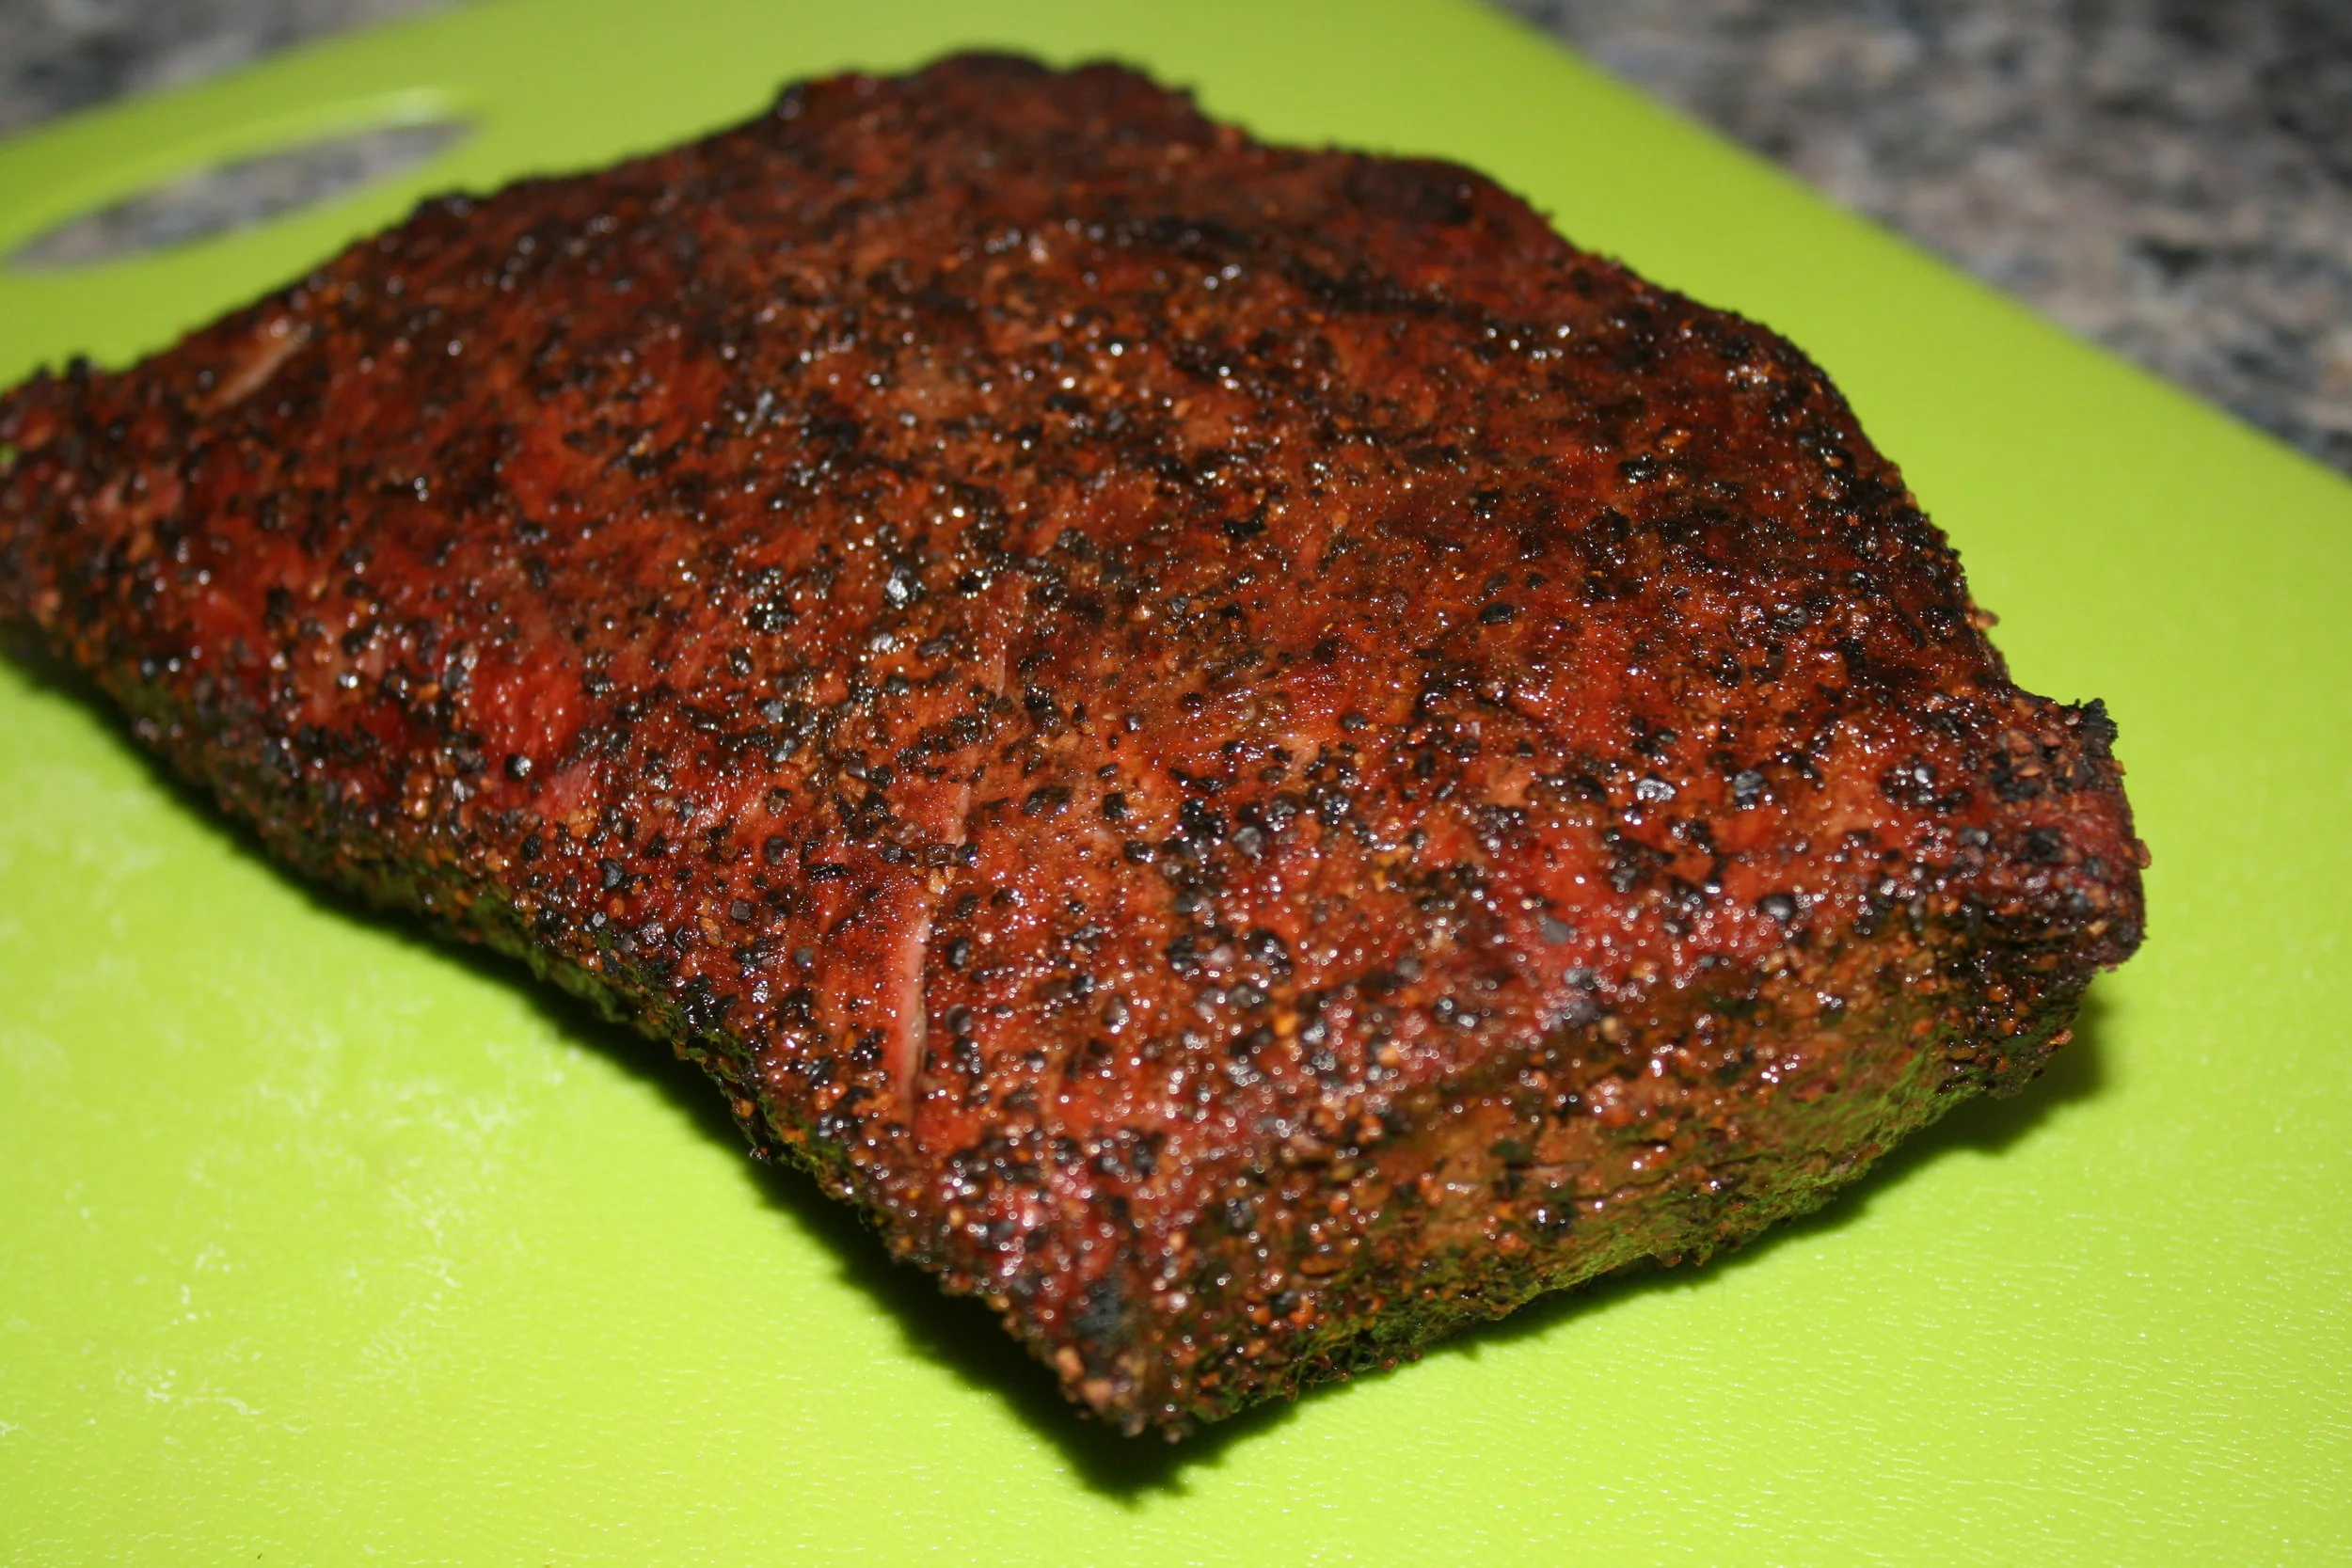
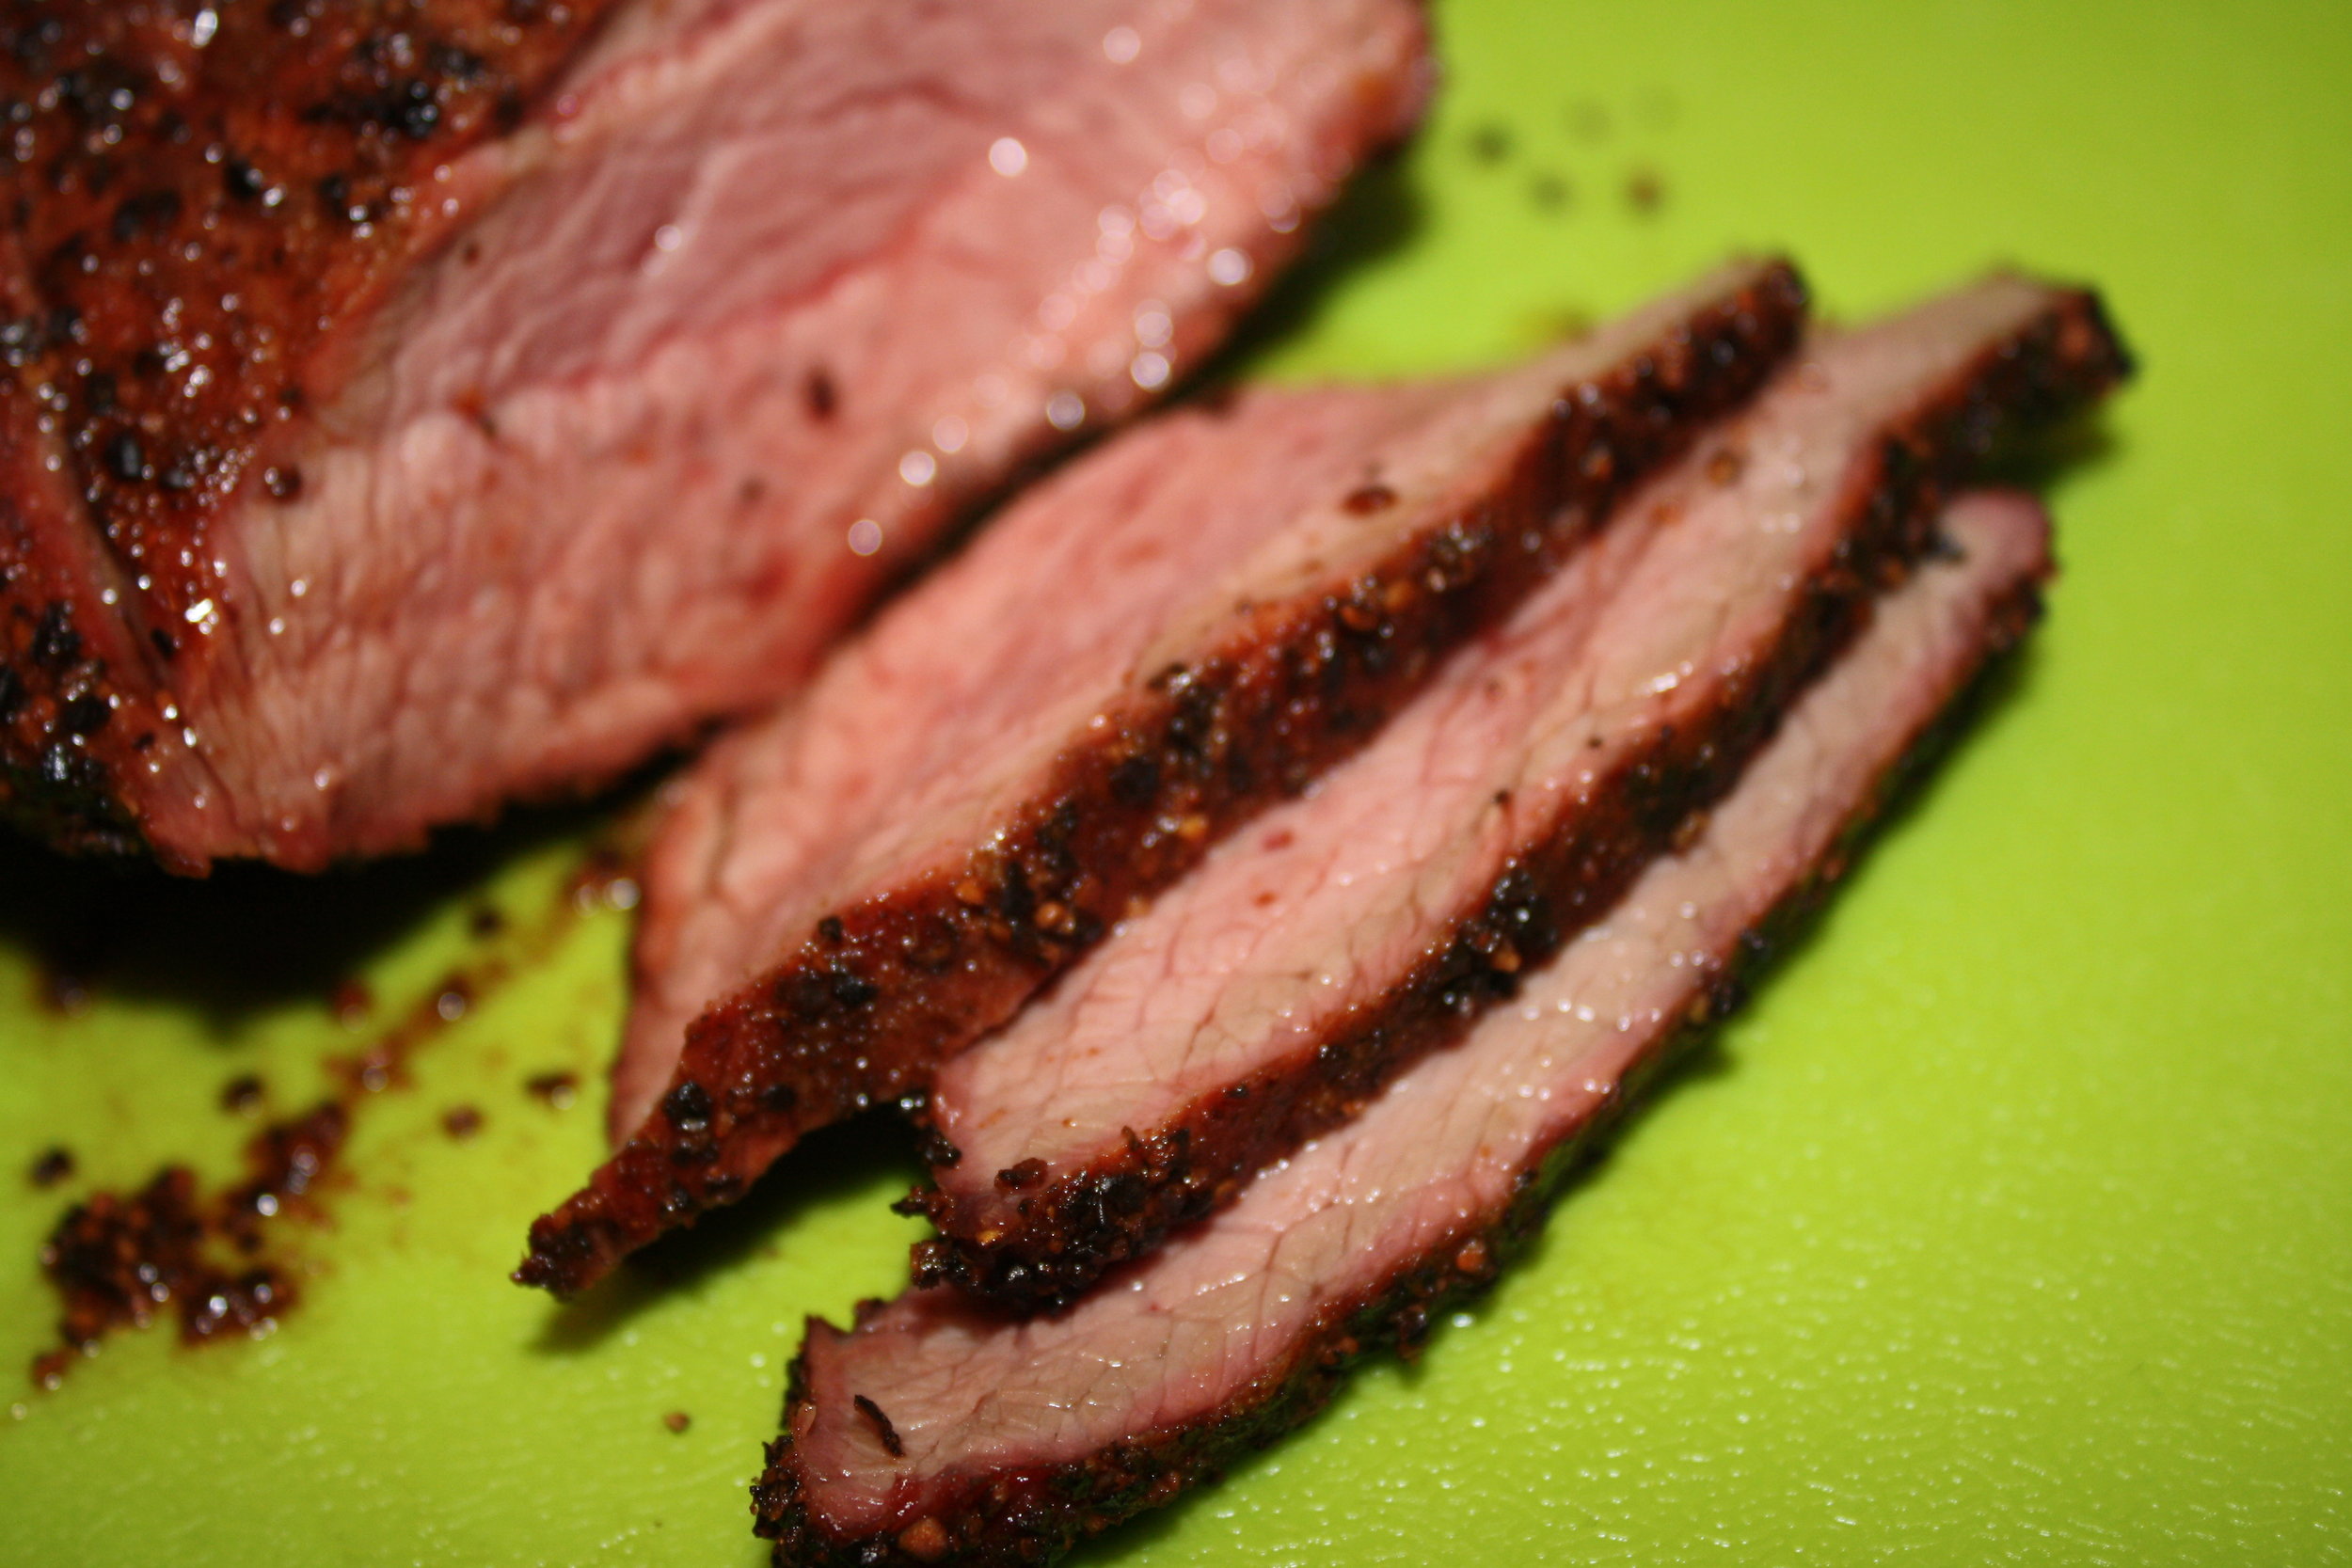
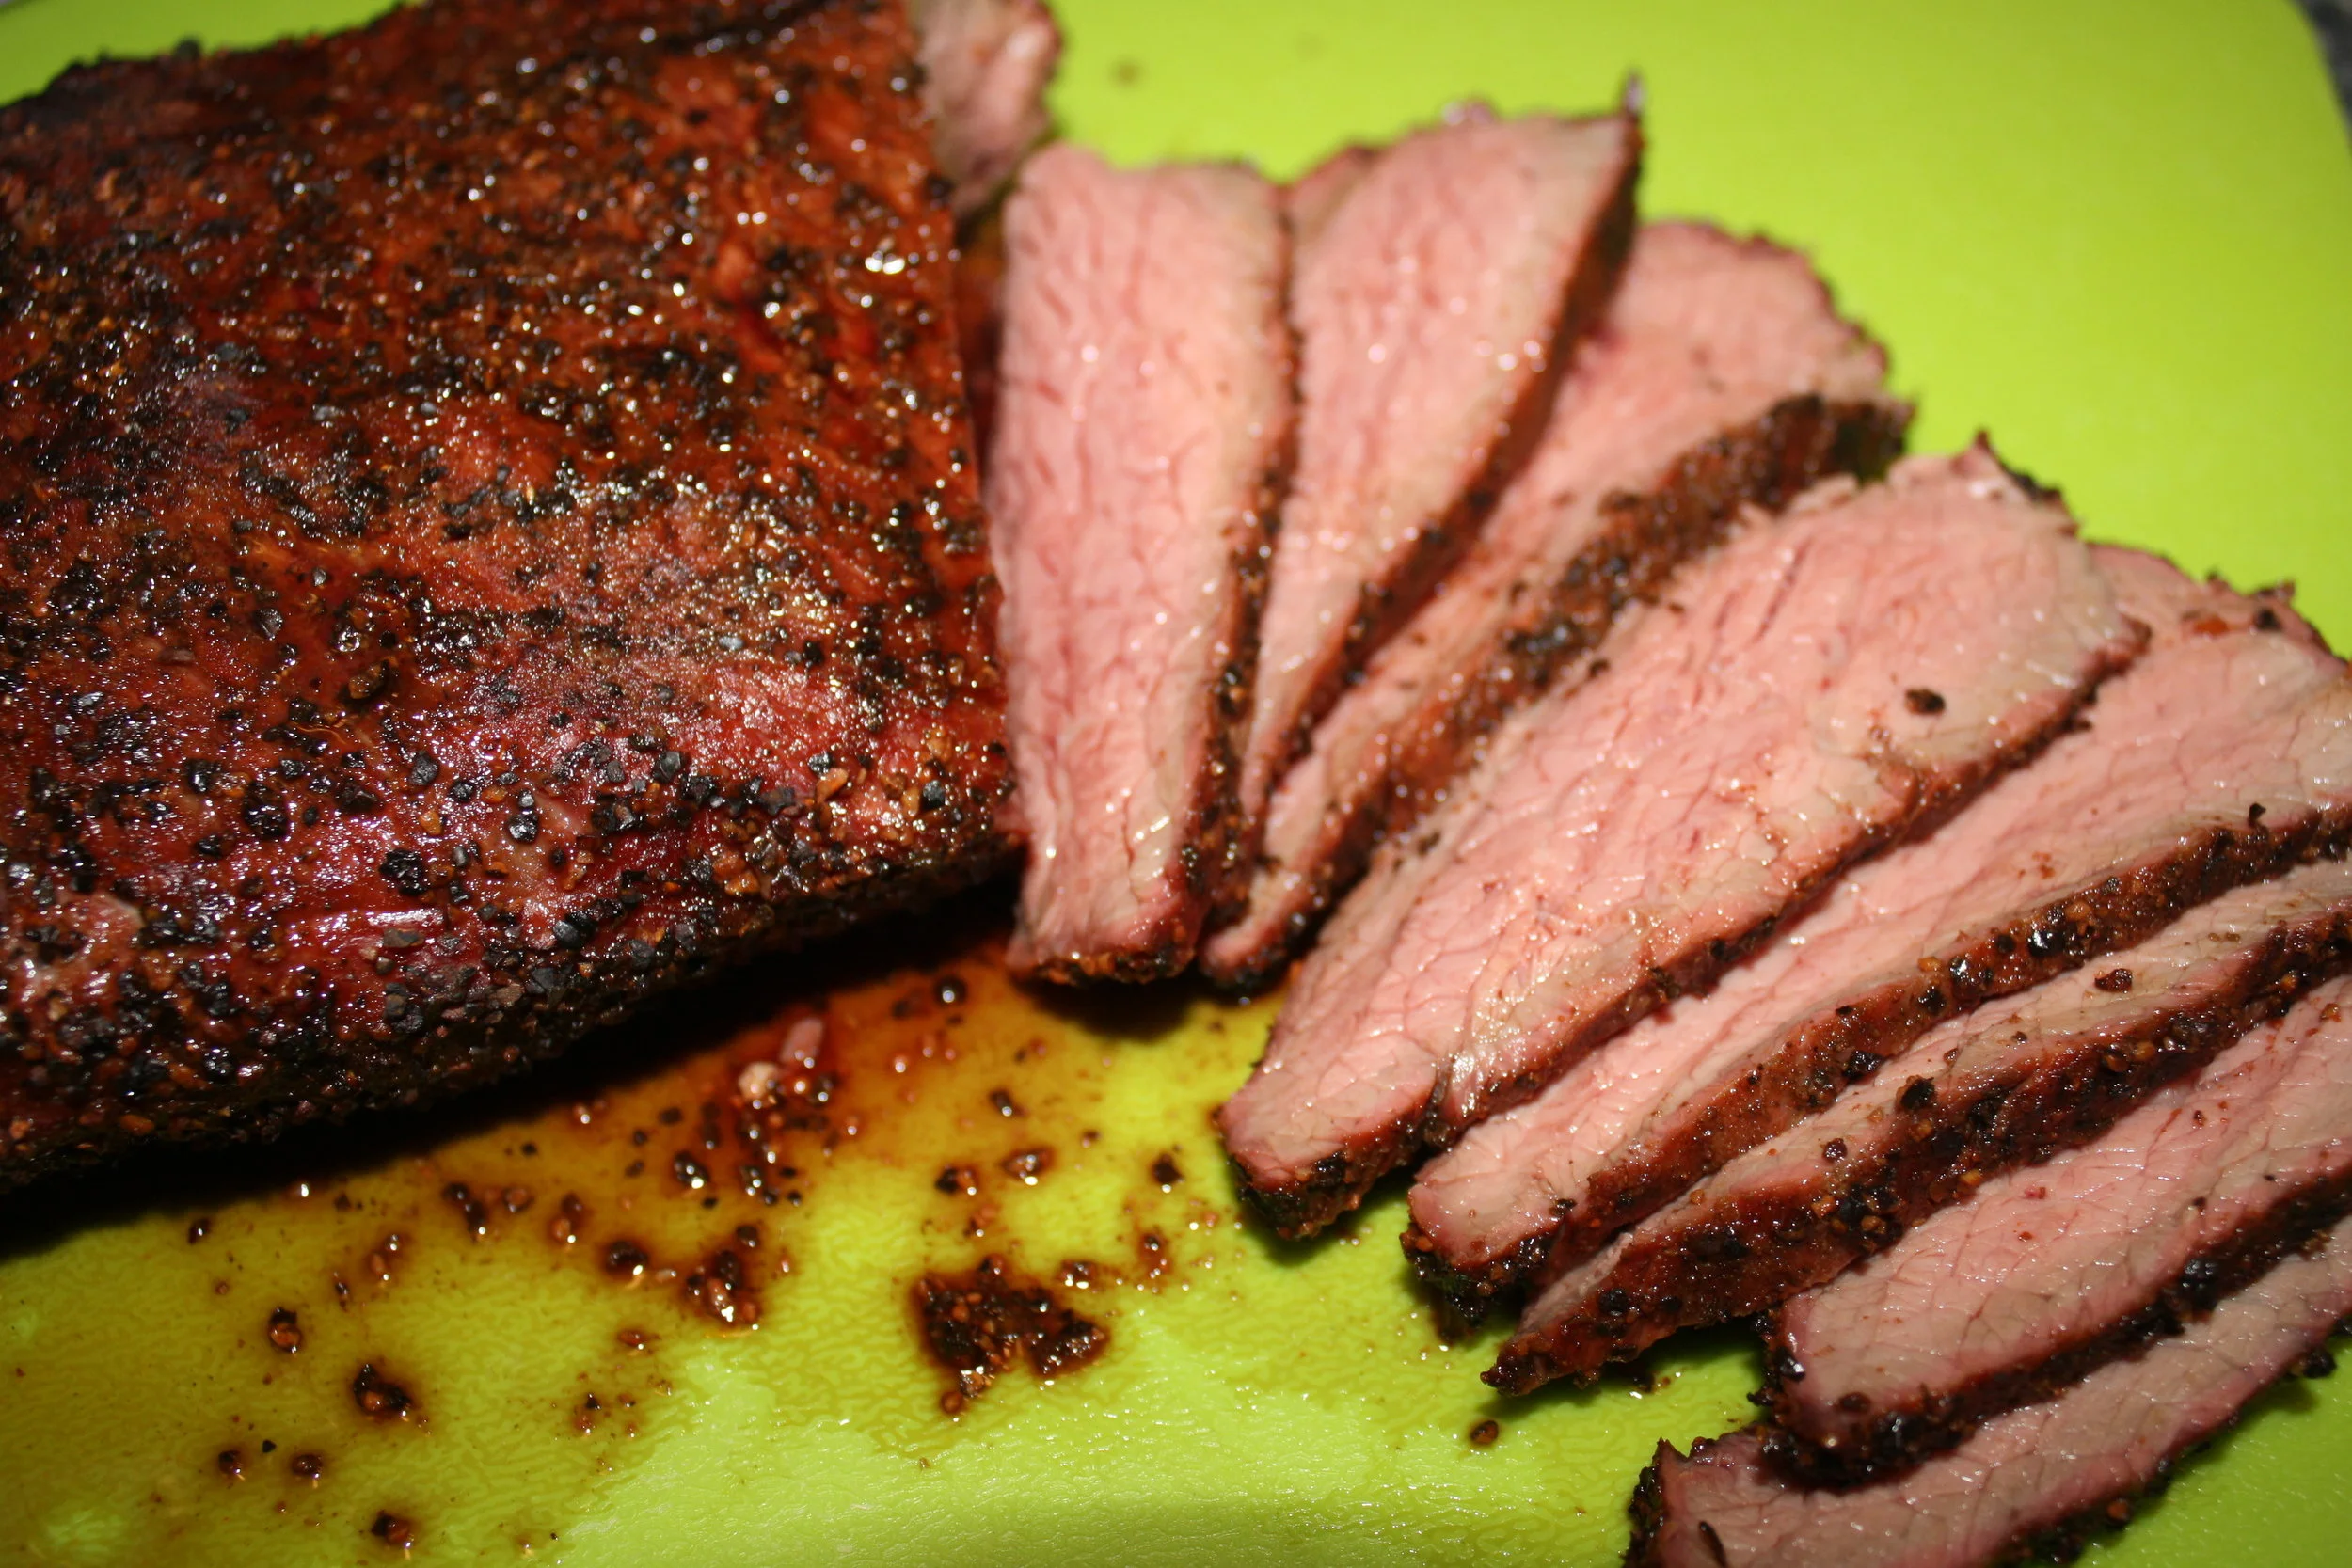
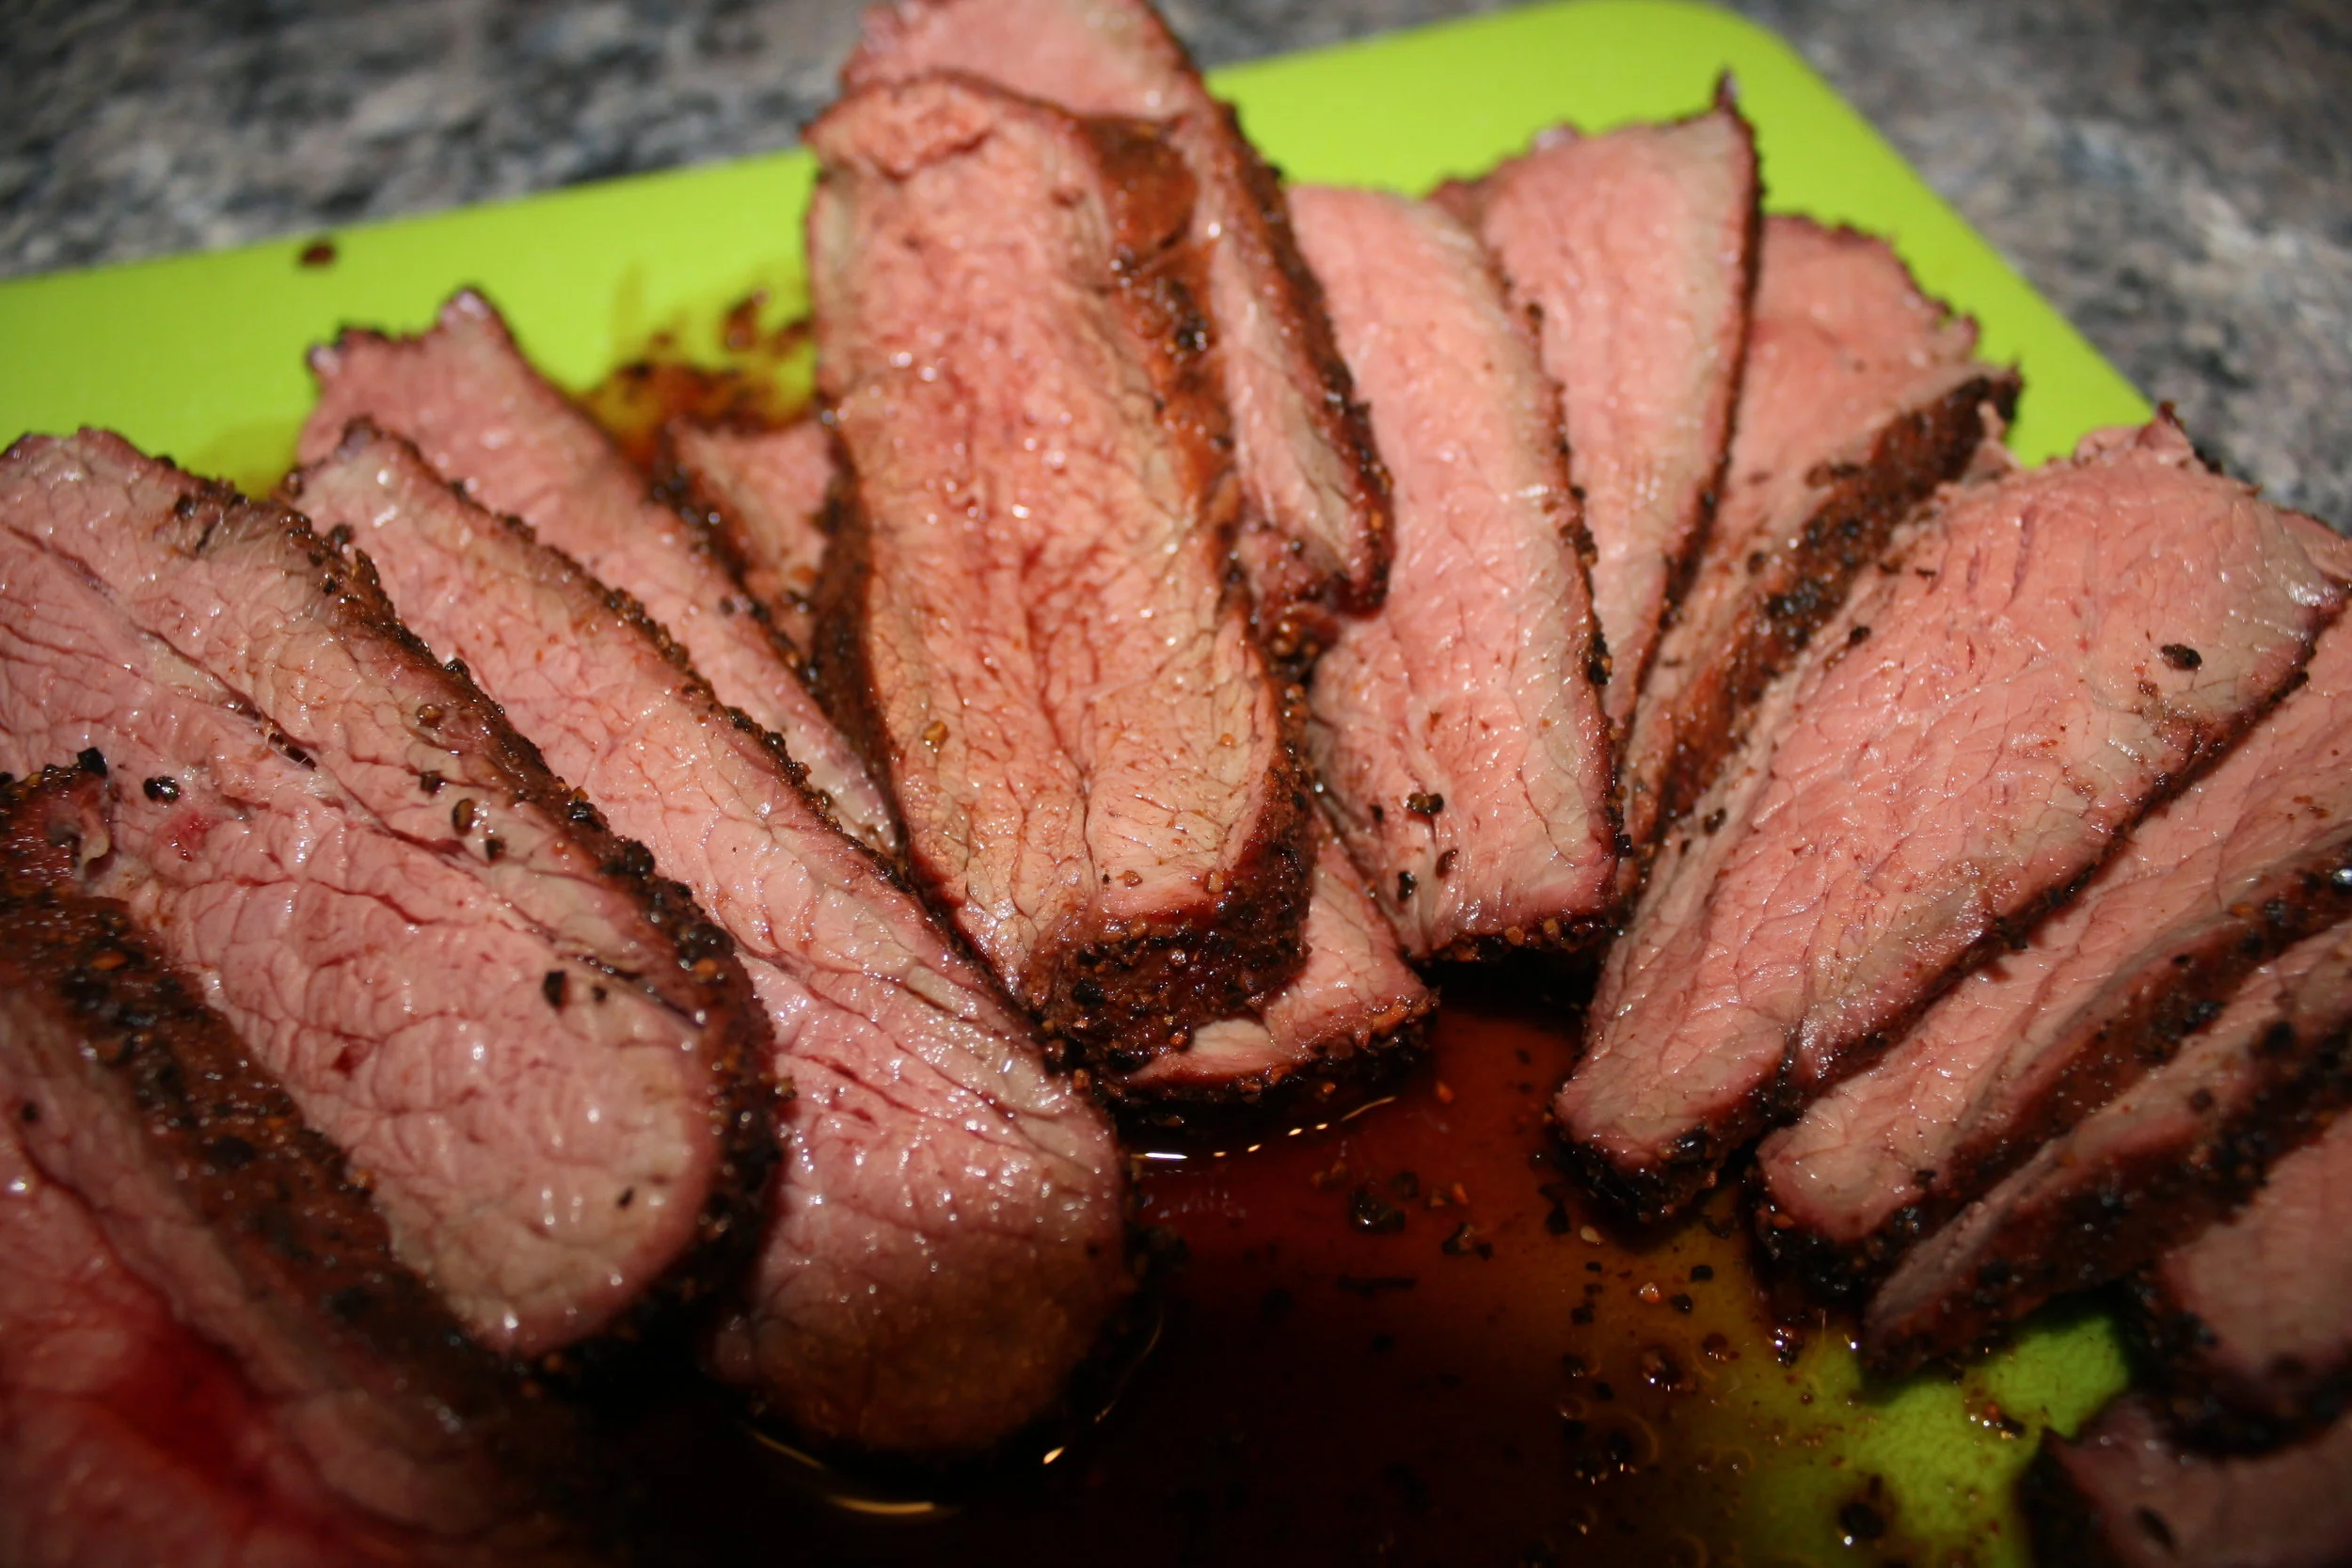
It was time to slice this up and see how I did. Unbelievably, as I made the first cut, it looked perfect. No, it looked as good as all those damn successful barbecuers on Instagram. I believe there was even a smoke ring!
After I finished slicing and got my skillet of sides it was time to eat. Without a doubt, this was the best-tasting cook ever. Somehow, the combination of the Historic BBQ rub and the cook itself created the most delightful meal I have ever had. It was a meal where hours later I would still me saying 'Damn, that was amazing!'.
So we learned a lot this week. We learned what a tri-tip is, to begin with. Beyond that though, I am learning to relax when I cook. With BBQ there is always that edge you need to be prepared for. That moment, like last week, when your slow cook turns into the blazing inferno of hell. But you can live on that edge and still take the time to enjoy the craft. There is far more satisfaction in a good cook when you have taken the time to just enjoy it.
The final lesson I learned this week is you don't have to drink while you cook as a requirement to enjoy the food. I am pretty sure that in my previous BBQ life, alcohol just really provided a way to overlook how bad my food was. But like I said, this week the process and the result were just wonderful experiences!
Until next post, remember kids.....CHUNKS not chips!
Directions
Prep:
Remove roast from refrigerator 30 minutes before cooking.
Season roast with Historic BBQ Black rub on all sides.
Set up cooker for 2-zone cooking.
Once the cooker is at 250 degrees, add two smaller chunks of apple wood to the charcoal.
Grill:
Place roast on the indirect side of the cooker.
Let cook maintaining a cooker temperature of 250 degrees.
Once the roast's internal temperature is within 5 degrees of the desired doneness, move roast directly over the charcoal to sear.
Sear each side of the roast for approx. 3 minutes.
Remove roast from cooker and let rest for 10 minutes.