

Slow ‘N Sear Review Part 1 – First Thoughts
By: Jeff Hillyard
This is Part 1 of my Slow ‘N Sear Review. In this review I’m going to give a run-down of what the Slow ‘N Sear (SNS) is, how it works, and my initial thoughts of the product. In Part’s 2 & 3 I’m going to review how the SNS works for performing the reverse sear, and for a long (10+ hour) cook.
I’ve been using my Weber kettle quite happily for the last 5 years or so. I thought I had mastered my kettle, and I am proud of the food I produced on it. It has become my go-to grill and with some good old fashioned trial and error, I have been able to use it for everything from quickly cooking up steaks, chops, and burgers to longer, low and slow cooks like ribs, brisket, and pulled pork.
Needless to say, when I first heard of the (Link: https://abcbarbecue.com/product/slow-n-sear/) Slow ‘N Sear (SNS) a couple of years ago I was suspicious. At first I was certain that it must be some kind of a gimmick, but after three years of seeing it increasingly pop up in my Instagram feed, and after hearing (Link: http://amazingribs.com/tips_and_technique/slow_n_sear.html) Meathead at AmazingRibs.com loudly sing its praises, I decided I had to check it out for myself.
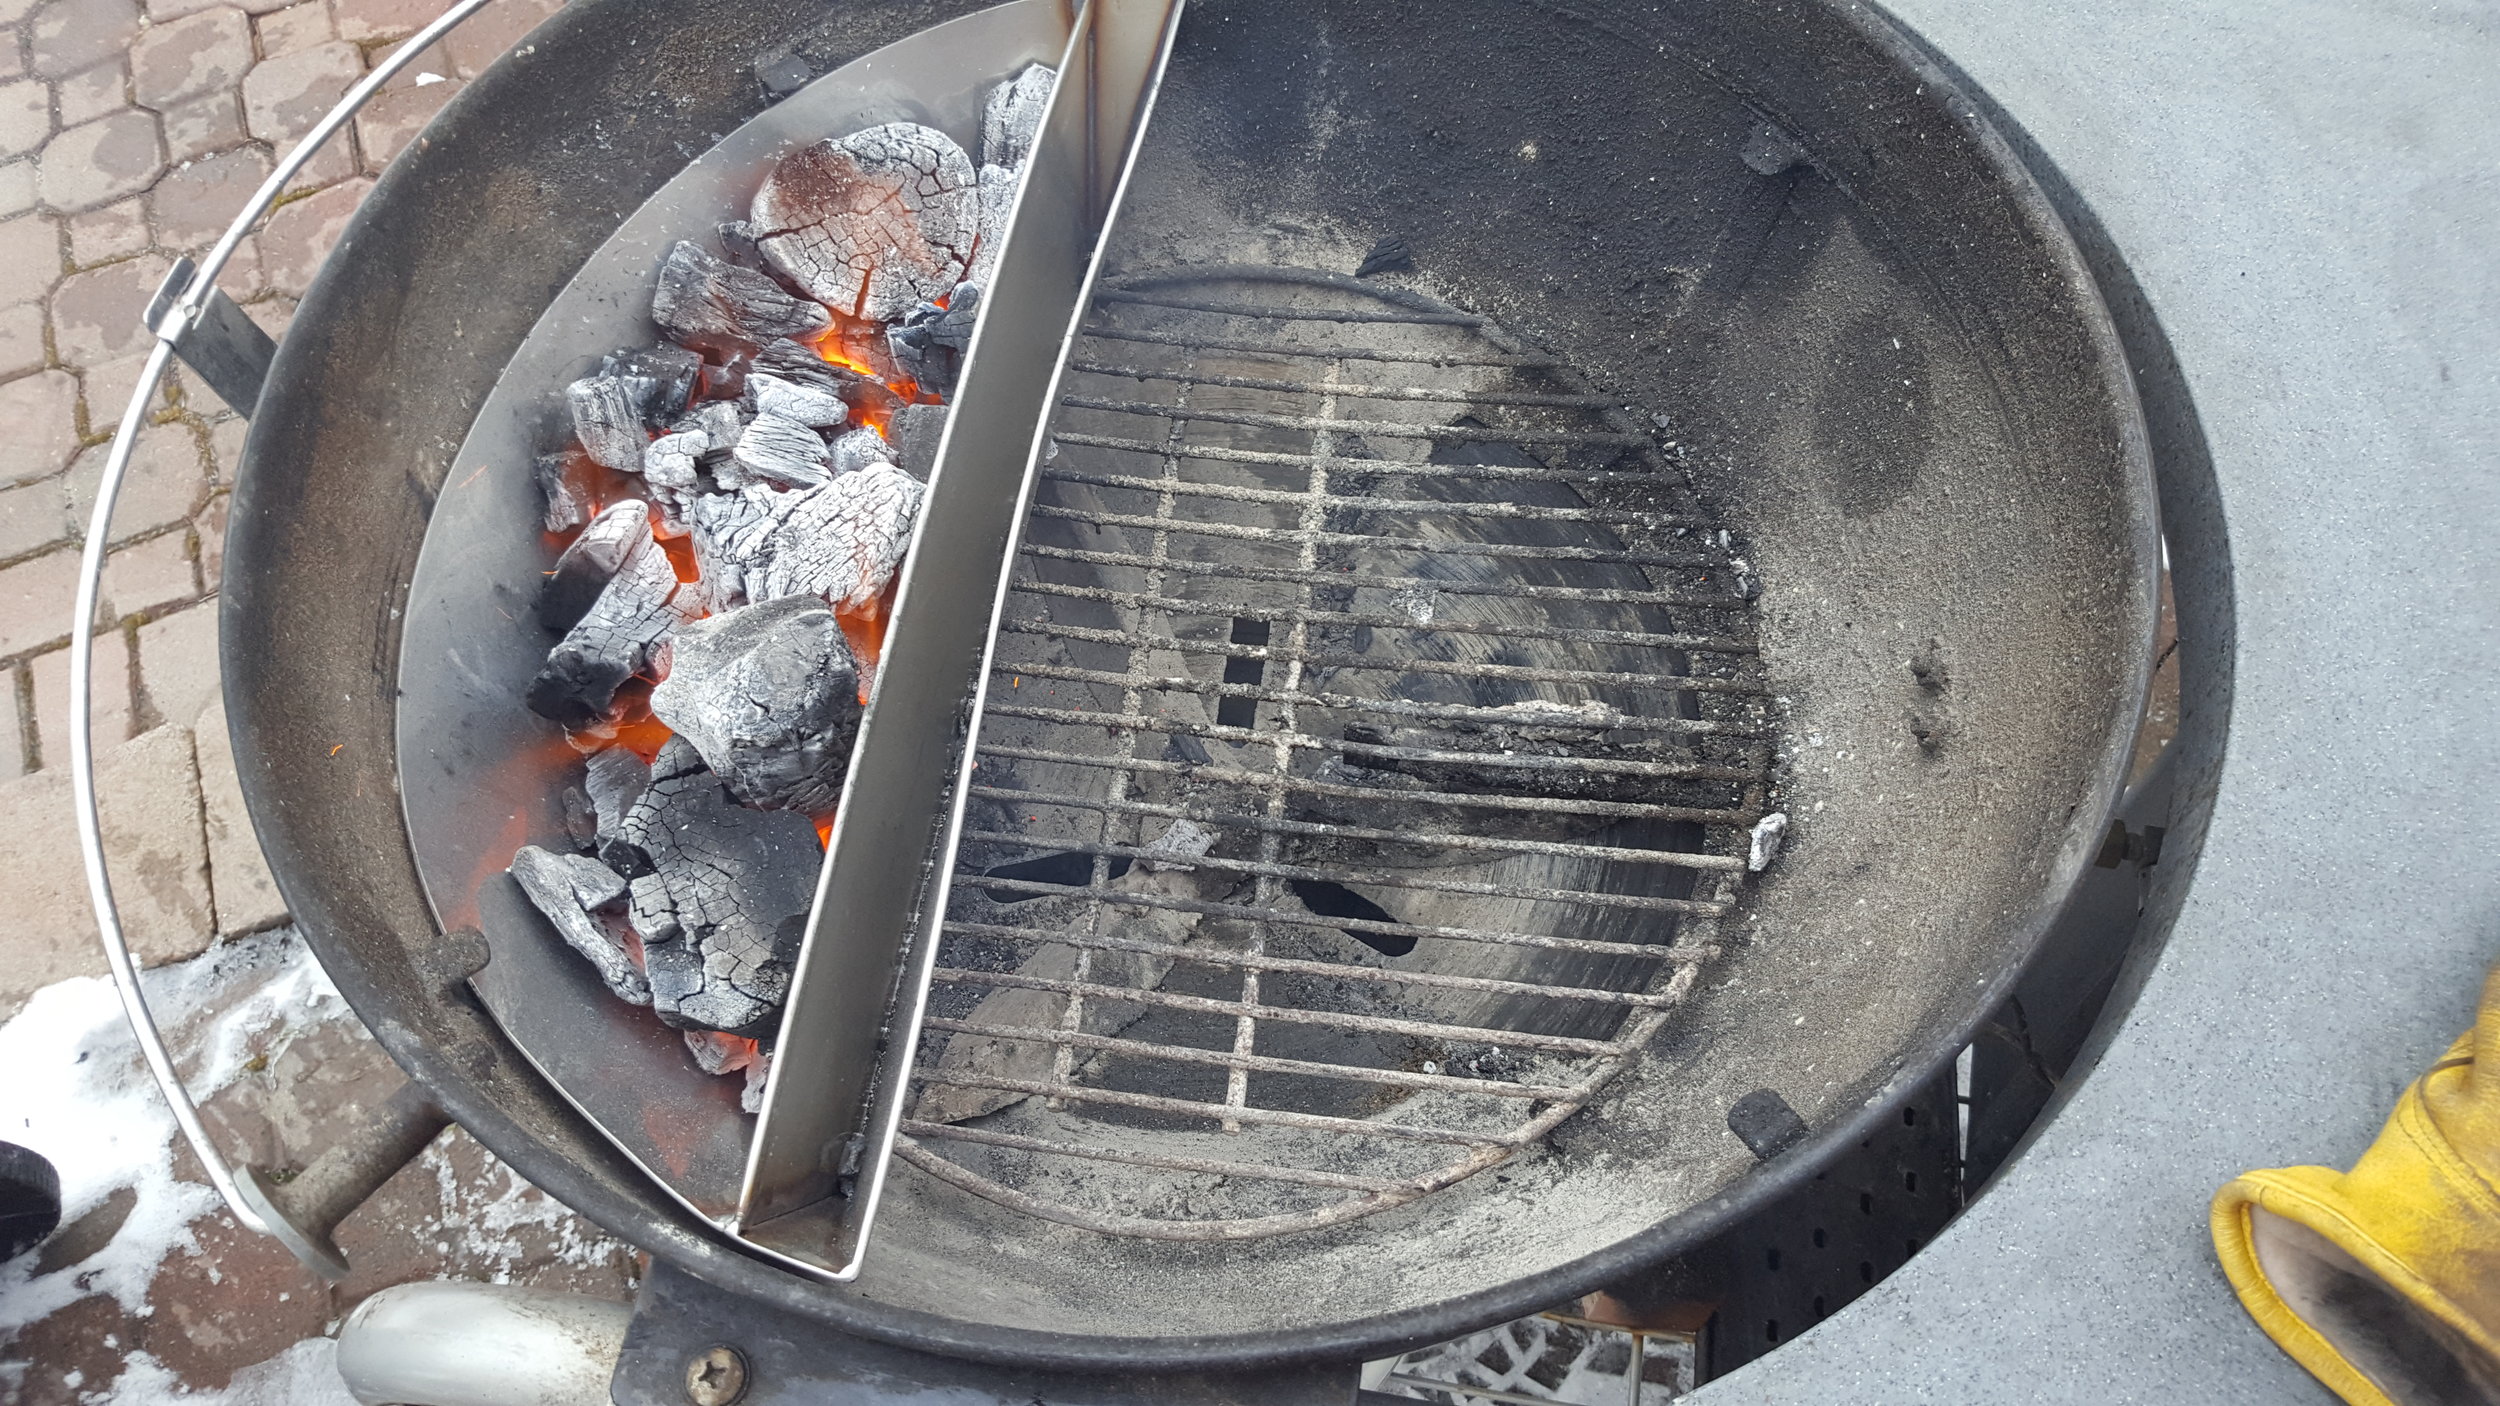
The design and construction of the SNS is remarkably simple, but incredibly well built. Constructed from 5 lbs. of 16 gauge 304 stainless steel, and hand made in the USA the SNS easily sits to one side of your Weber kettle, creating a two-zone indirect cooking area. The SNS holds approx. 80 briquettes of charcoal, and can be used to create a blistering hot coal bed close to the cooking grates to sear steaks and other meats.
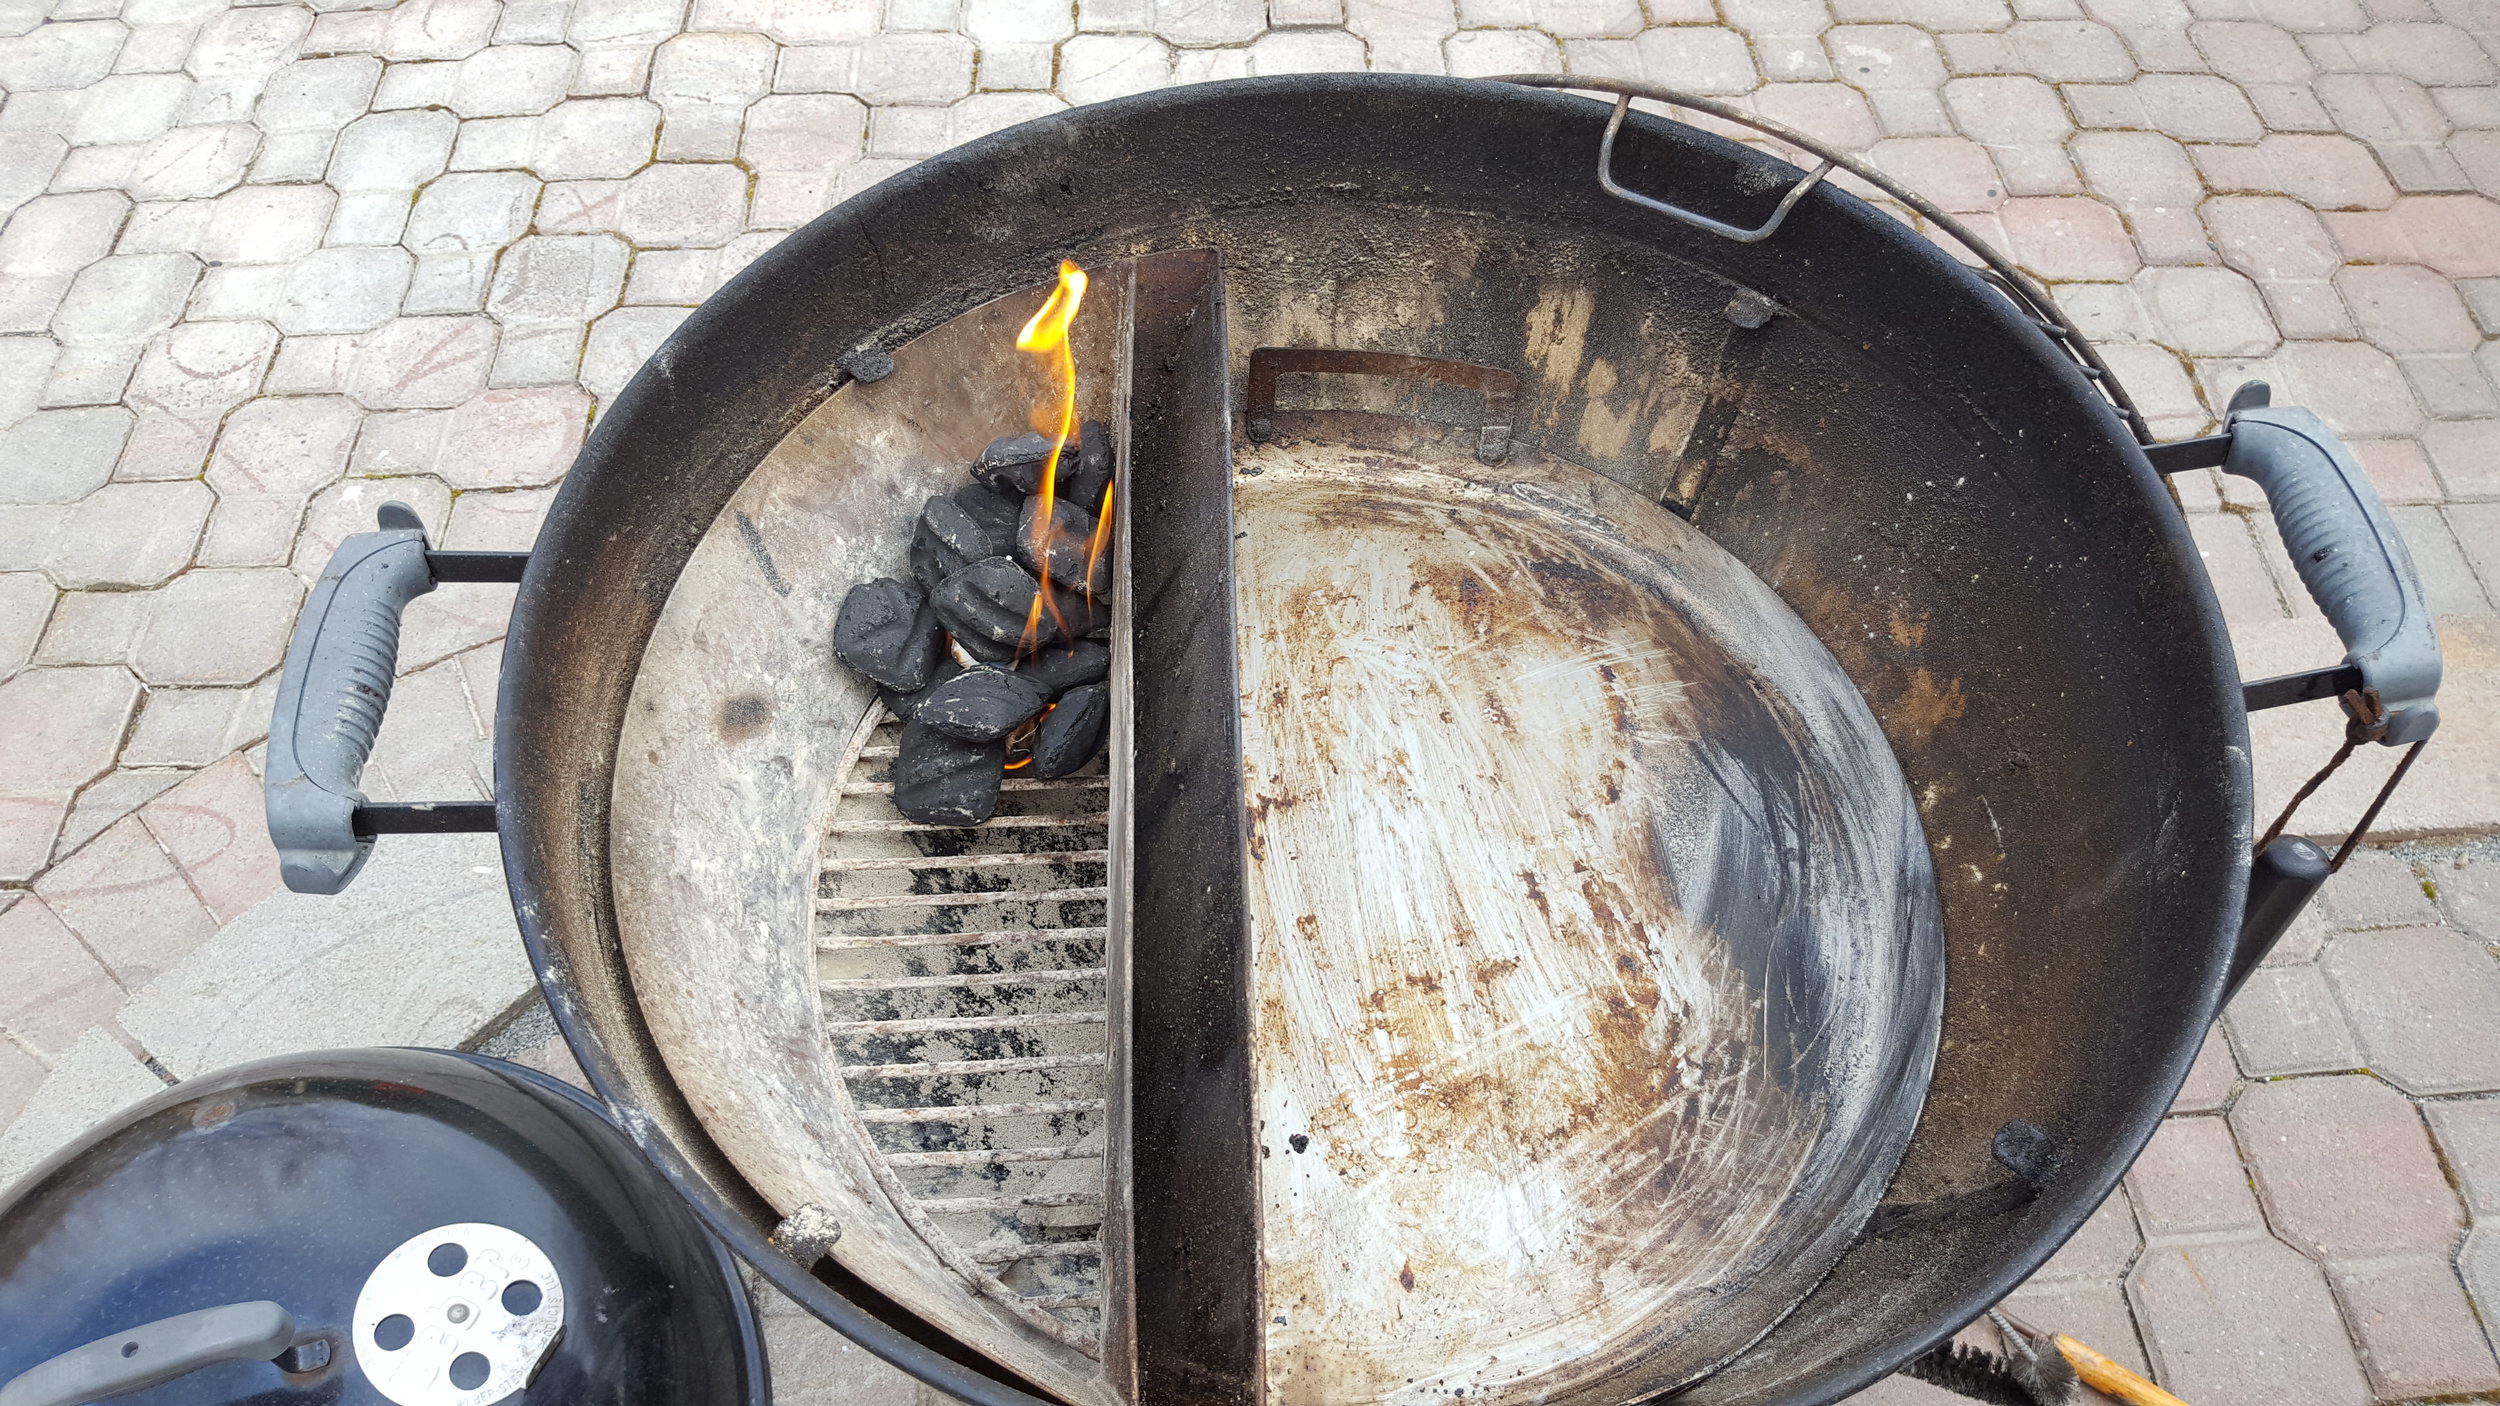
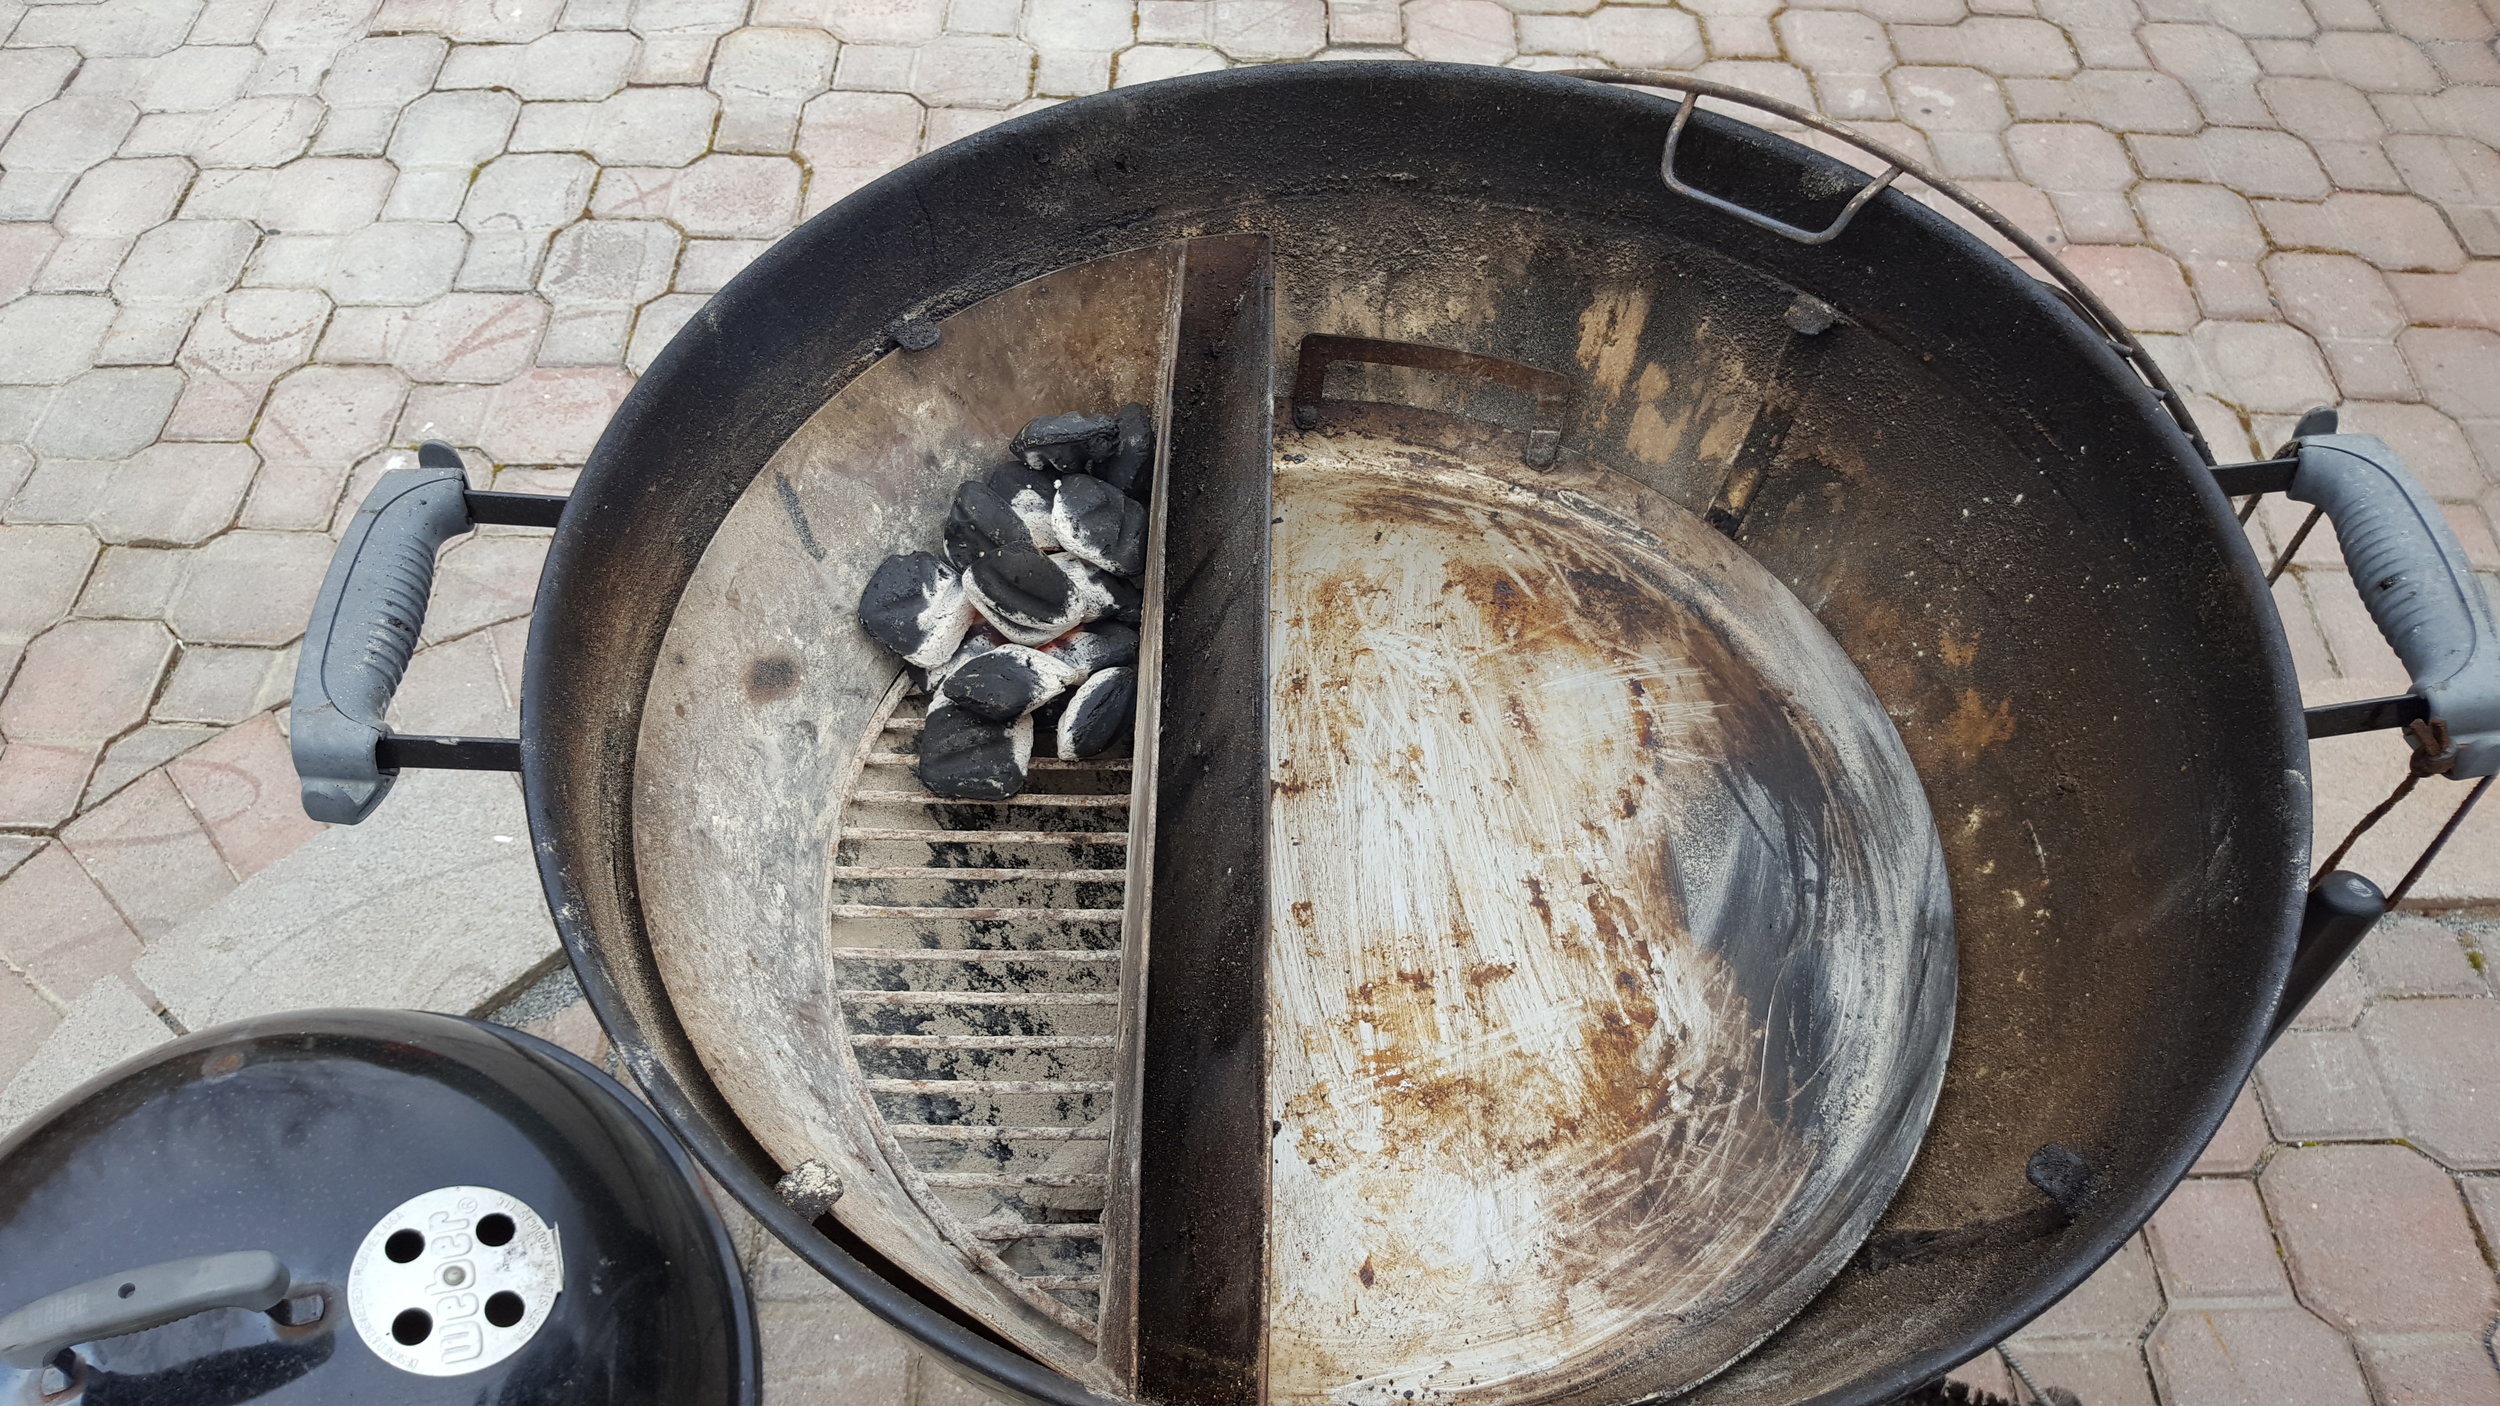
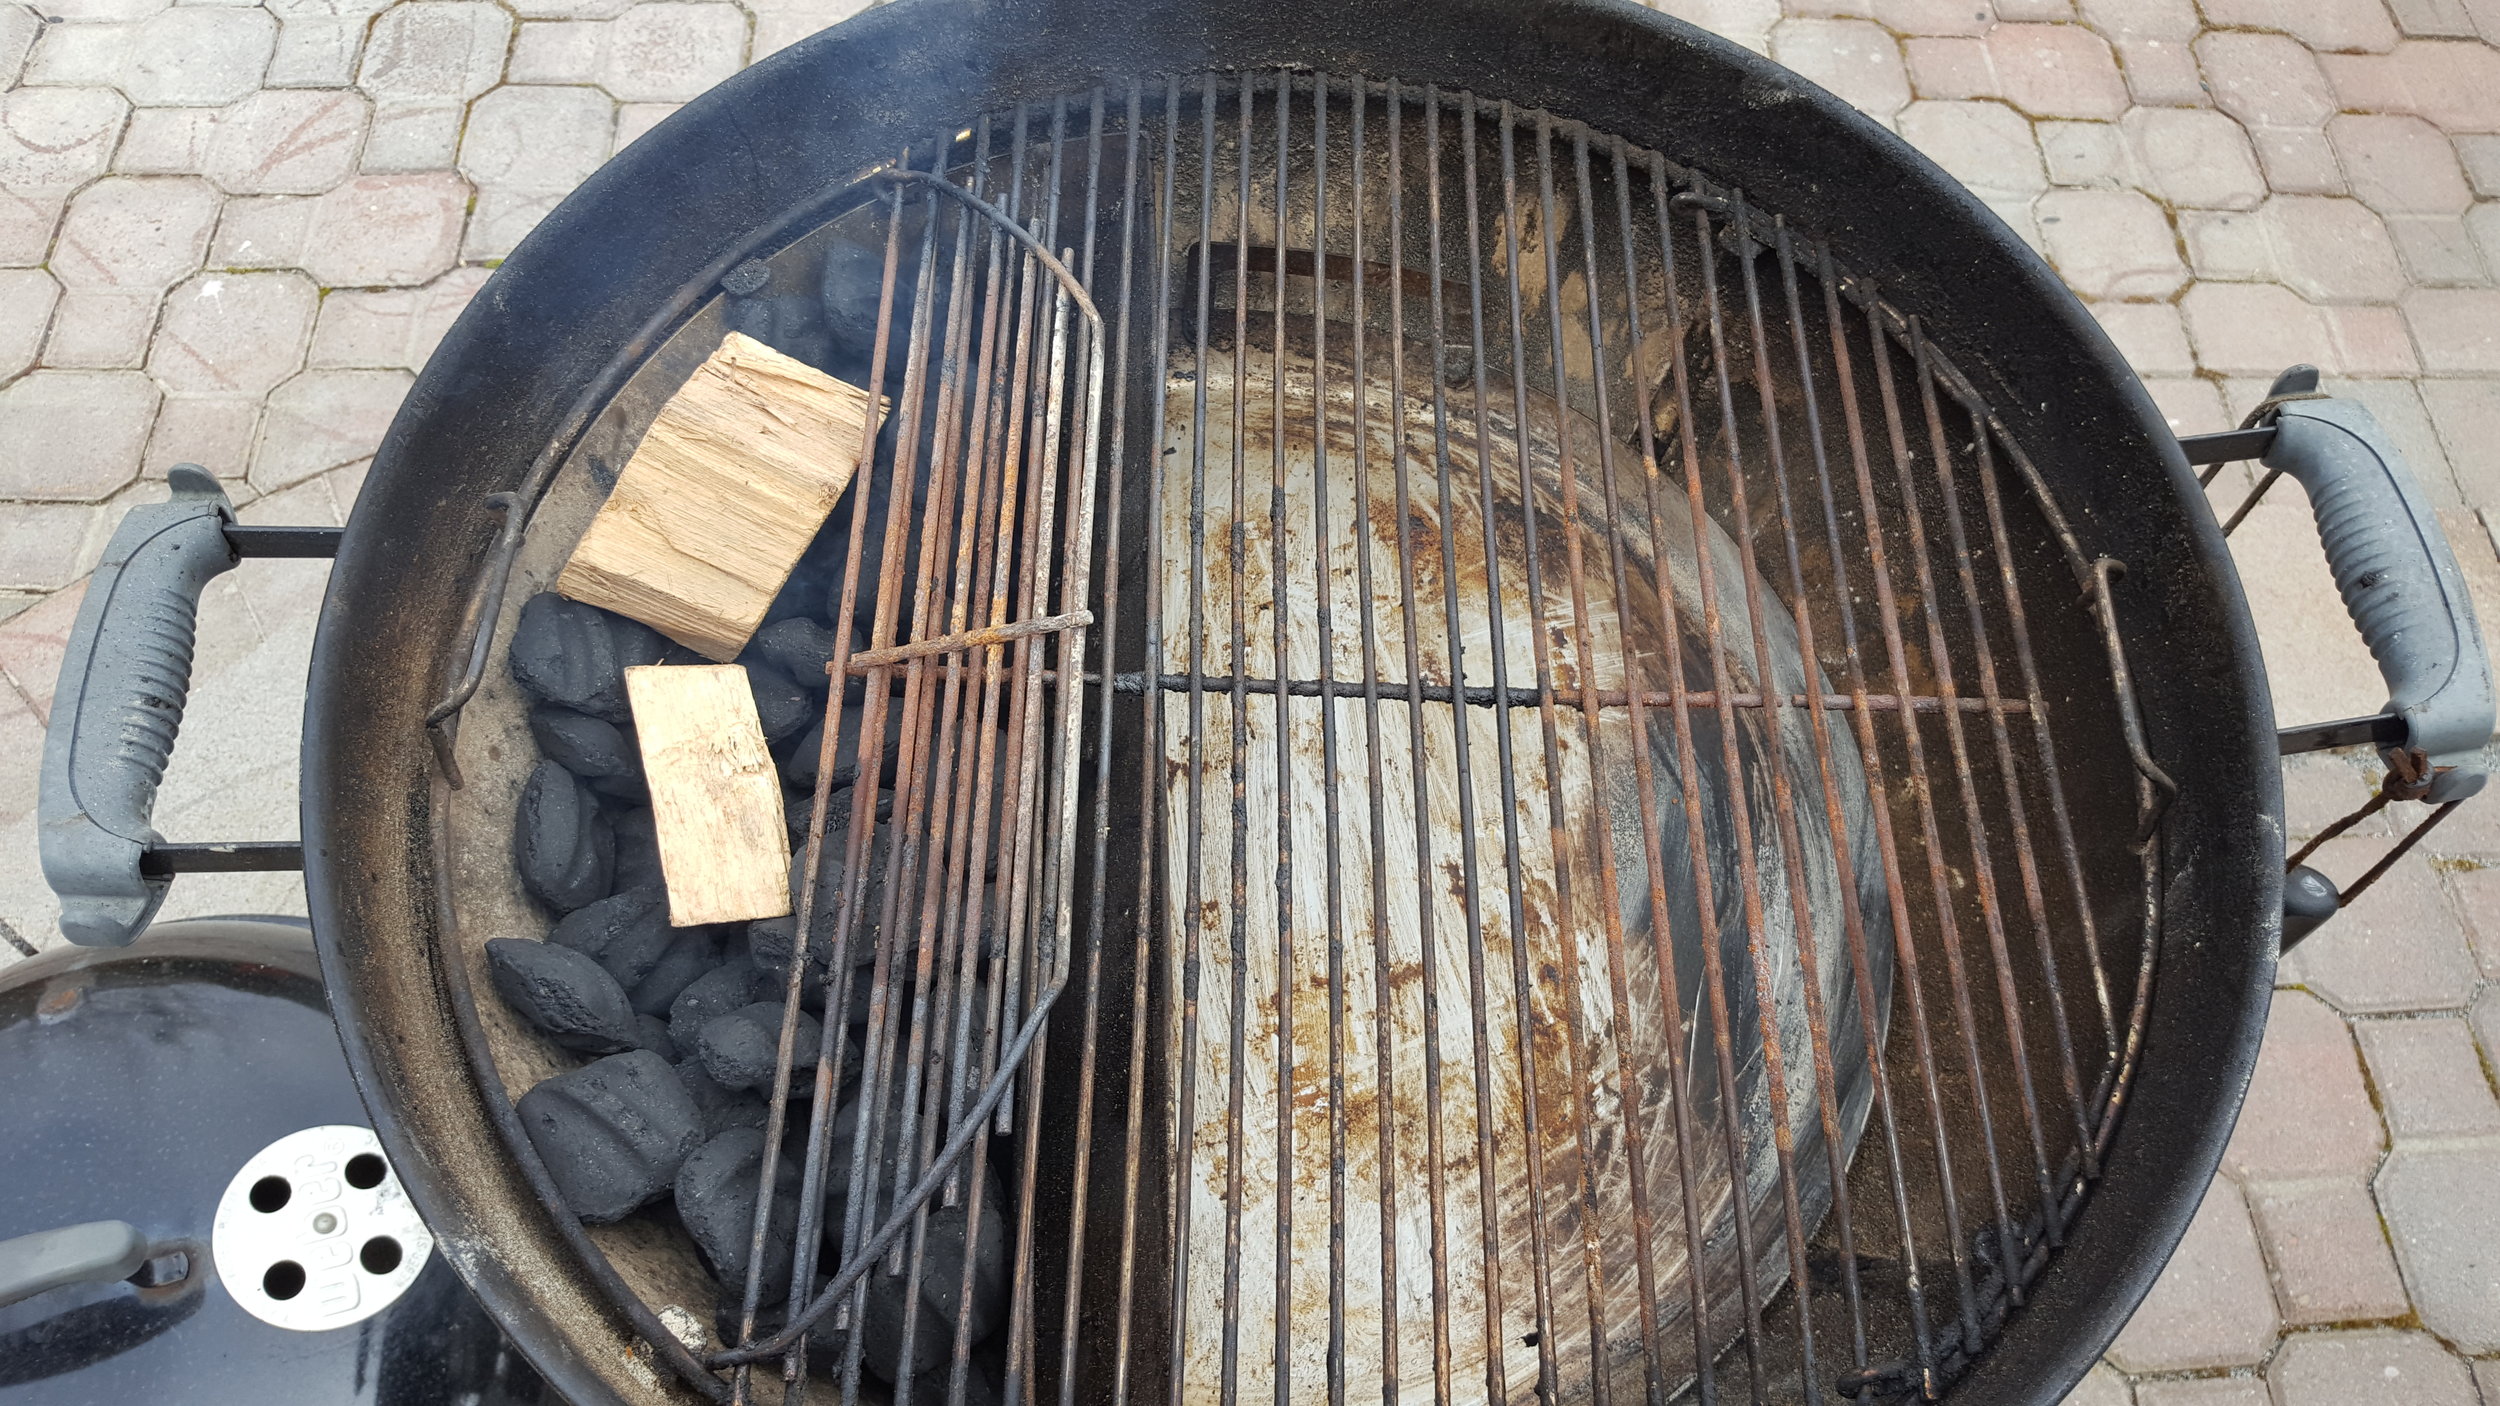
In addition to being able to create an ideal area for searing meat, the SNS is also able to create an ideal setup for low and slow cooking with the Weber Kettle. The SNS has a built in water pan that runs the length of the SNS and can hold one quart of water. By lighting a dozen briquettes (adding more once the initial dozen are ashed over), and filling up the water pan with water, you can easily get 6 – 8 hours burn with consistent temps of 225 – 250. The water pan assists by creating even radiant heat and assists in other ways by creating a moist cooking environment.
I’ve owned my Slow N’ Sear for four of five weeks, and have used it every weekend (sorry guys, it’s usually the gasser for me on the weekdays), and I honestly can’t imagine not using it.
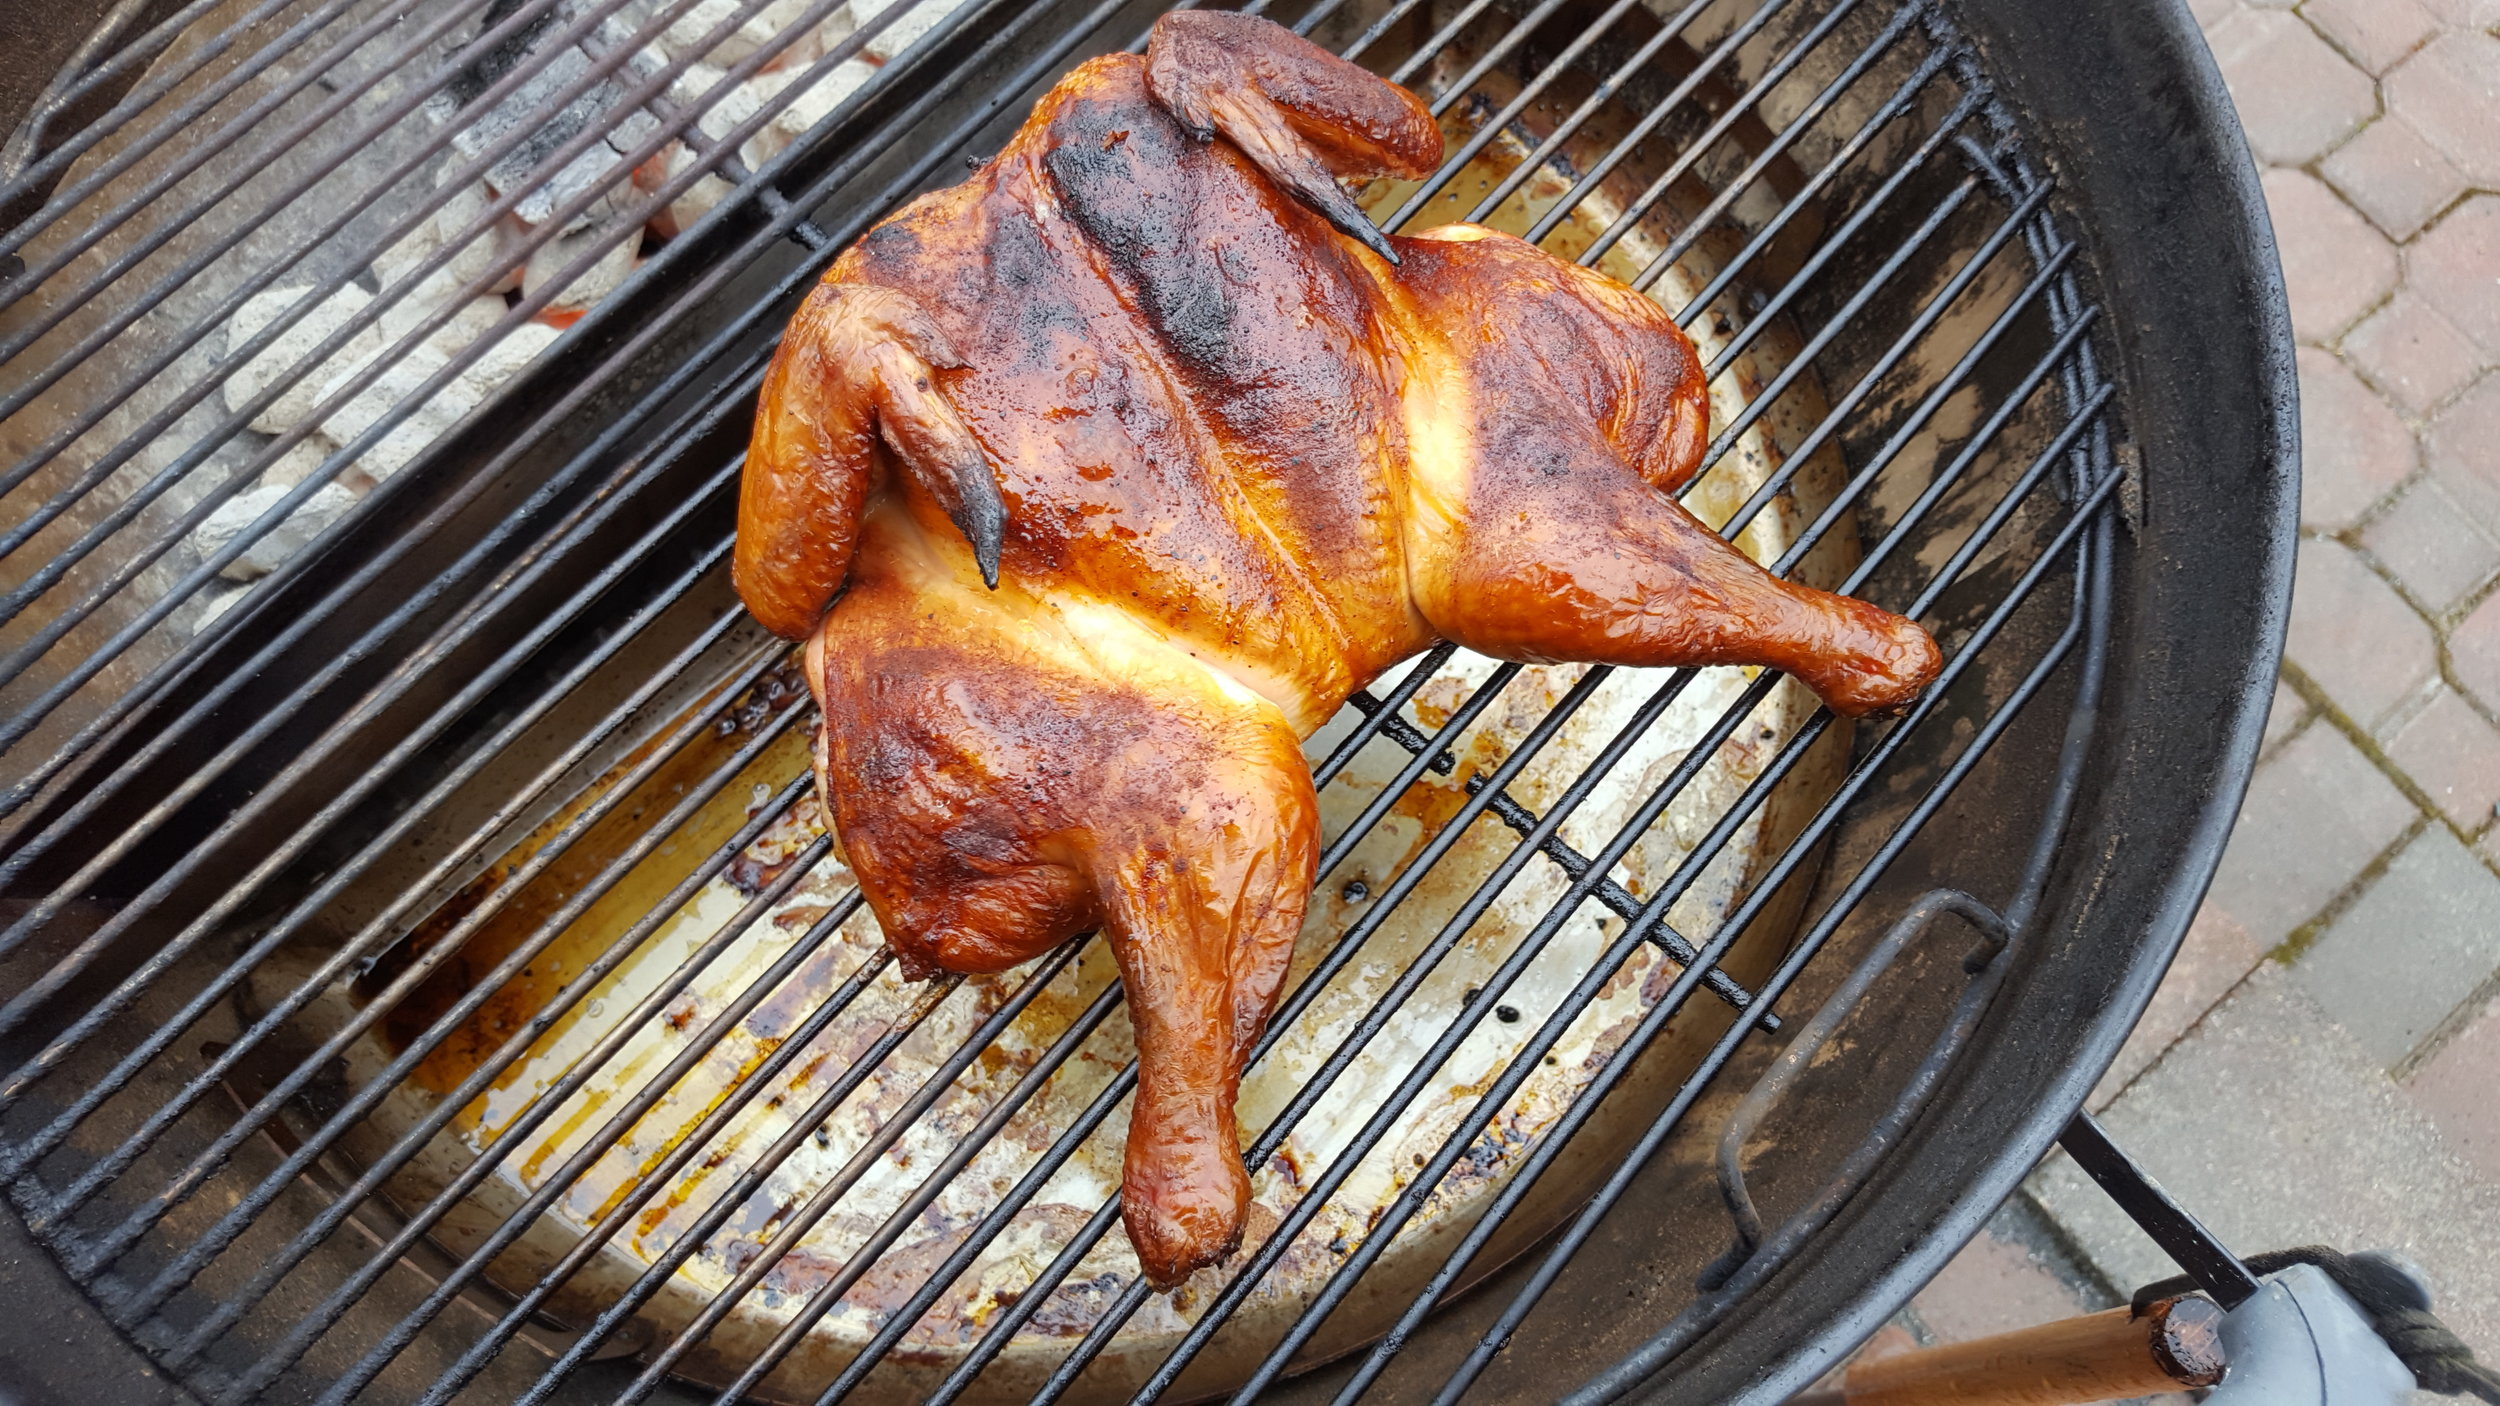
My very first cook with it was for some Spatchcock chicken; I loaded up three quarters of a chimney with Kingsford Blue Bag and set my grill up for to cook at 400° and set my chicken on the “cool” side of the grill. After 90 minutes my bird was not only cooked, but I had achieved the crispiest skin I have ever had on a grilled bird.
All this was accomplished without having to touch the vents on my kettle, and without having to put my chicken on direct heat! Both were a first for me.
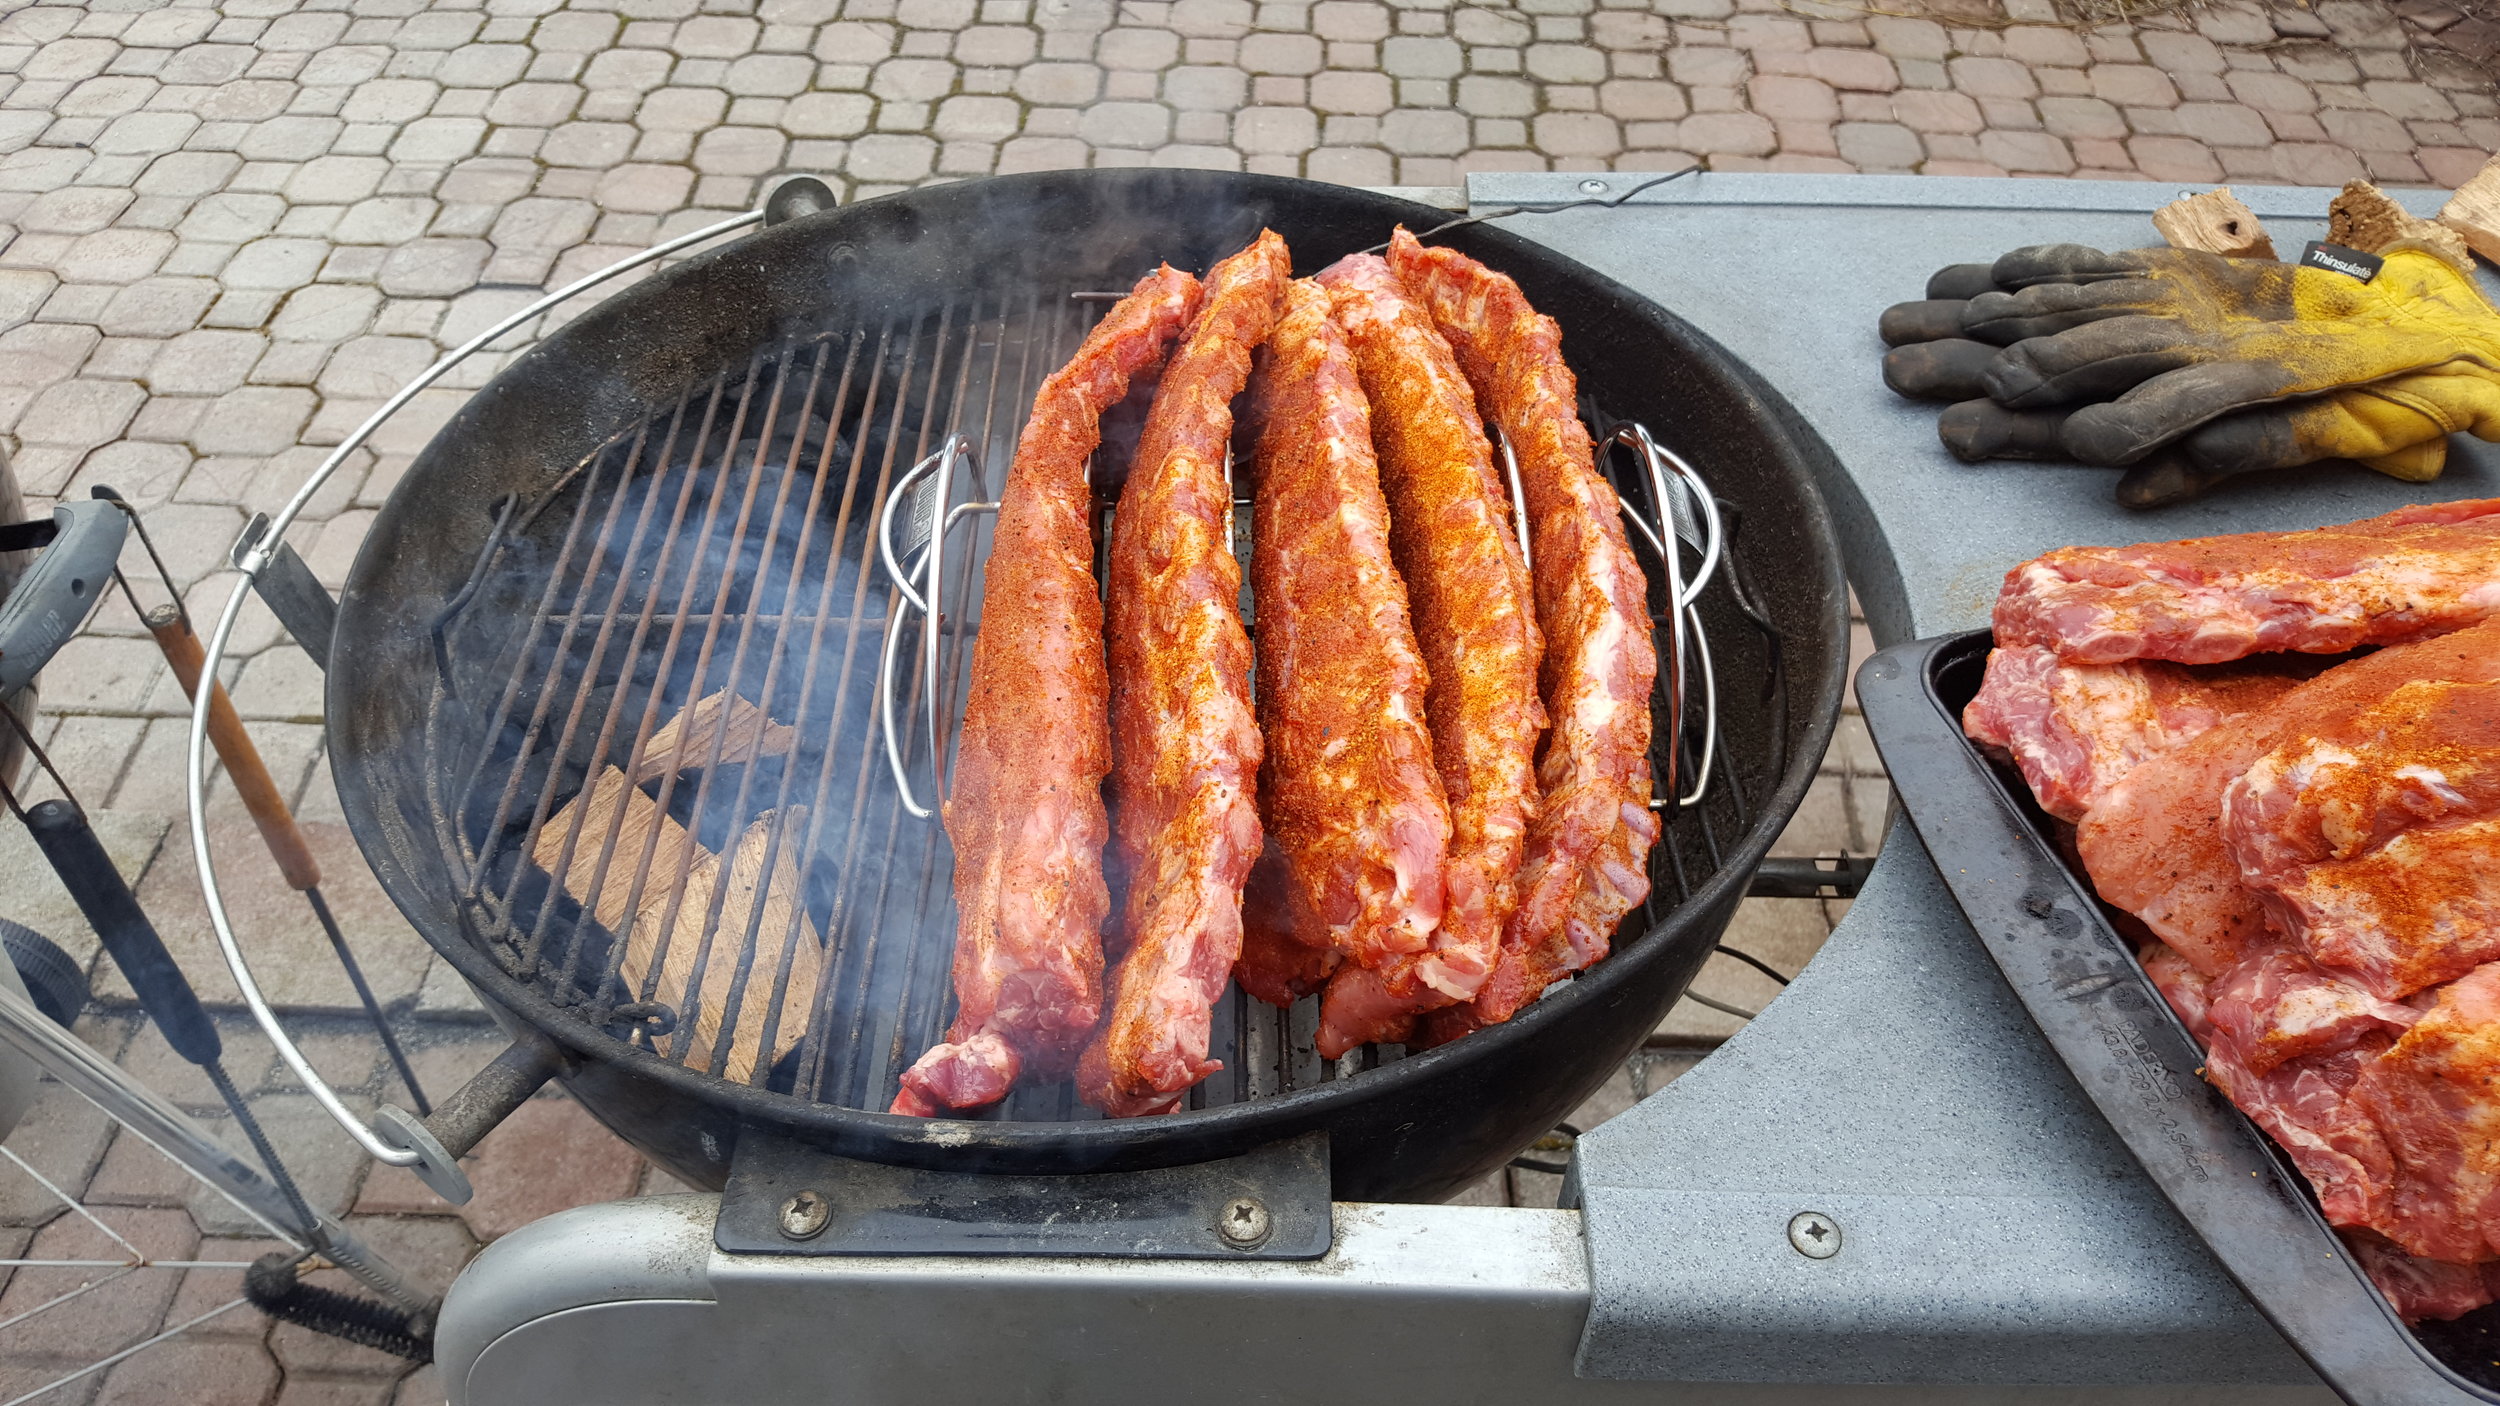
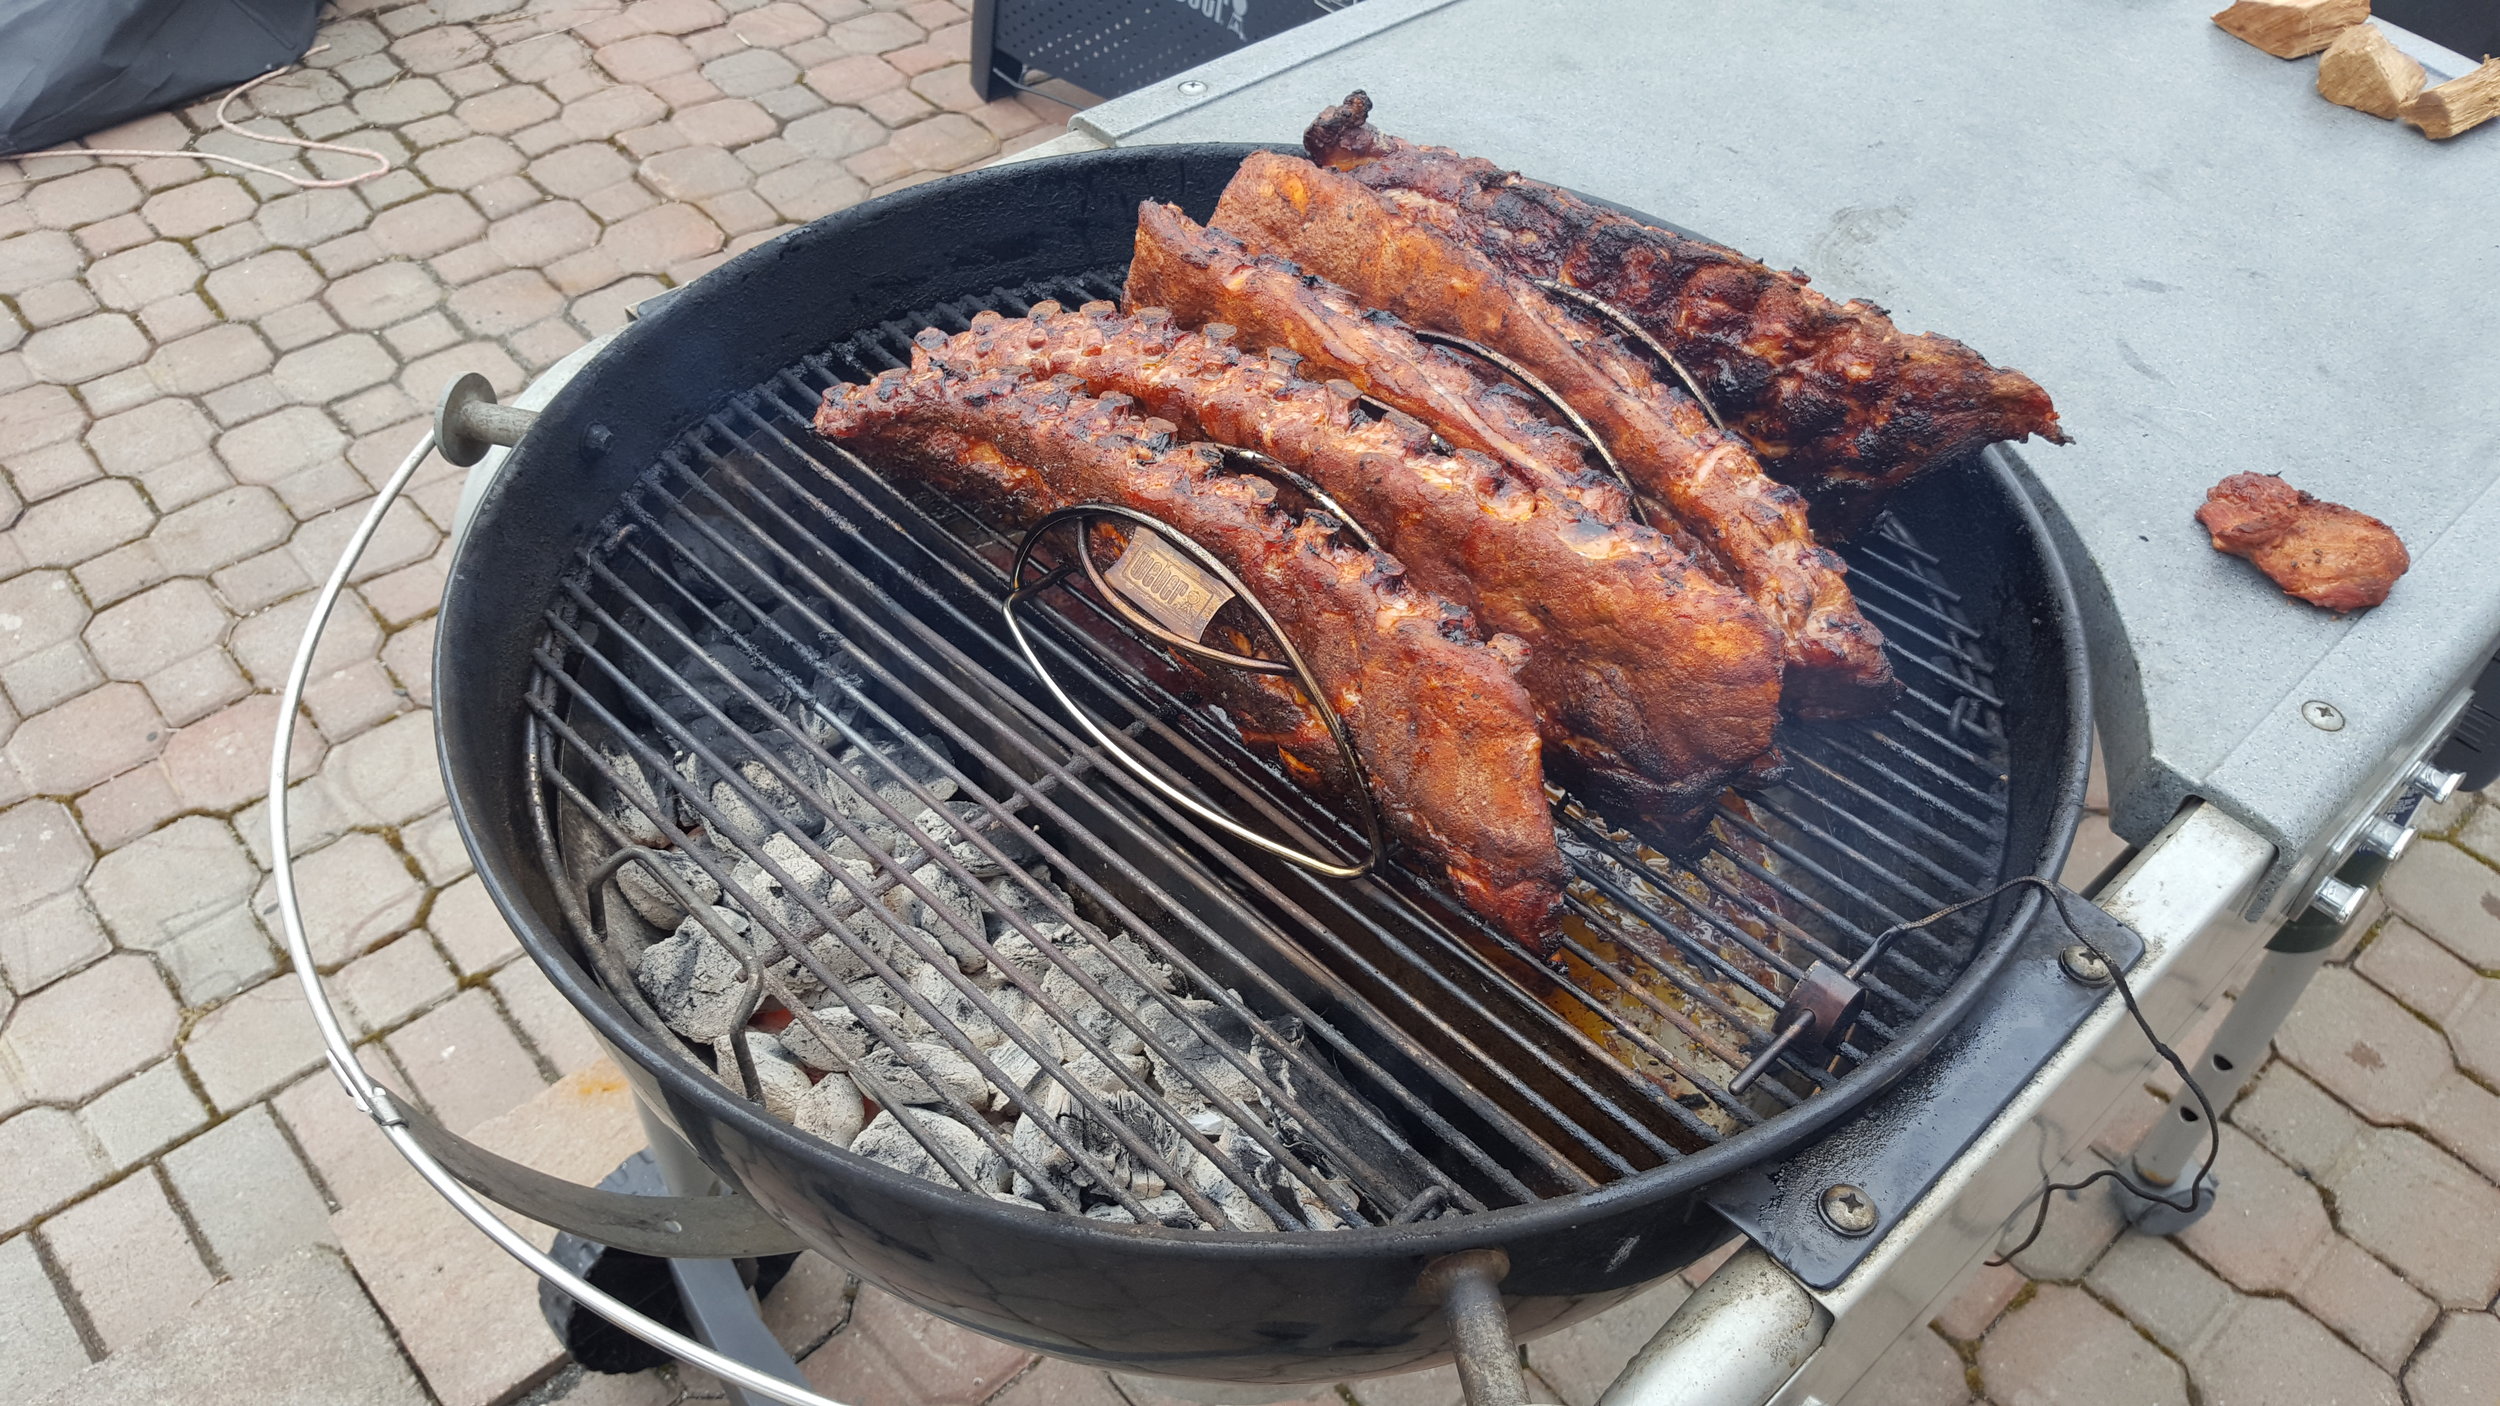
Next, I cooked the massive quantity of ribs to bring into my office that we talked about in my last article. I set the grill up for low and slow cooking, as per the provided instructions, and I placed 5 racks of baby backs on the grill using a rib rack. Again, once I dialed in my cooking temp of 275° (what can I say, I prefer to cook my ribs and pork a little hotter than most), I didn’t have to touch my vents.

Finally, it was time to cook something that had a little more substance. I decided to go with a small pork picnic shoulder. Again, I set up the grill as per the instructions. One thing I noticed this time was how quickly the grill came up to temp. Sometimes it can take over an hour to get up to 275° - especially after placing the cold meat on the grill, but this time it was up to temp within 15 minutes.

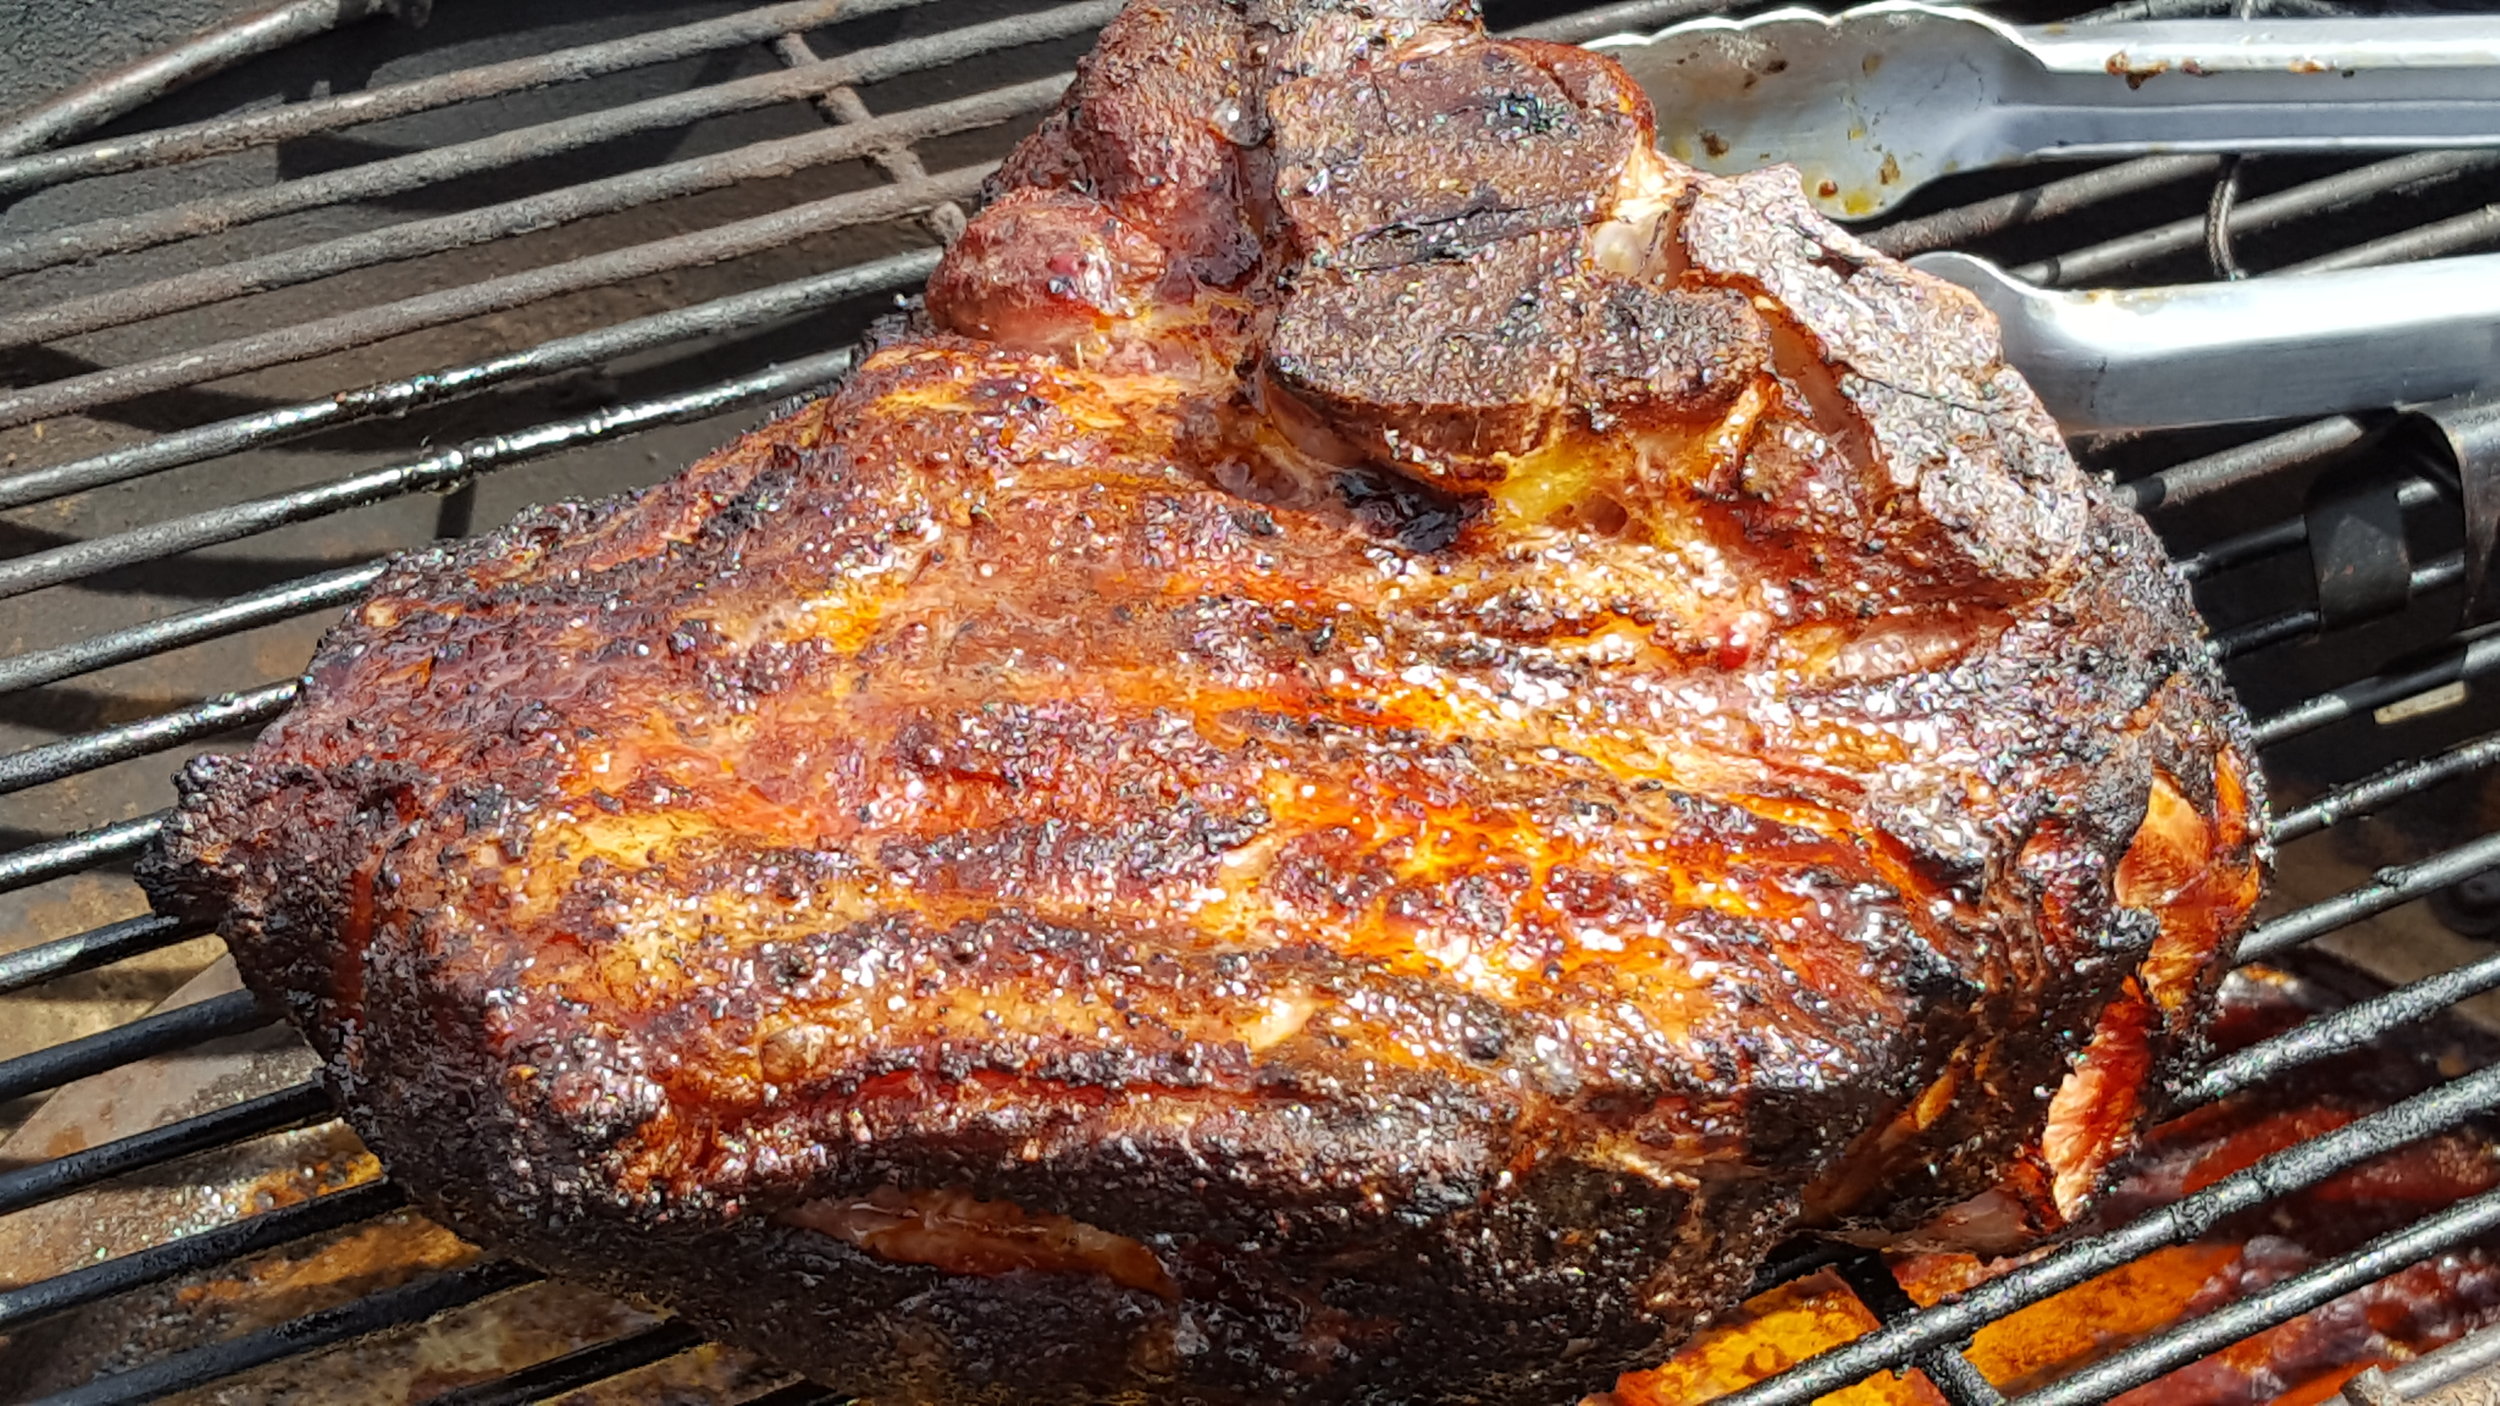
After two hours on the grill, the shoulder reached the stall, so I wrapped in tinfoil with some apple juice & apple cider vinegar, and placed back on the grill. I’m not sure if I have the SNS to thank, but that pork shoulder powered through the stall like nobody’s business, and two hours later, the shoulder reached an internal temp of 198°. After a two hour rest in a dry cooler, I pulled what was undoubtedly the best pulled pork of my life.
After using the SNS for the last couple of weeks, I feel that anyone who owns a Weber Kettle will benefit from owning a SNS. I also think that the SNS would be great for a first time kettle owner and that if they followed the instructions that come with it, could achieve successful cooks right out the gate.
The only two things I have not yet done, but will be doing in parts two and three of my review, will be to reverse sear a steak, and cook low and slow for a long period of time (10+ hours). Stay tuned to find out how I do, and if I change my opinion on the Slow ‘N Sear!