
Rise of the Smashburger
By: (Link: http://www.jeffhillyard.com) Jeff Hillyard
Smashburgers are pretty much exactly what they seem, hamburgers that are smashed onto a hot, flat cooking surface. The end result is a thin hamburger with an unbeatable edge to edge crust.
It seems that lately everyone is talking about smashburgers. Kinda like how Pulled Pork was the “it” food craze a couple of years ago, smashburgers seem to be the current “it” food item.
A reason for the current rise in popularity could be due to the fast food restaurant of the same name, (Link: http://www.smashburger.com) Smashburger. Founded in 2007 in Denver, Colorado Smashburger has quickly grown to an international chain with over 350 locations in 9 countries.
Of course, the smashburger has been around a lot longer than the last decade. When the first (Link: http://www.whitecastle.com) White Castle opened in 1921 the beef was formed into balls by a machine, then placed on the hot flat top, thinly shredded onions were sprinkled over the beef (more on that later), then the ball was flipped over and flattened into a thin patty.
To be honest, when I first heard of the smashburger I simply looked at it as a fad. I didn’t see what the big deal was. After seeing it constantly pop up in my Instagram feed, and hearing about it on different forums I decided I had to see what the fuss was all about.
Boy, I fucked up. Searing the meat on a flat surface (as opposed to a regular grill) gives the surface of the meat a wonderful dark crust that isn’t burnt. At the same time, since the fat isn’t falling between the grill grates the burger is incredibly juicy

I’ve been exclusively cooking smashburgers for about three months now and I do not think I’ll ever grill a hamburger again. Seriously, they are that good.
Here are some of my tips on how to make an awesome smashburger at home:
Fat = flavor
Listen, these are hamburgers, not health food. If you wanted to be eating healthy go sit in the corner and munch on some kale or something. Get at least 80/20 ground beef. This means that at least 20% of the ground beef will be fat. If you go with any leaner ground beef you will have a hard time keeping your burger juicy.
Keep it simple, stupid
Some burger recipes call for all kinds of things: egg, milk, onions, garlic, bread crumbs, various spices, etc. Sorry to tell you, you're making burgers, not meatloaf. I've tried various different ingredients in my smashburgers, but really, good fatty beef is the star here. A little salt and pepper on the surface after you start cooking is fine, but truthfully, I don't even do that most of the time.
You need a flat surface (duh)
It kinda goes without saying, but you can’t really smash a burger flat onto your grill grates. You have lots of options for a flat cooking surface. A cast iron pan will even do the trick so long as it is large enough to fit however many burgers you want to cook. I’ve been using the (Link: https://abcbarbecue.com/product/drip-n-griddle-pan) Drip ‘N Griddle paired with my (Link: https://abcbarbecue.com/product/slow-n-sear) Slow ‘N Sear with great results.
Also, I know what you’re thinking, and yes it would be a little easier to do this indoors. But if you do this outside on your charcoal grill you will get a little of the charcoal flavor you just won’t get from your stove.
Melt some butter
Once your cooking surface is preheated to approx. 350°F melt about a ½ tablespoon of butter on it. Stir it around and add your meat quickly before it has a chance to brown. The butter will keep your first couple of patties from sticking and will also add an extra layer of flavor.
Prepare your meat
Like I’ve already said, there isn’t much you need to do with your meat. When I first started making smashburgers I’d simply scoop the meat out of the tray it came on, weigh it out to 3 – 4 oz. and loosely form into balls.
Smash ‘em
When you’re ready to cook simply take a ball, place it on the cooking surface, and with a small piece of parchment paper in one hand and your spatula in another, smash the ball as thin as possible with the parchment paper in between the spatula and meat. The parchment paper will keep your meat from sticking to the spatula and lifting up of the cooking surface. There are other tools and presses you can purchase, but in my mind they are unnecessary.
Leave ‘em
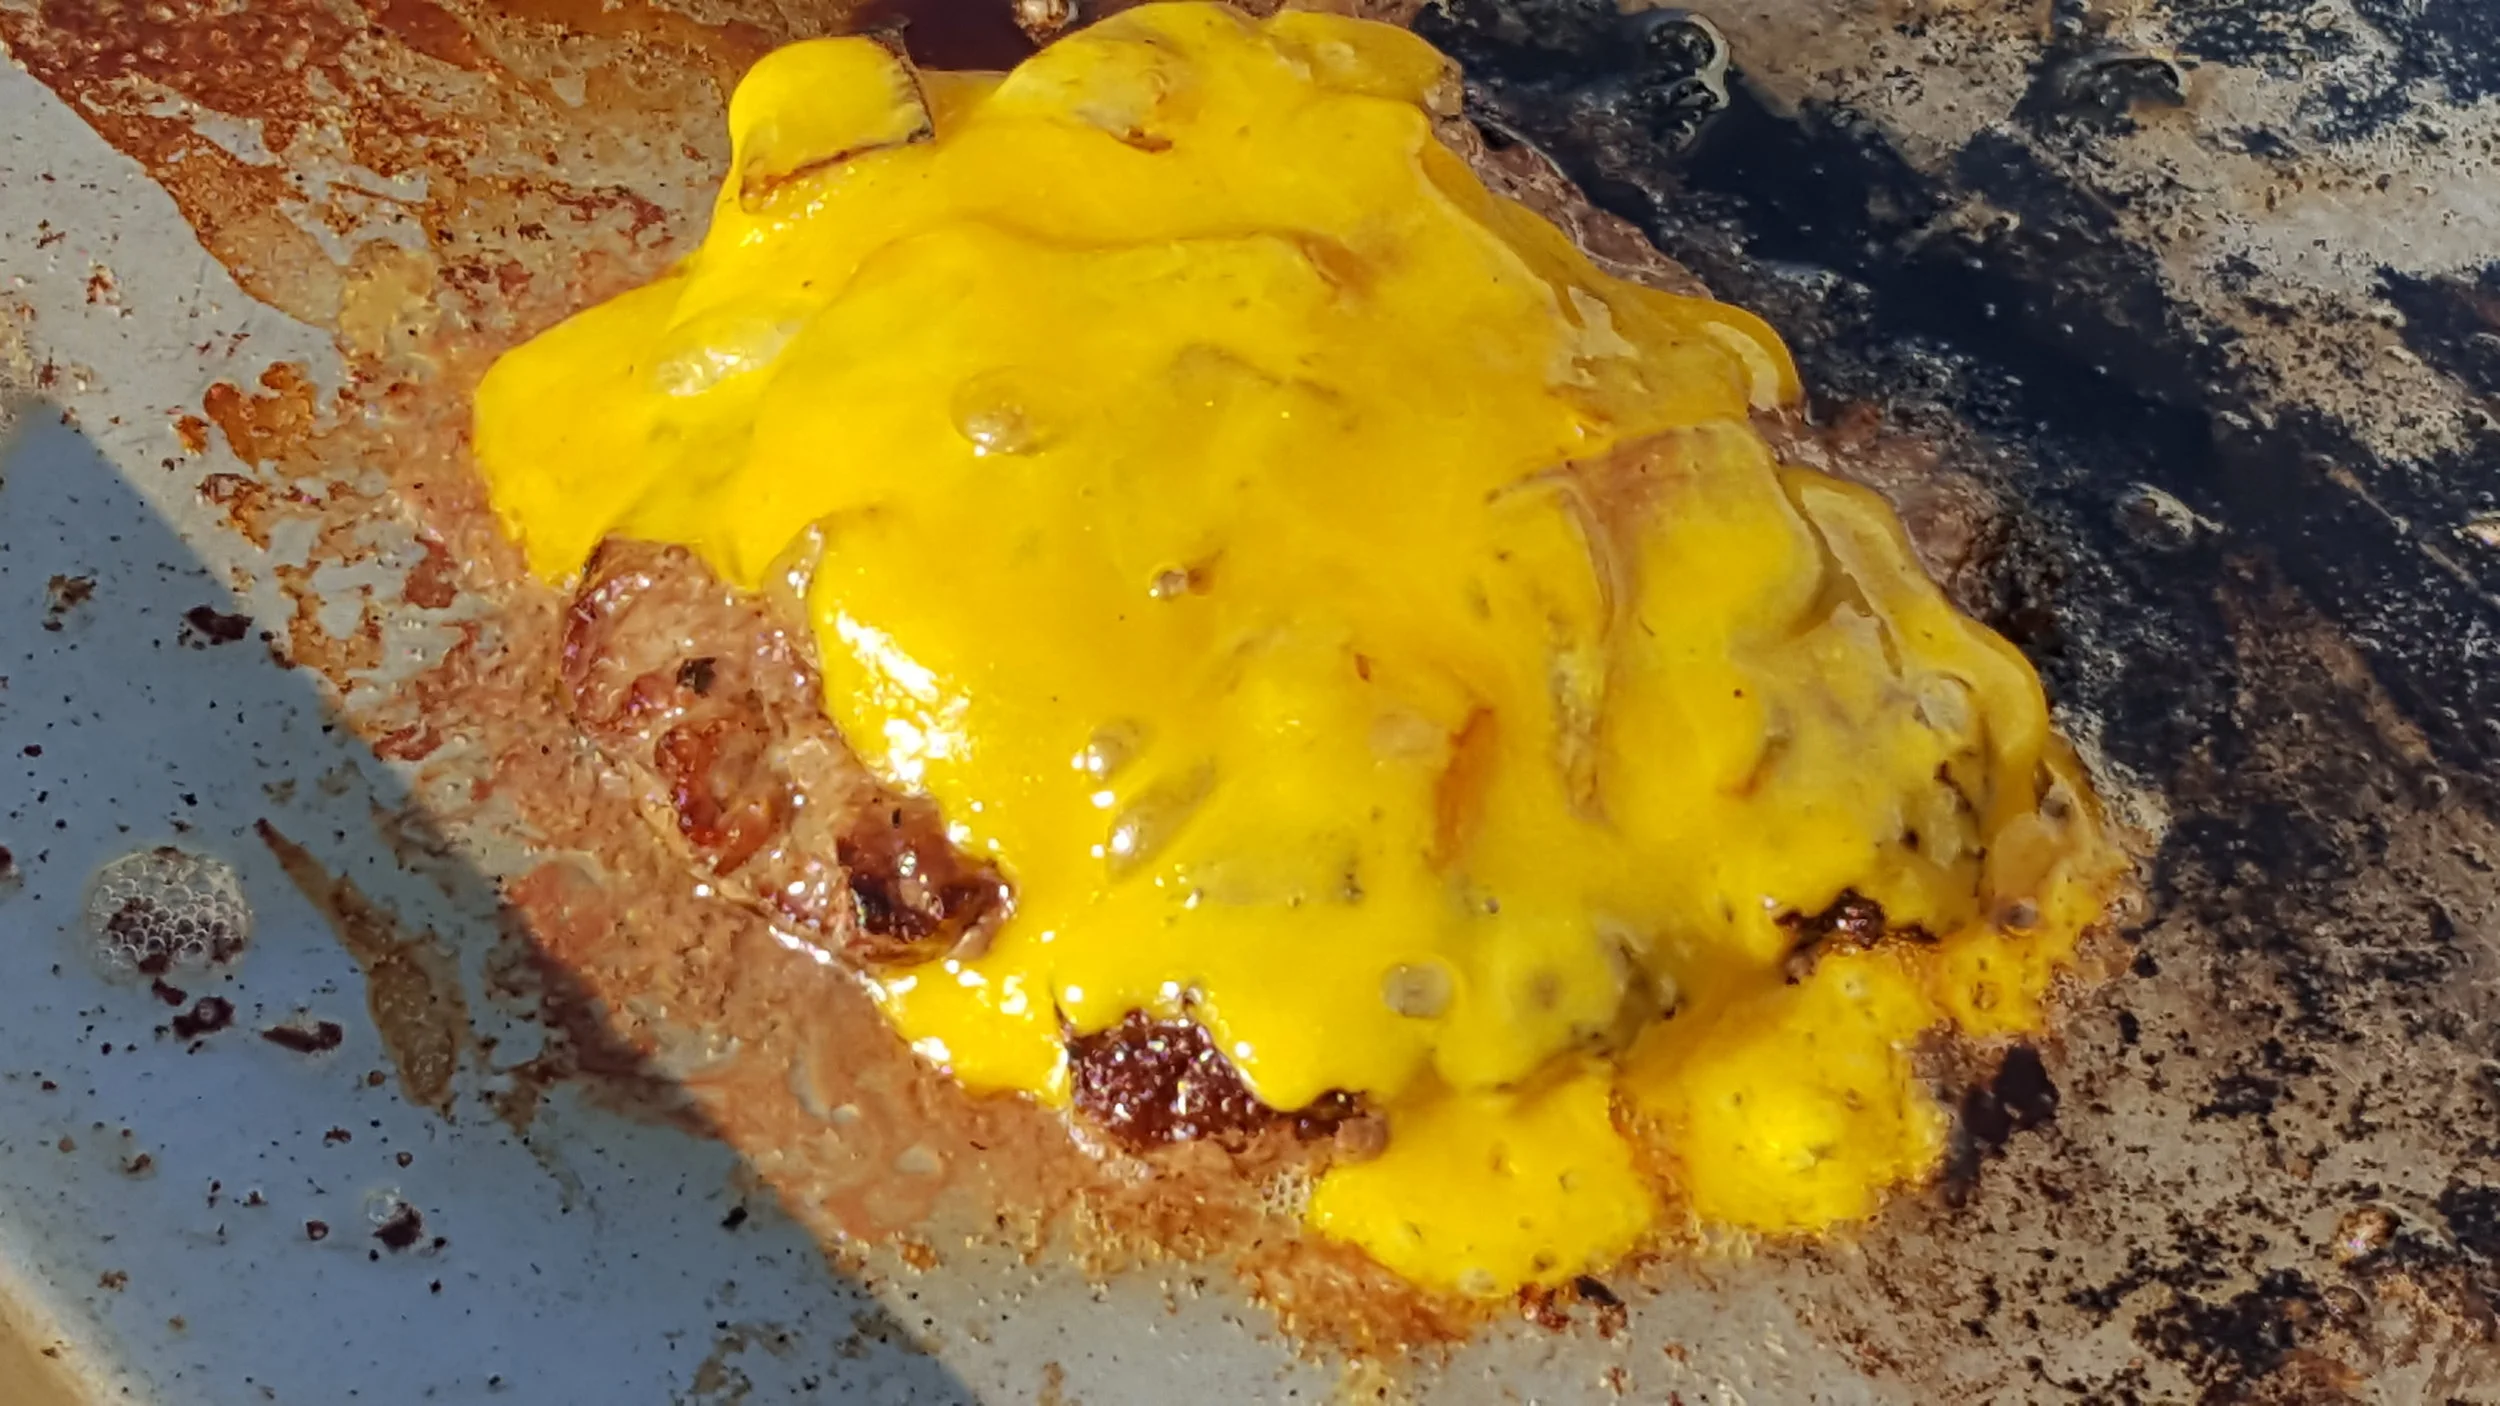
Resist the urge to move your smashburgers around! The only way you’re going to get that fantastic crust is if you leave them alone and let the crust develop. After 3 minutes, you can lift up the edge of the burger to see how the crust is developing. If the crust looks good to you, flip ‘em.
Don’t get too fancy
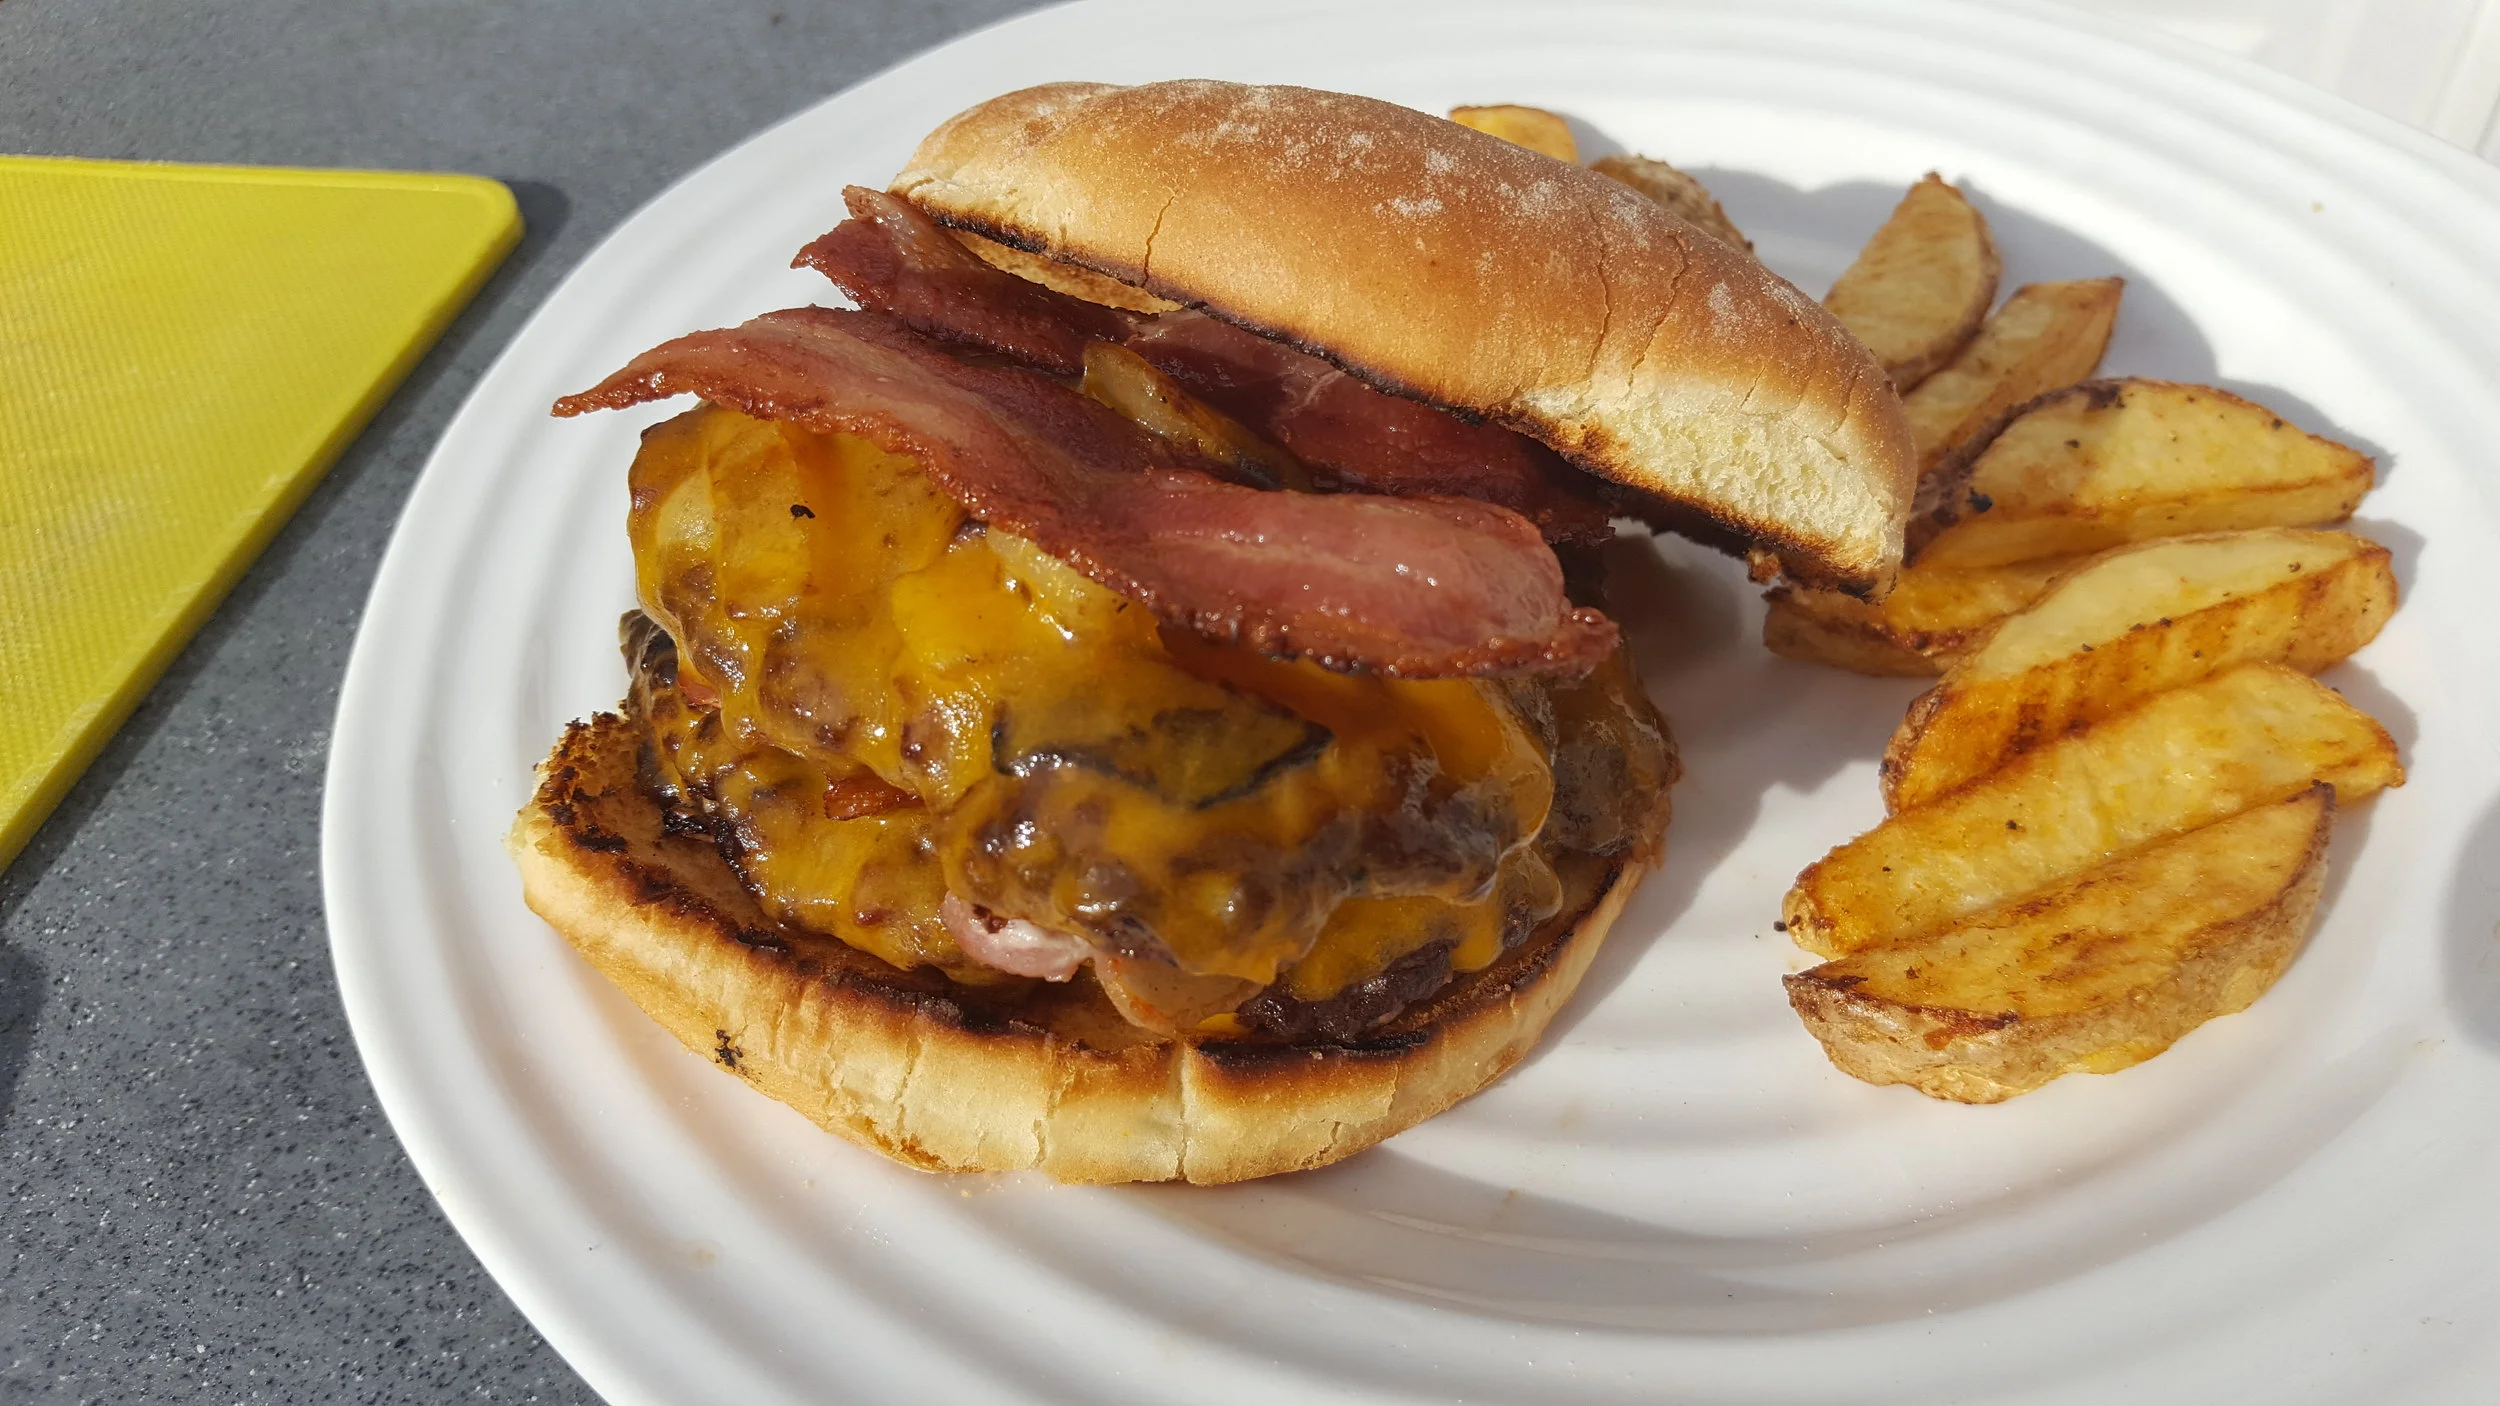
I tend to like a pretty simple hamburger. Bacon, cheese, and sautéed onions are enough for me. If I’m doing bacon, I’ll fry it first before I smash the burgers (you can also feel free to skip the butter if you’re going to cook in bacon grease). Make sure to remove the bacon from the grill completely before making the burgers. You don’t want overcooked, crispy bacon.
If I’m doing sautéed onions, I’ll either cook them in the bacon grease or the melted butter then smash the beef into the onions. Slice your onions thin for this so they cook up quickly. Also, leave your lid up and pay attention, the onions can easily burn and be ruined.
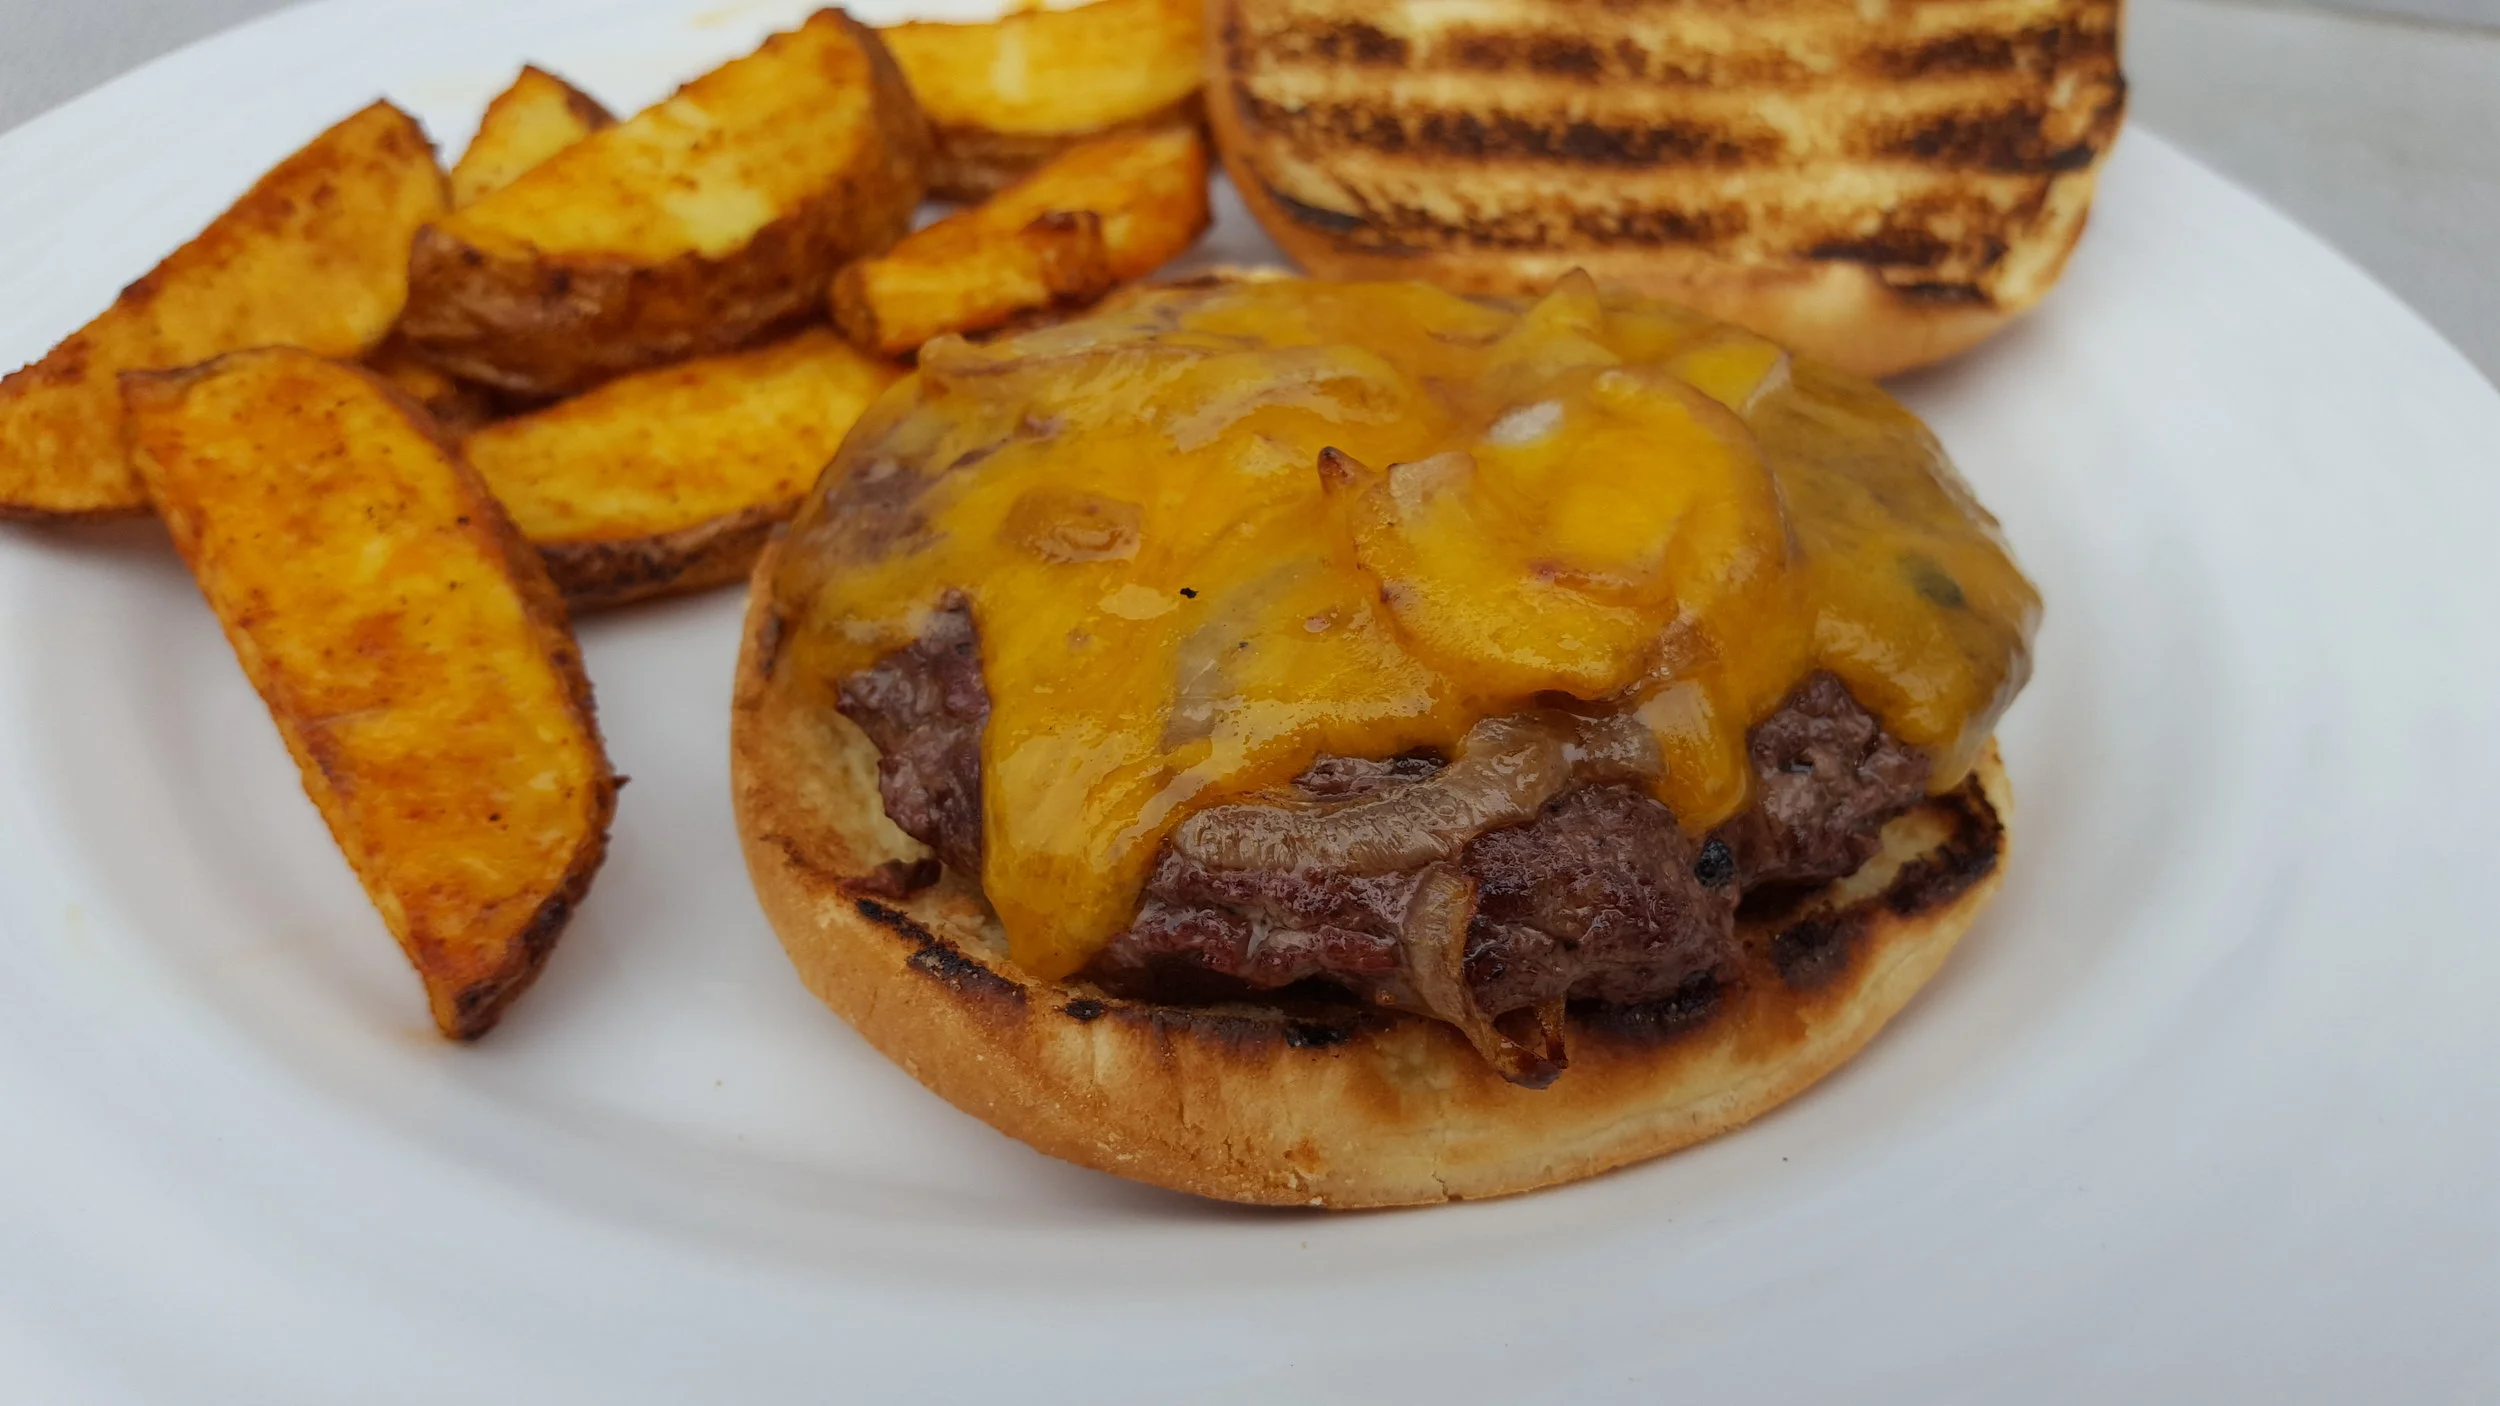
If I’m doing cheese, I’ll put my Drip ‘N Griddle pan on the indirect side once I’ve finished cooking the burgers and add the cheese then put the lid on the grill for one minute. This will help the cheese get nice and melty. Also, please use real American cheese, okay? You’re not putting in the time and effort to use processed cheese slices.
Butter your buns
Don’t go getting too fancy with your hamburger buns; simple white bread hamburger buns are perfect here. Butter your buns and toast them directly over your charcoal once the burgers are done. Keep an eye on them, they will burn quickly.
Once you’ve toasted your buns, there really isn’t much left to do besides load your smashburgers up with your favorite toppings and enjoy!