

This Old Kettle
Okay, so this week I am giving you a break from the details of my cooks. Not that I don't love sharing those stories with you, but there is something else I need to talk about...the tools of the BBQ trade.
Let me start by saying I have wanted a grilling table for years. Long before I have had even the slightest bit of BBQ skill. The reality is I love a project and a grilling table seemed like a great little project. Now originally I was going to build a table around my propane grill. After all, that is all I knew.
Then I got inspired. I decided I needed to grill with charcoal. Now being a cheap bastard and knowing I knew nothing about charcoal, I bought the first kettle I found on Craigslist. It was your basic Weber kettle. The best $20 could get me. It was even complete with a missing one-touch ash cleaner...which essentially meant my bottom vent was always wide open. None the less I grilled and grilled on that kettle.
Then came the day I decided to cook for real. As you all know, controlling your heat is absolutely essential to BBQ. It was then that I realized it was time to move on. I needed another kettle, one I could control the heat on. Now this time, I wanted something that I wouldn't outgrow so quickly. I wanted a kettle, I wanted the one touch gold, and I wanted something I could one day add to a grilling table.
Now tables have become commonplace when it comes to kamados. Yet for the kettle, they are few and far between. First, the kettle by design is simple and really doesn't need one. Secondly, they do not have an easy way of mounting them to a table. This is all before even considering whether or not the wood of the table could withstand the heat of the kettle.
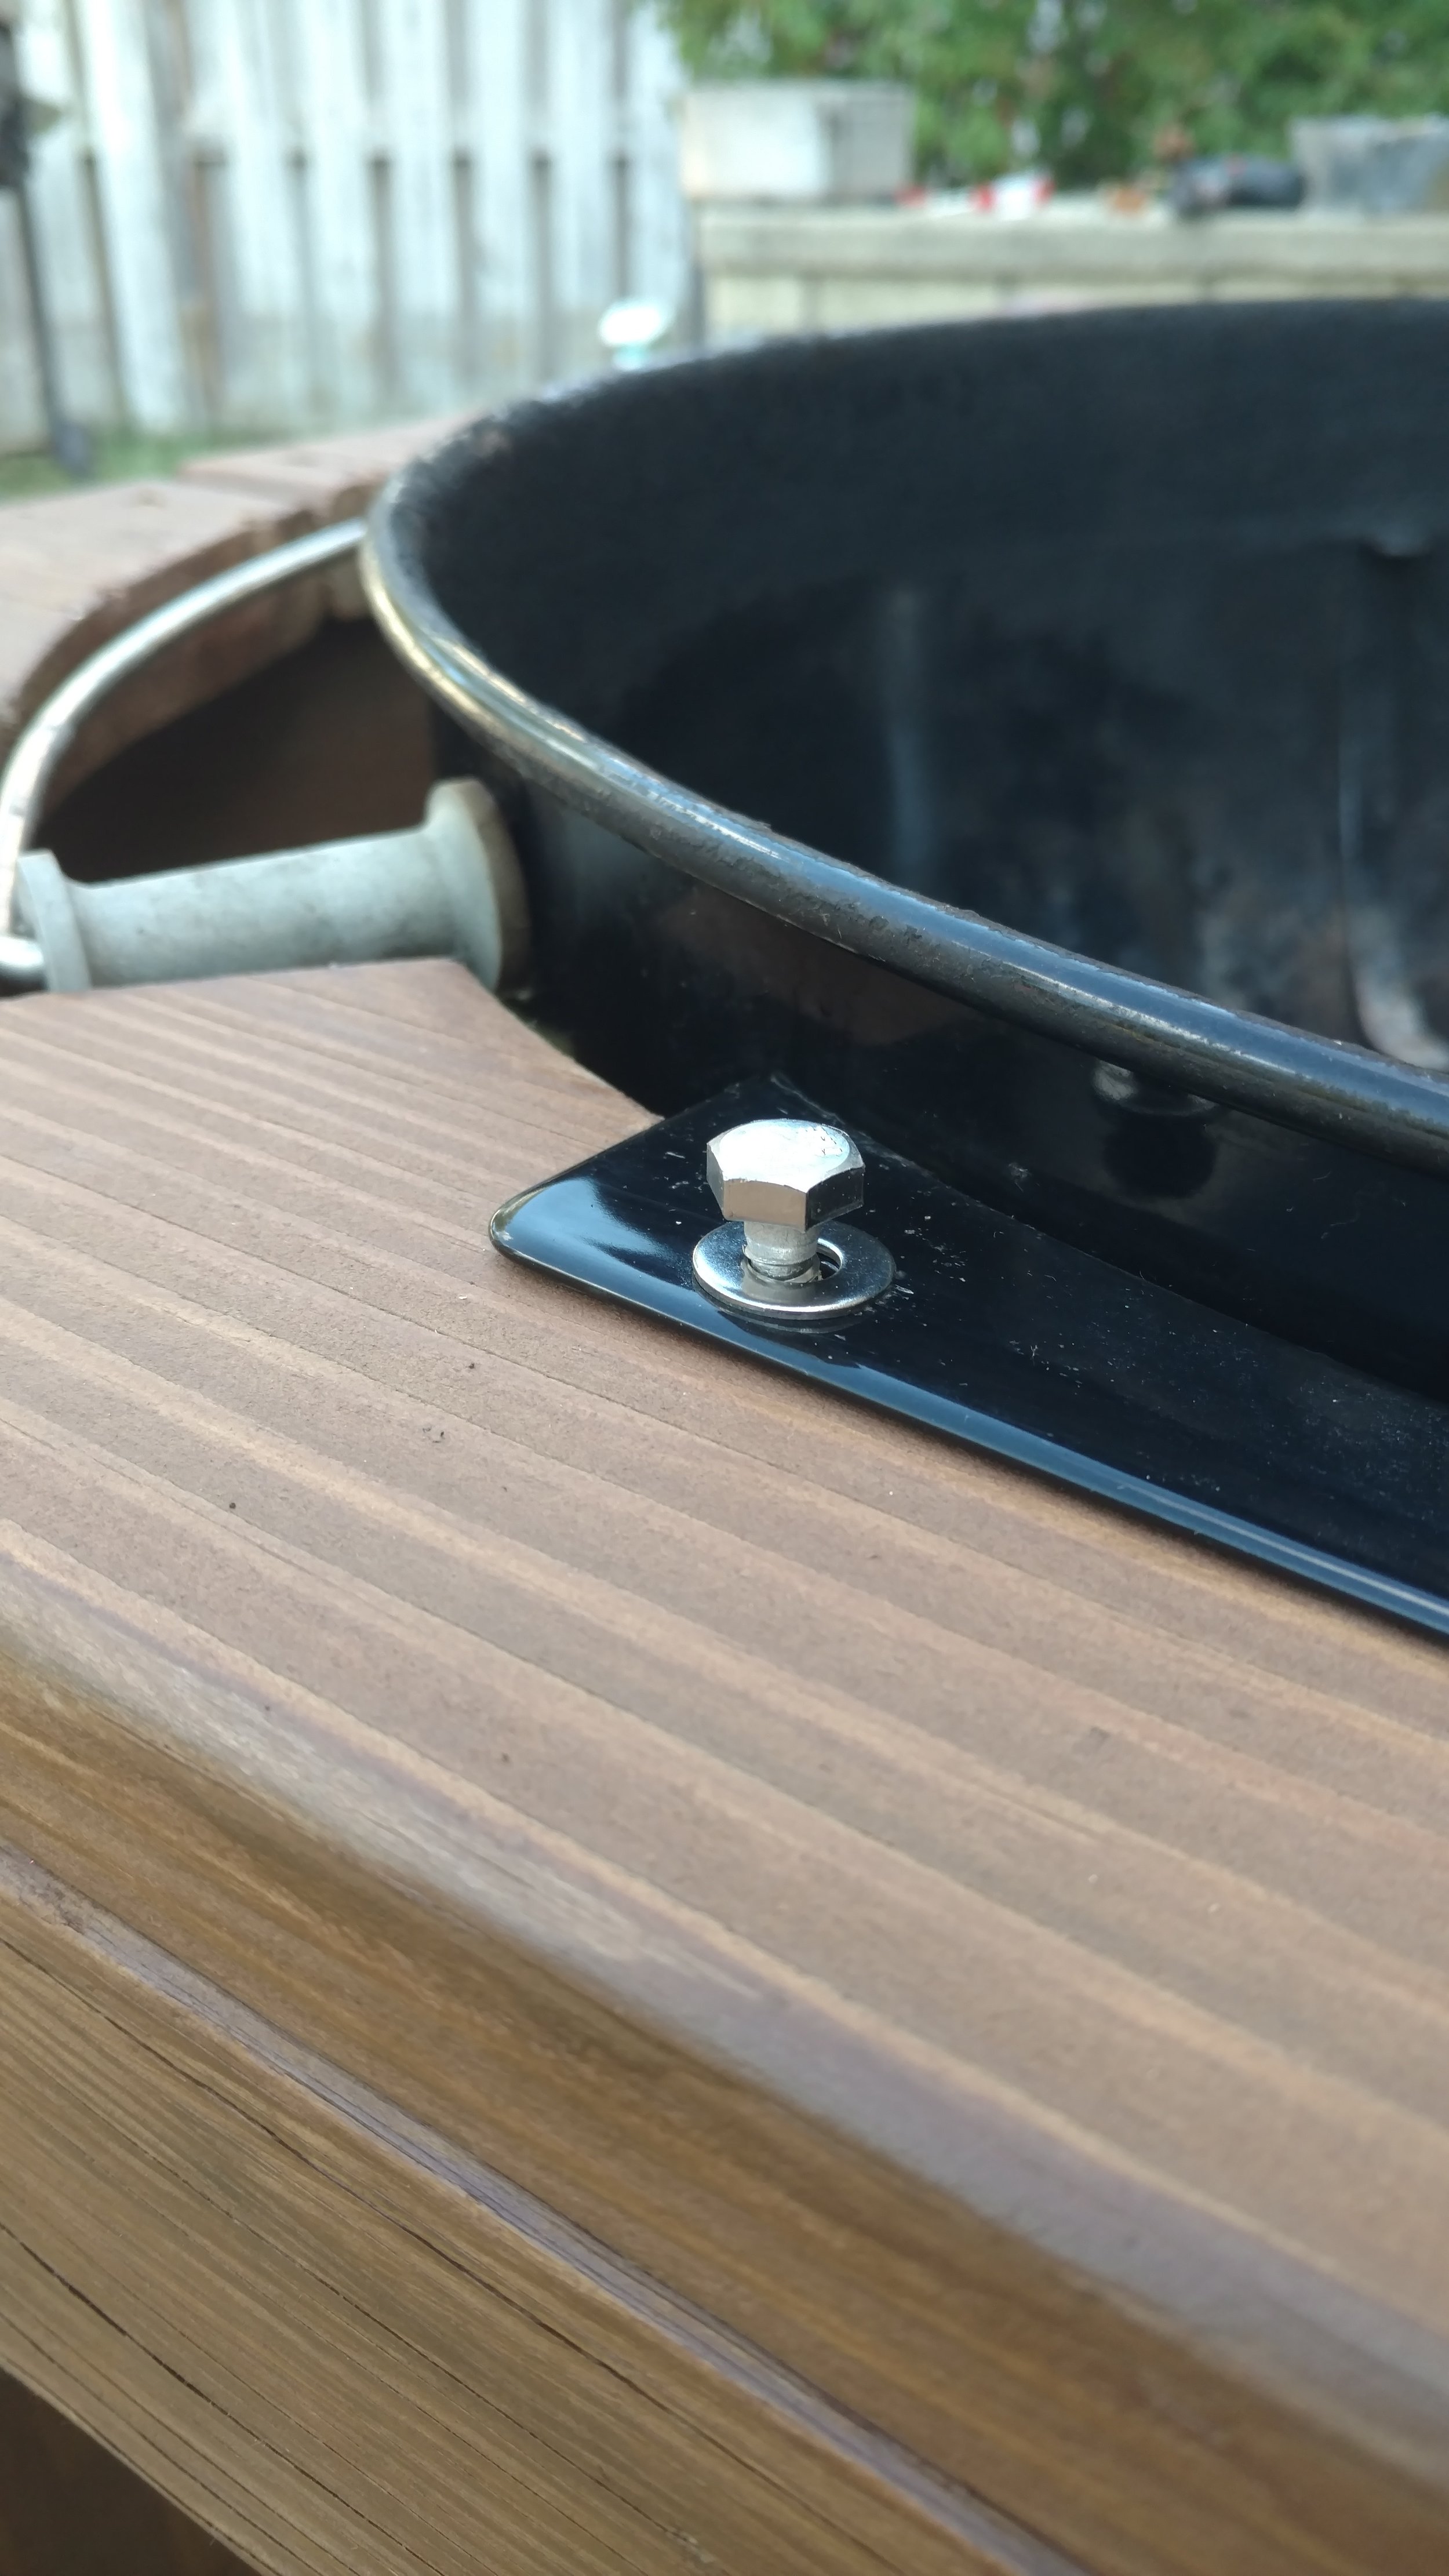
There is, of course, one exception to this, the Weber Performer. Some buy Performers for the gas-assist. Some just like the table. But for me, the one thing that separates the Performer from every other Weber kettle is that it has mounting brackets welded onto it. With these brackets, the kettle is completely mountable to any table.
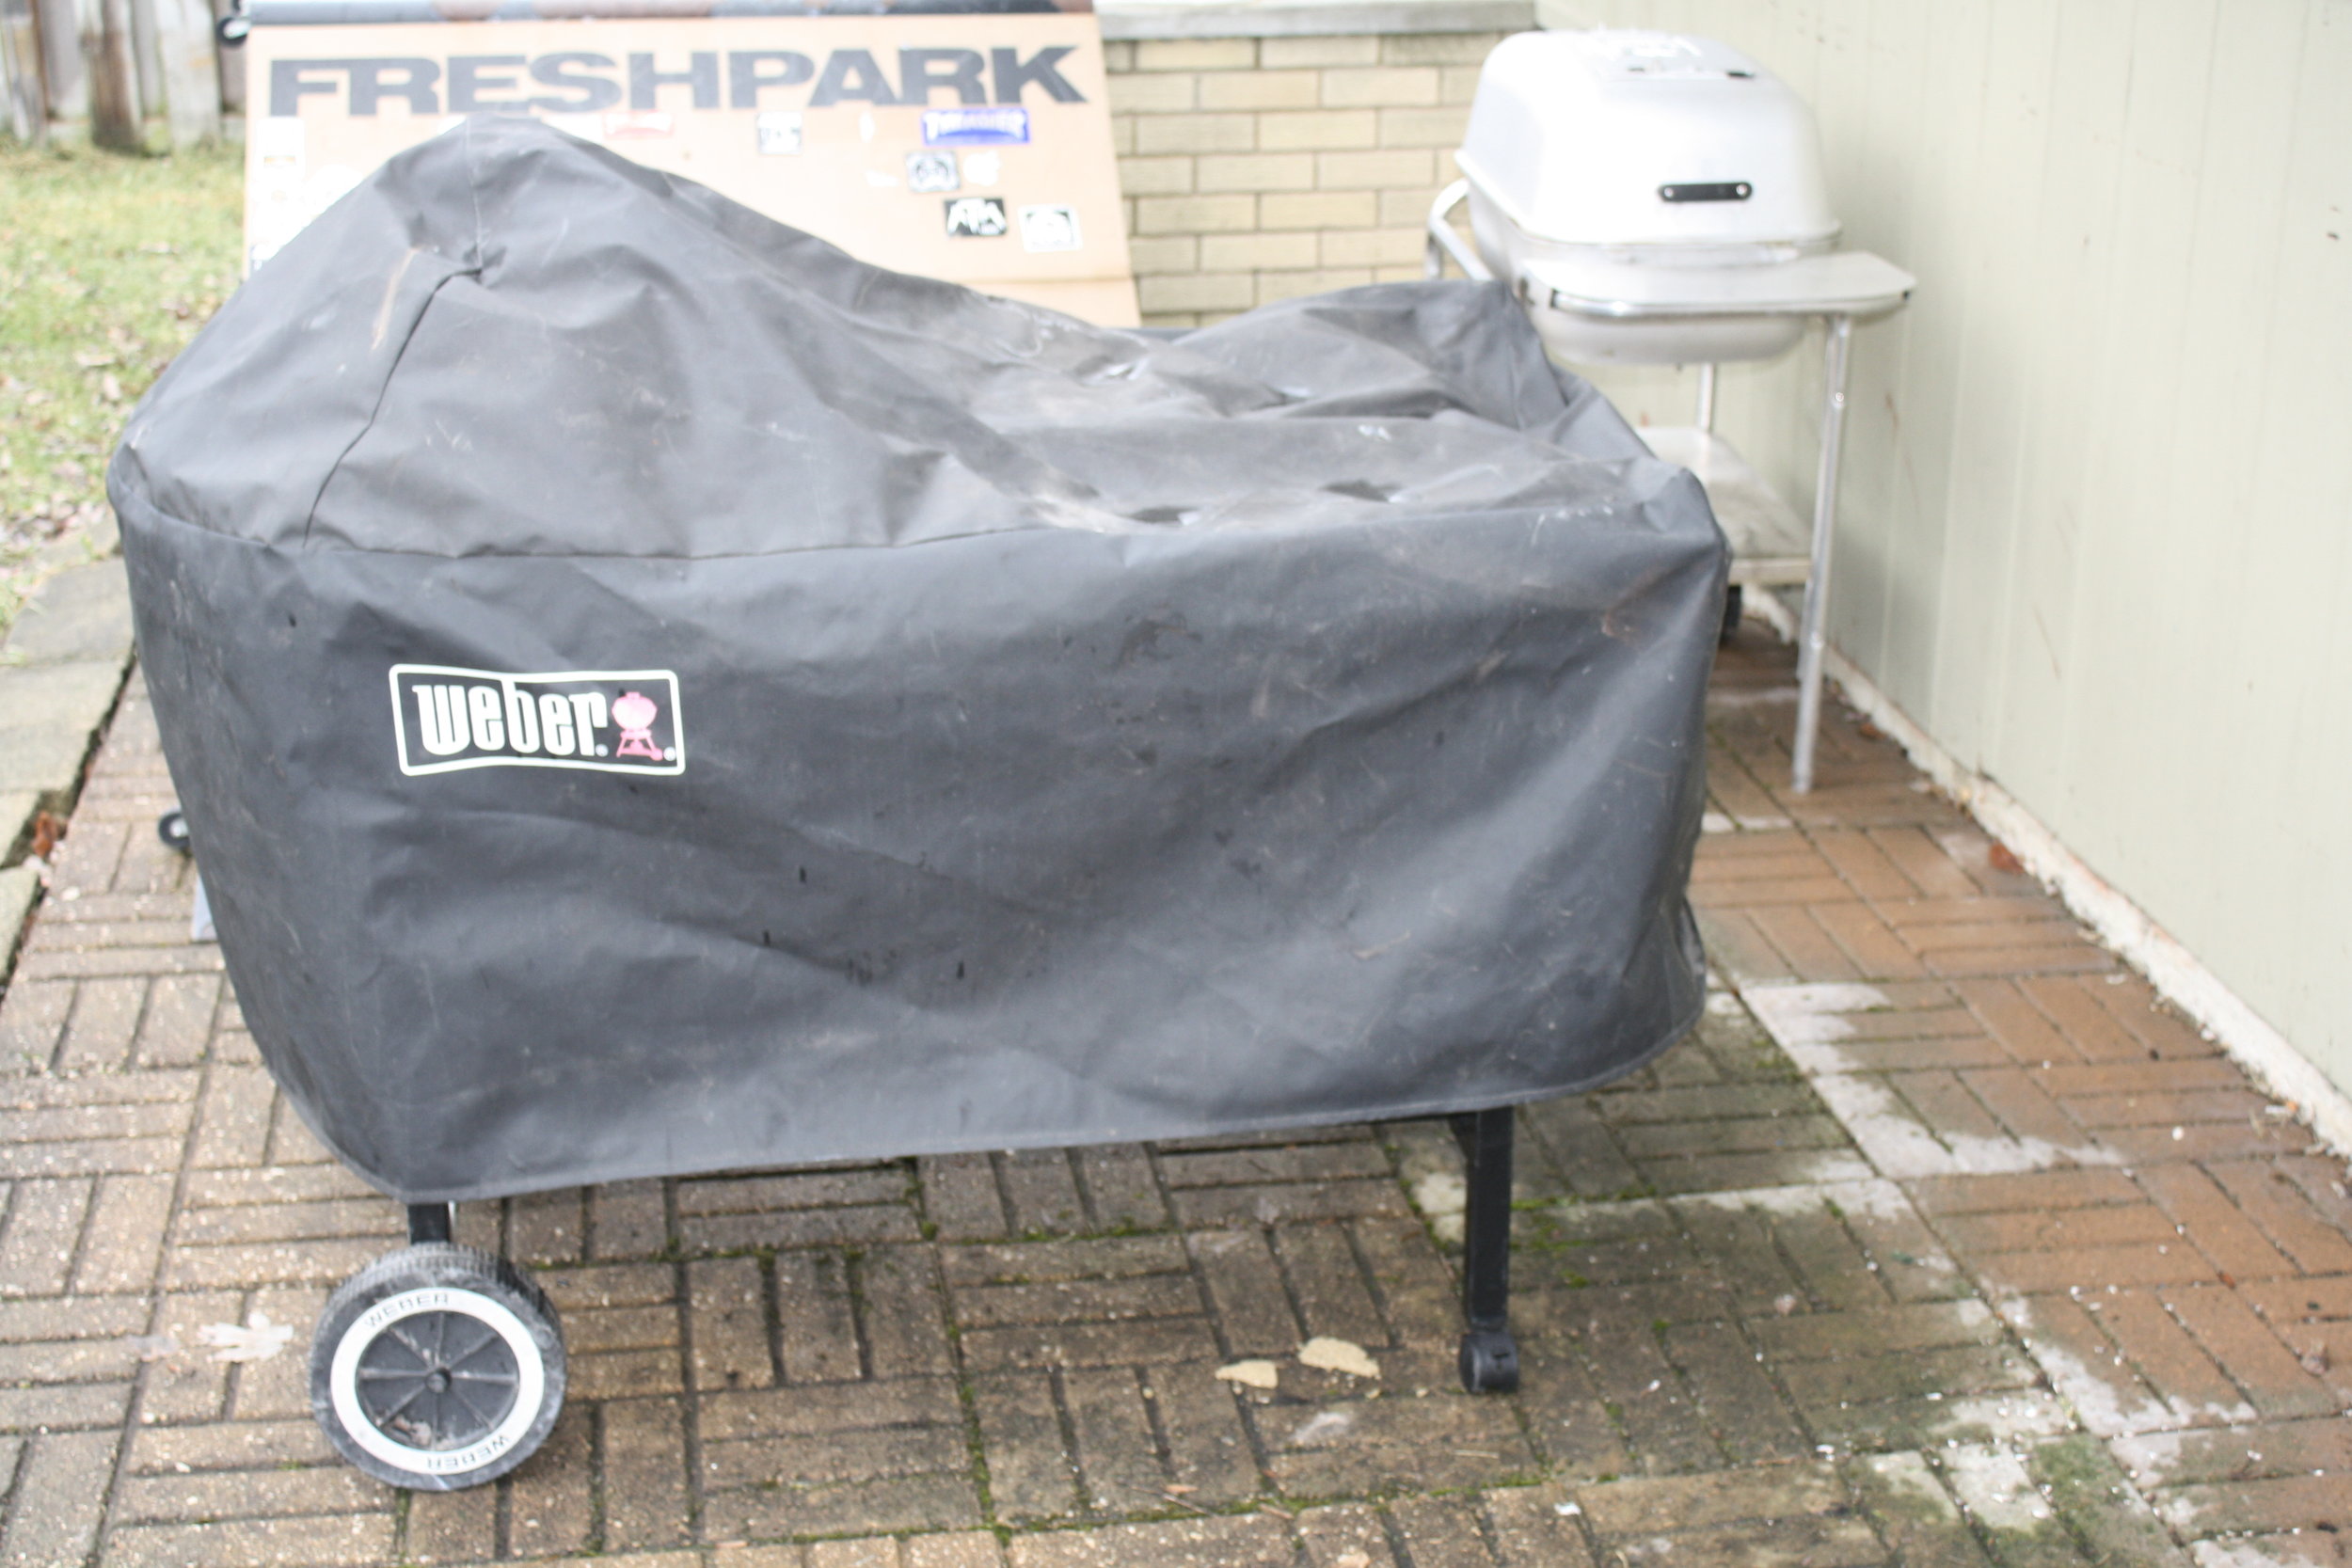

So with the intent of finding a kettle, I could easily build into a table my search for a Weber performer began. Now the Performer is not exactly hard to find...but remember I'm cheap. After a few weeks of hunting through Craigslist ads, I found my kettle. A Weber Performer with a stainless steel table.
This has been my kettle that I have learned to BBQ with. Now many would ask why would I need a table if I have a Performer with a table already. Truth is, while Weber has perfected the art of creating a cooker which is practically indestructible, when it comes to tables, they really make some crap. My Performer was the perfect example of this. Its prior life was spent covered and cared for. The kettle itself was pristine. The table had such a bad case of the wobbles I had to reinforce it.
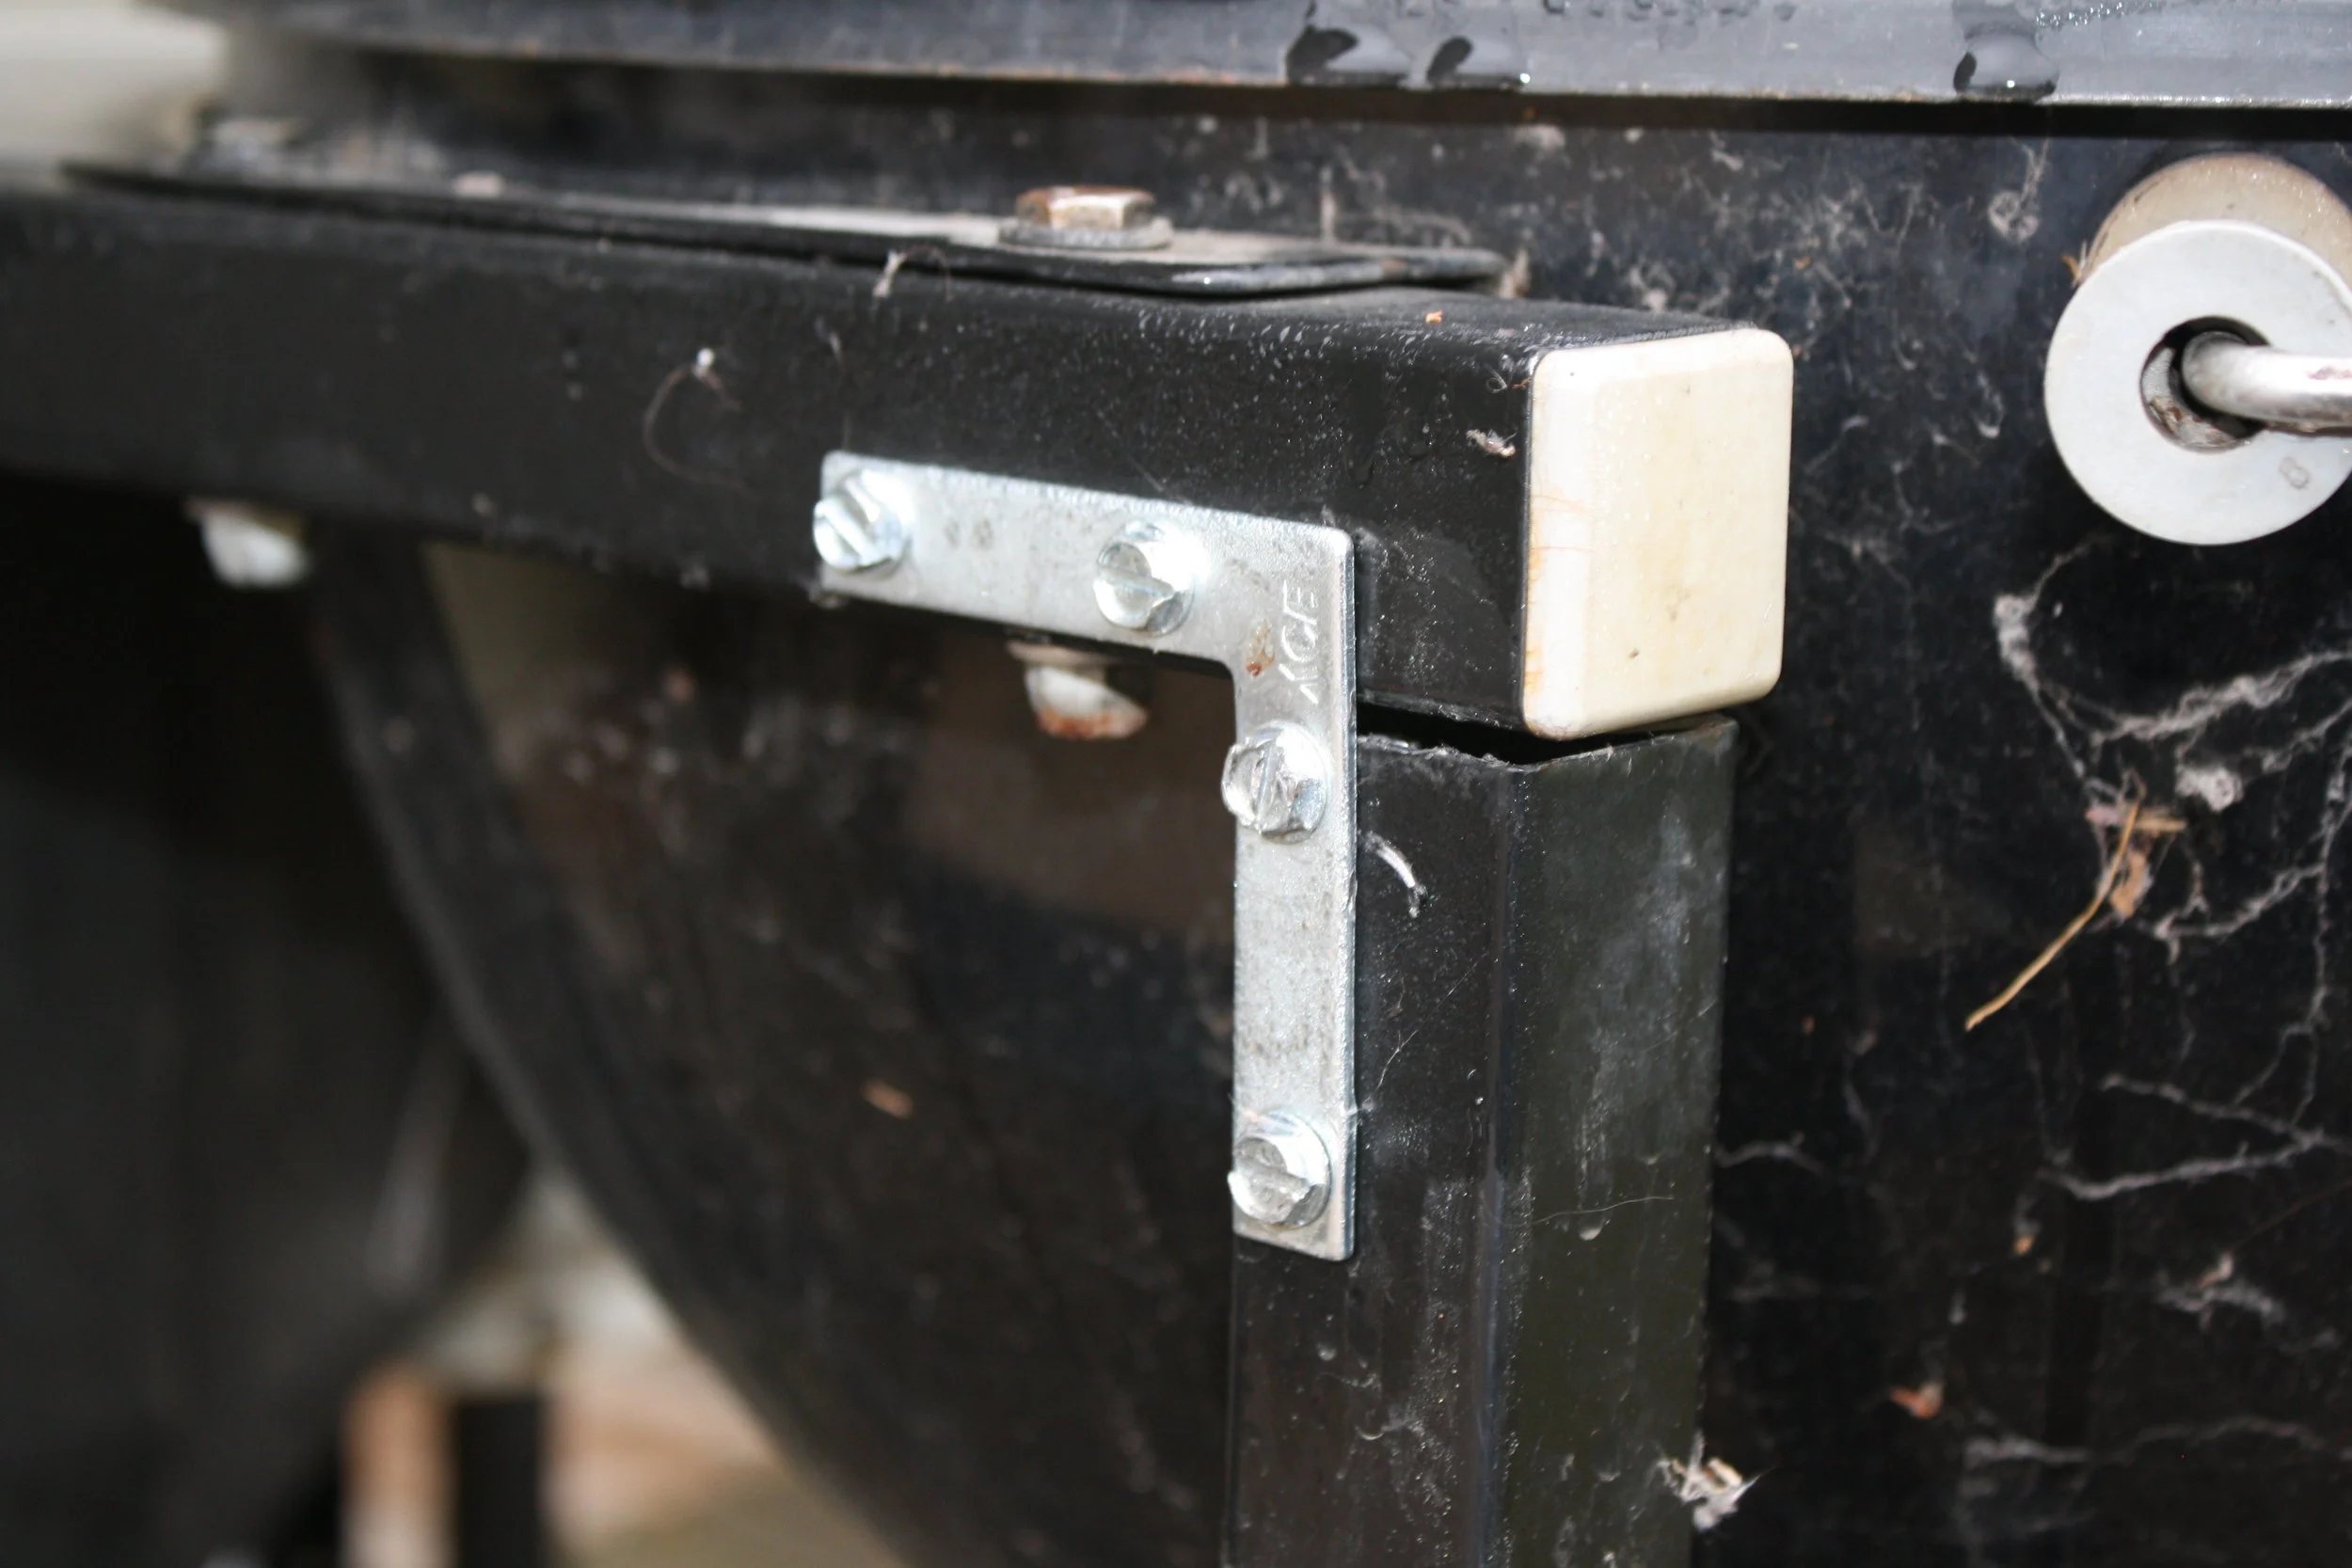
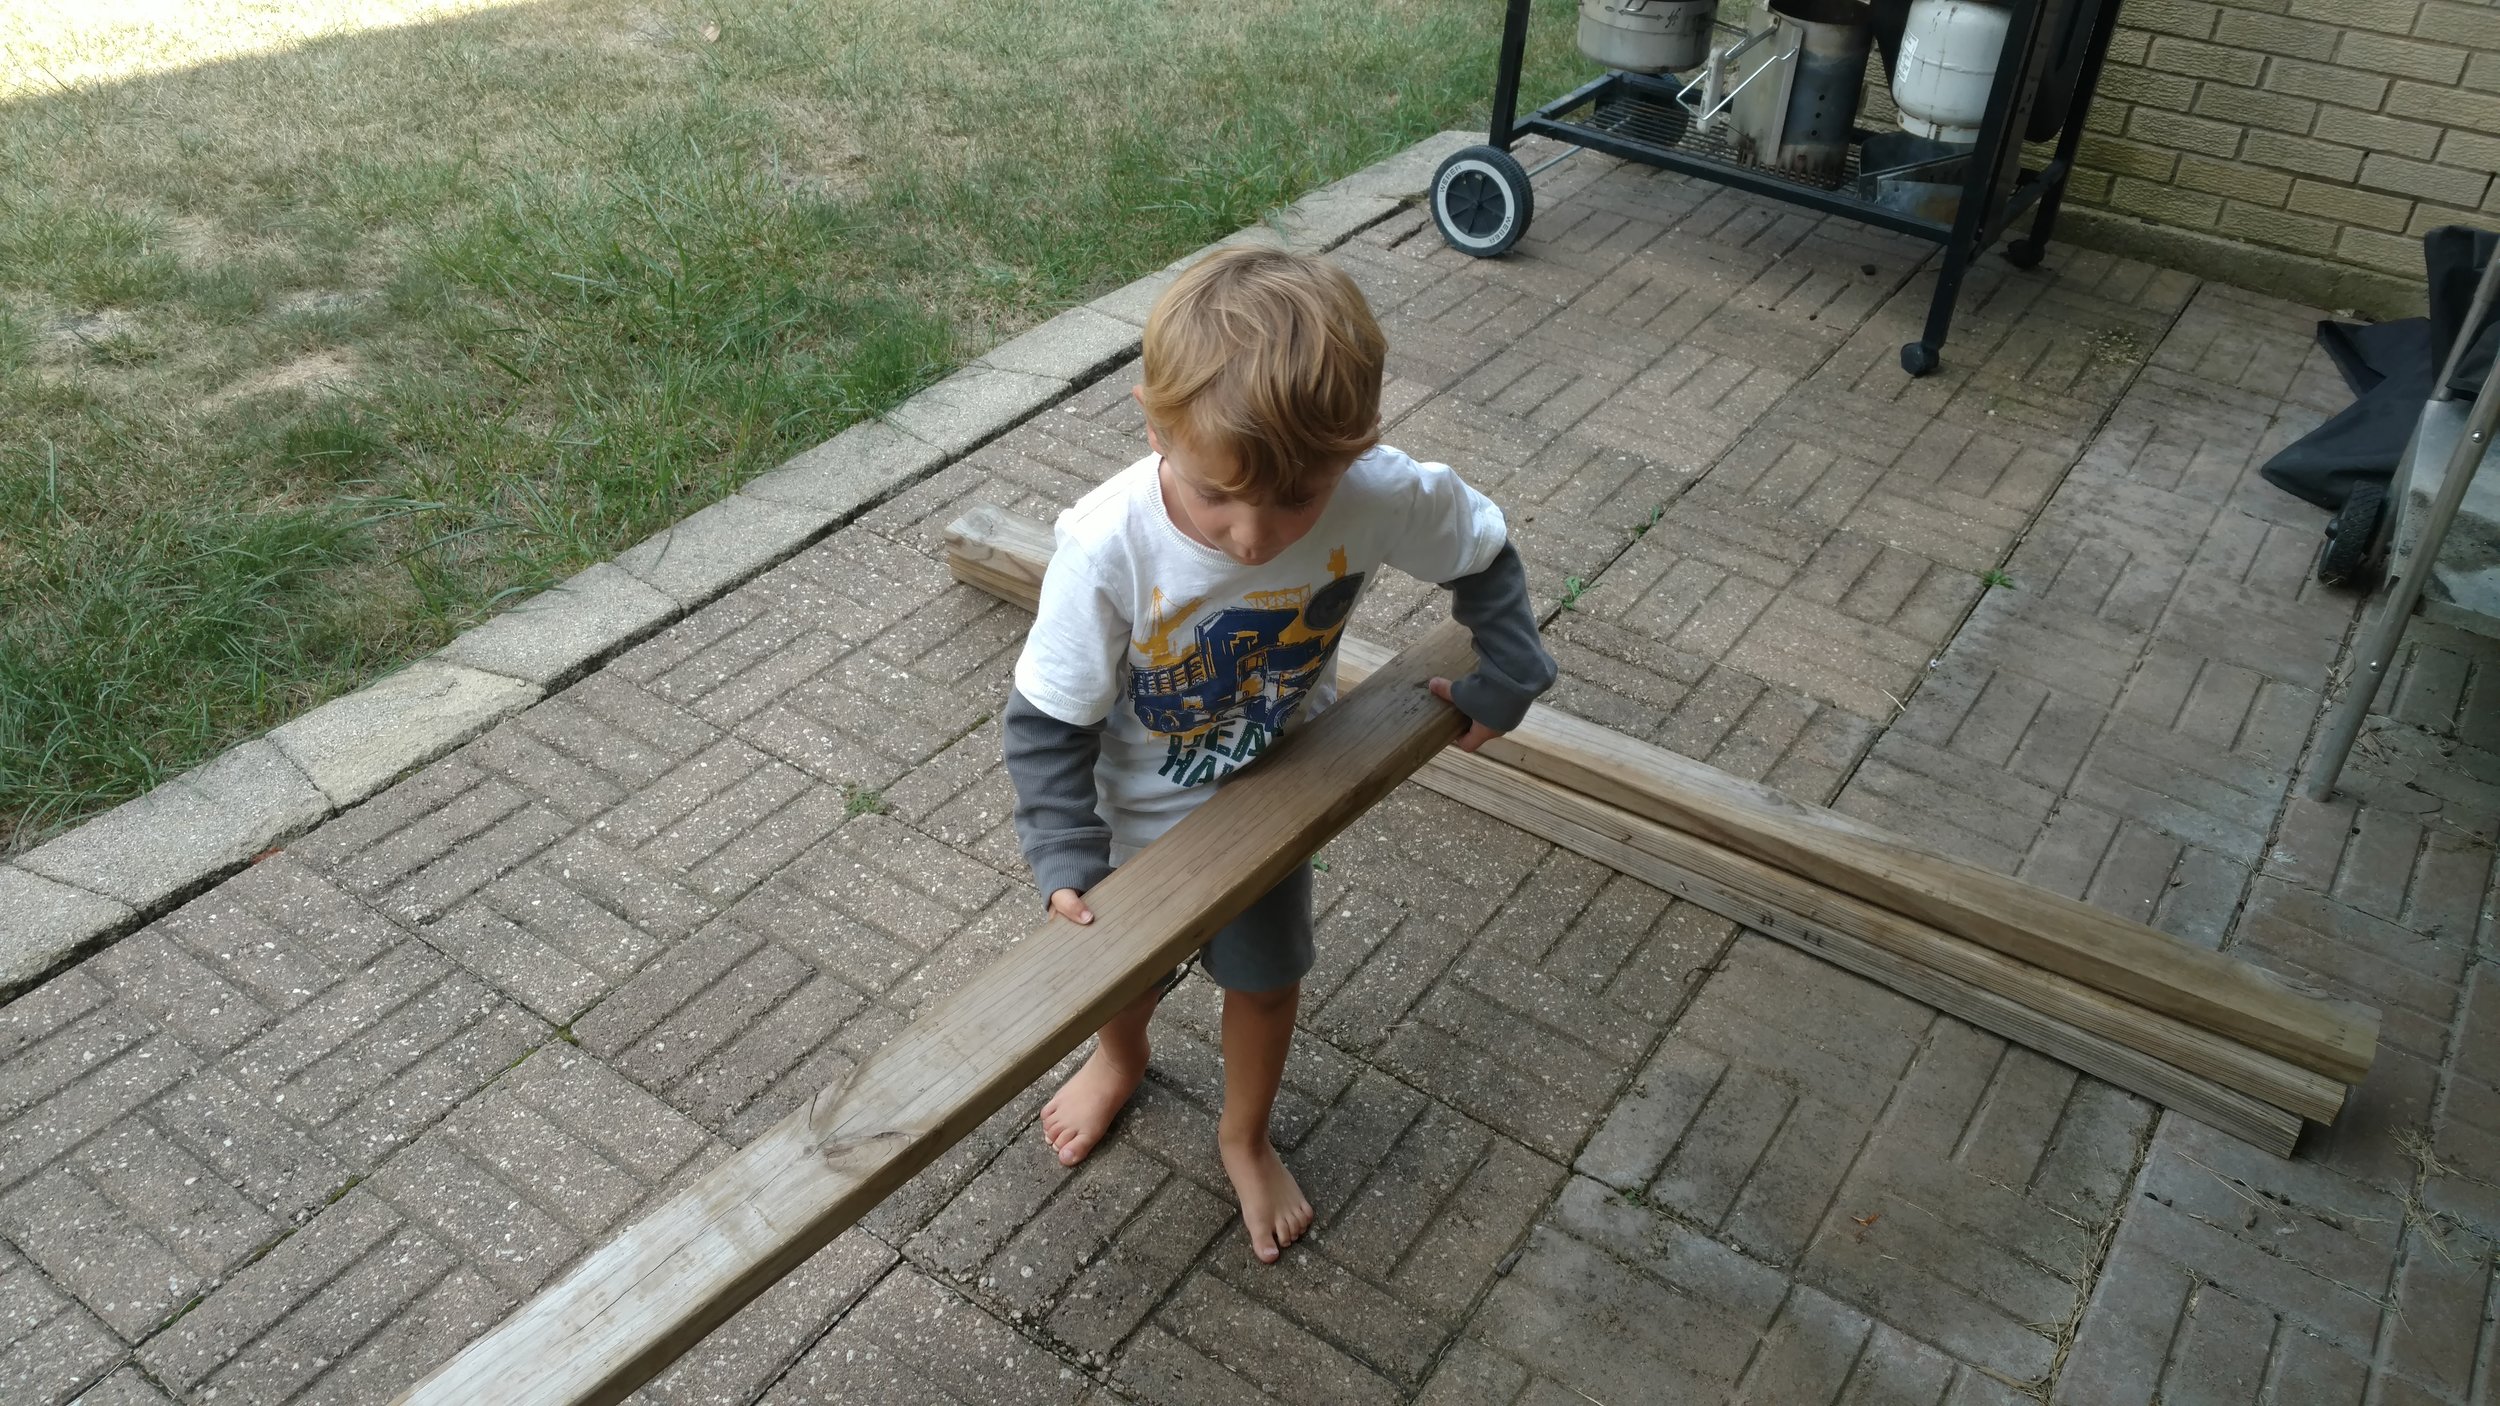
I carefully shored things up with some angle brackets. But I knew that Weber table was only temporary. BBQ on this has been a great experience. And I was happy with it almost to the point I forgot about building a table. Then I stumbled across some wood. A K-Mart was going out of business (go figure) and selling off fixtures. Amongst that was all of the 2x4s and outdoor decking they used for their Garden Center displays. All good clean wood at 75 cents a board.
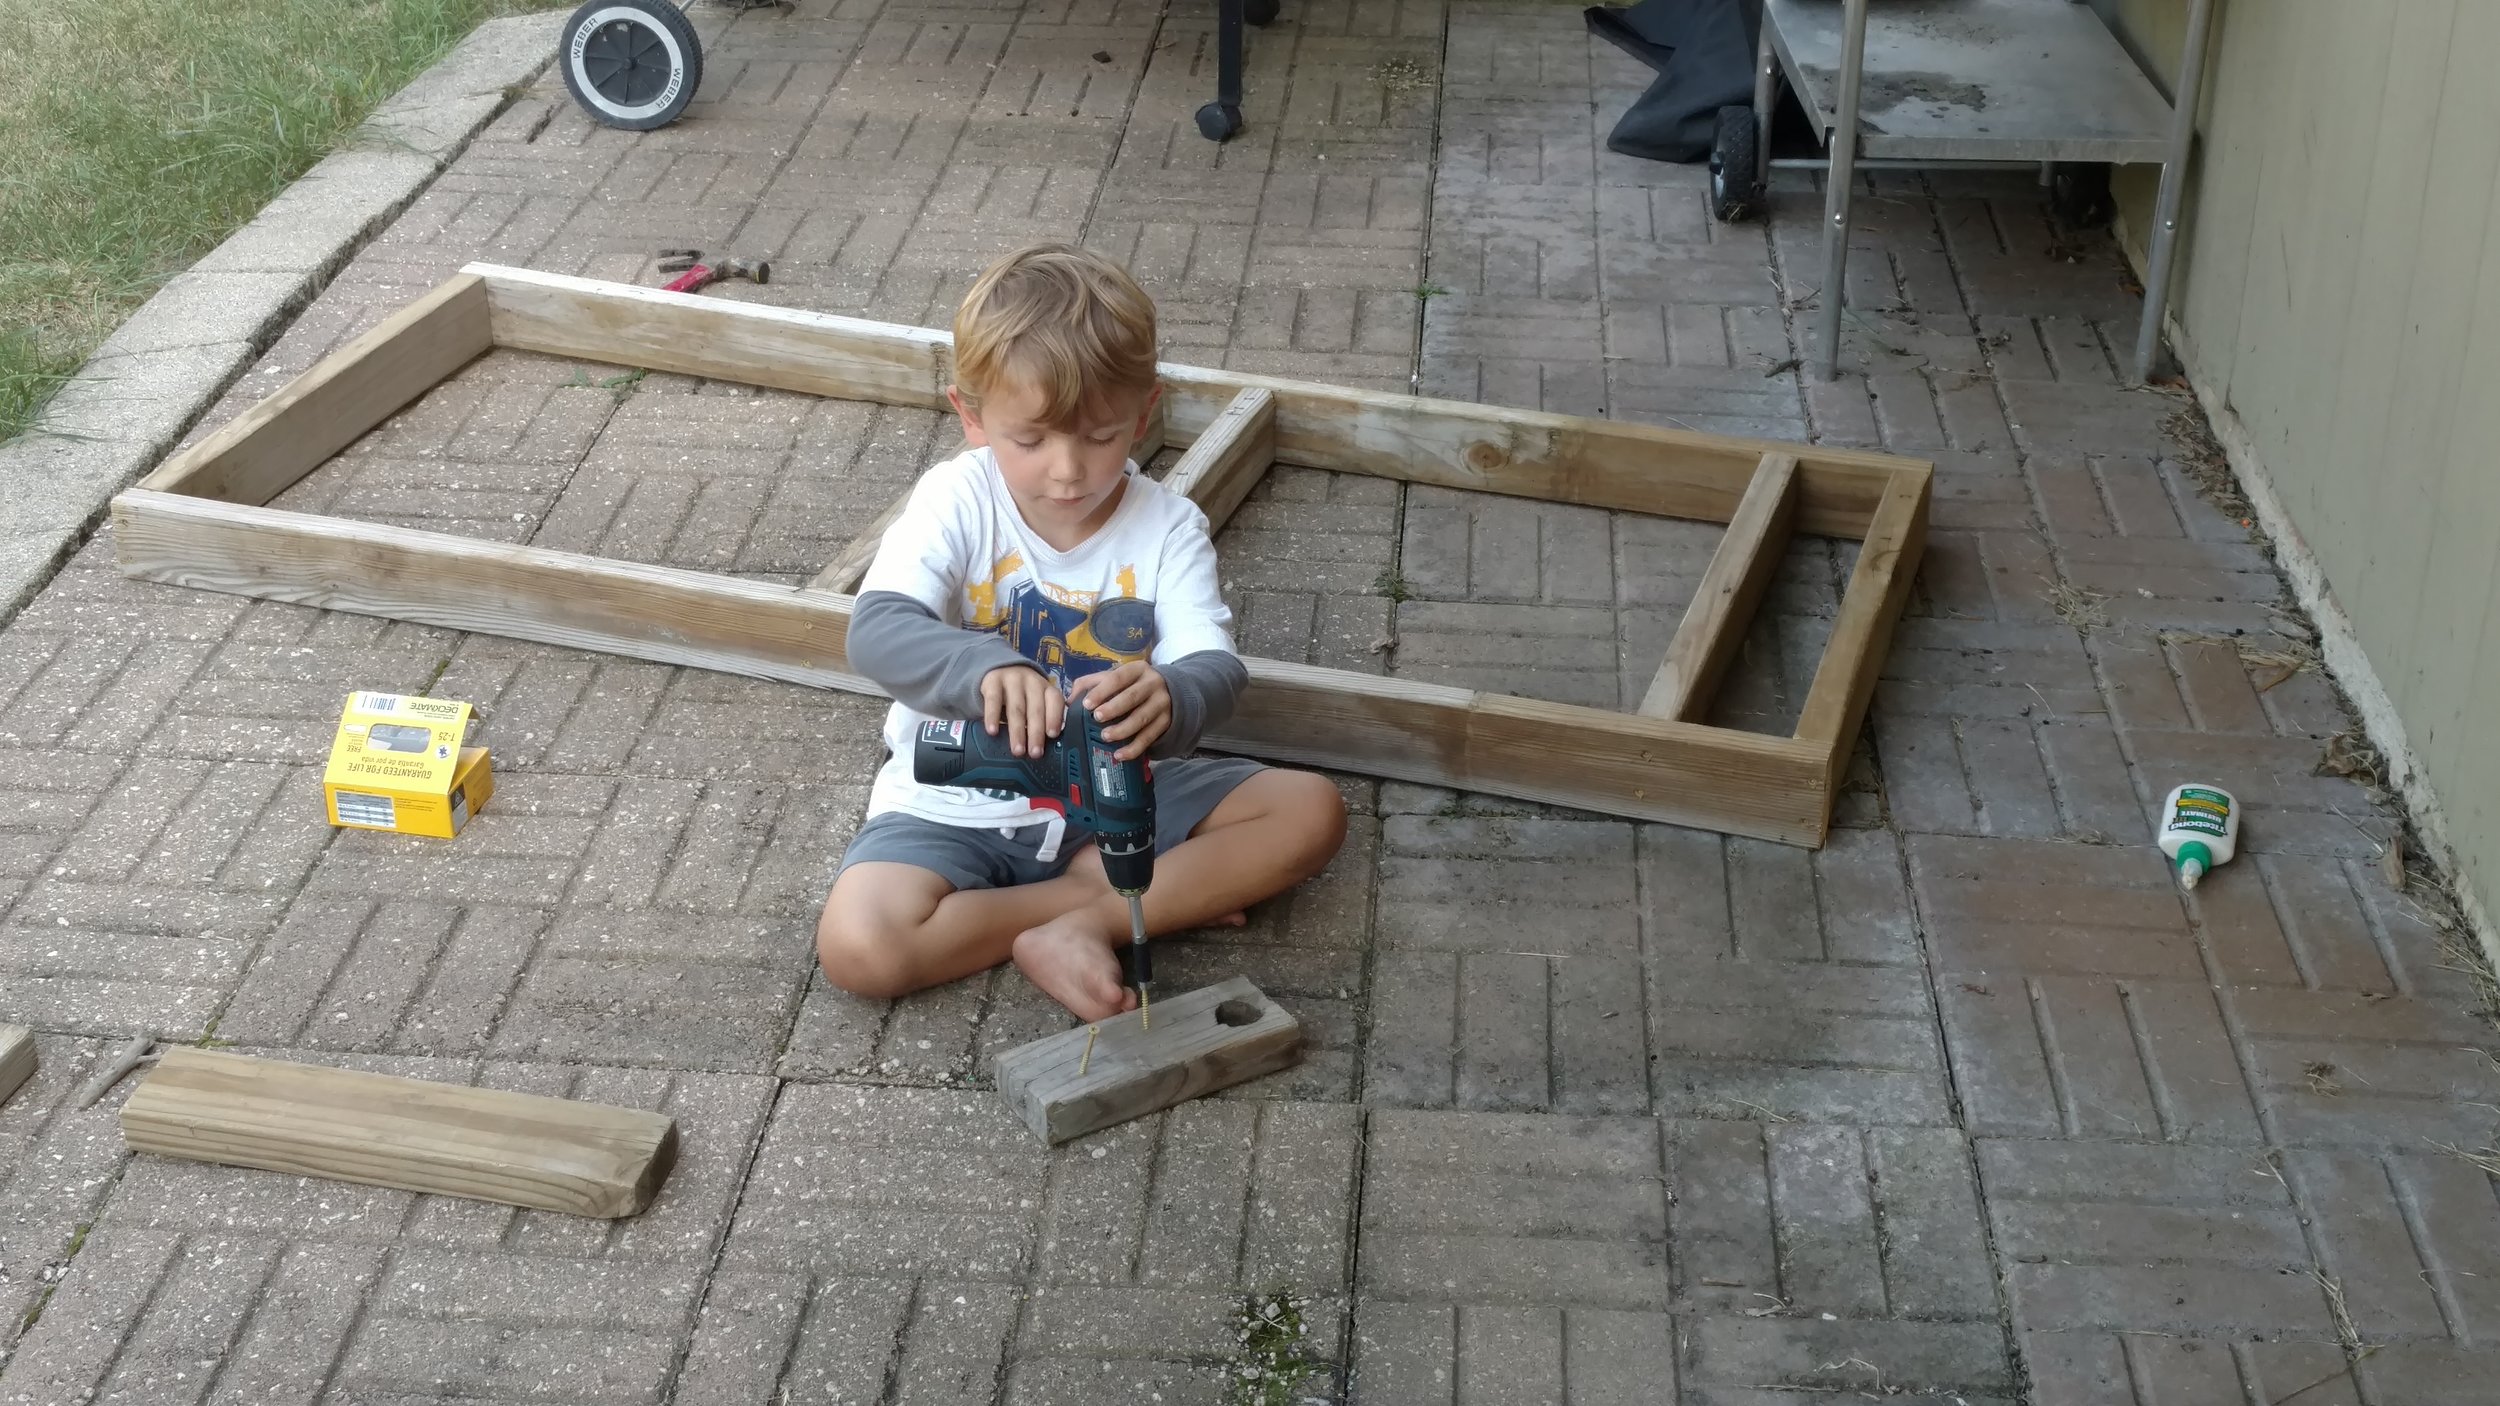
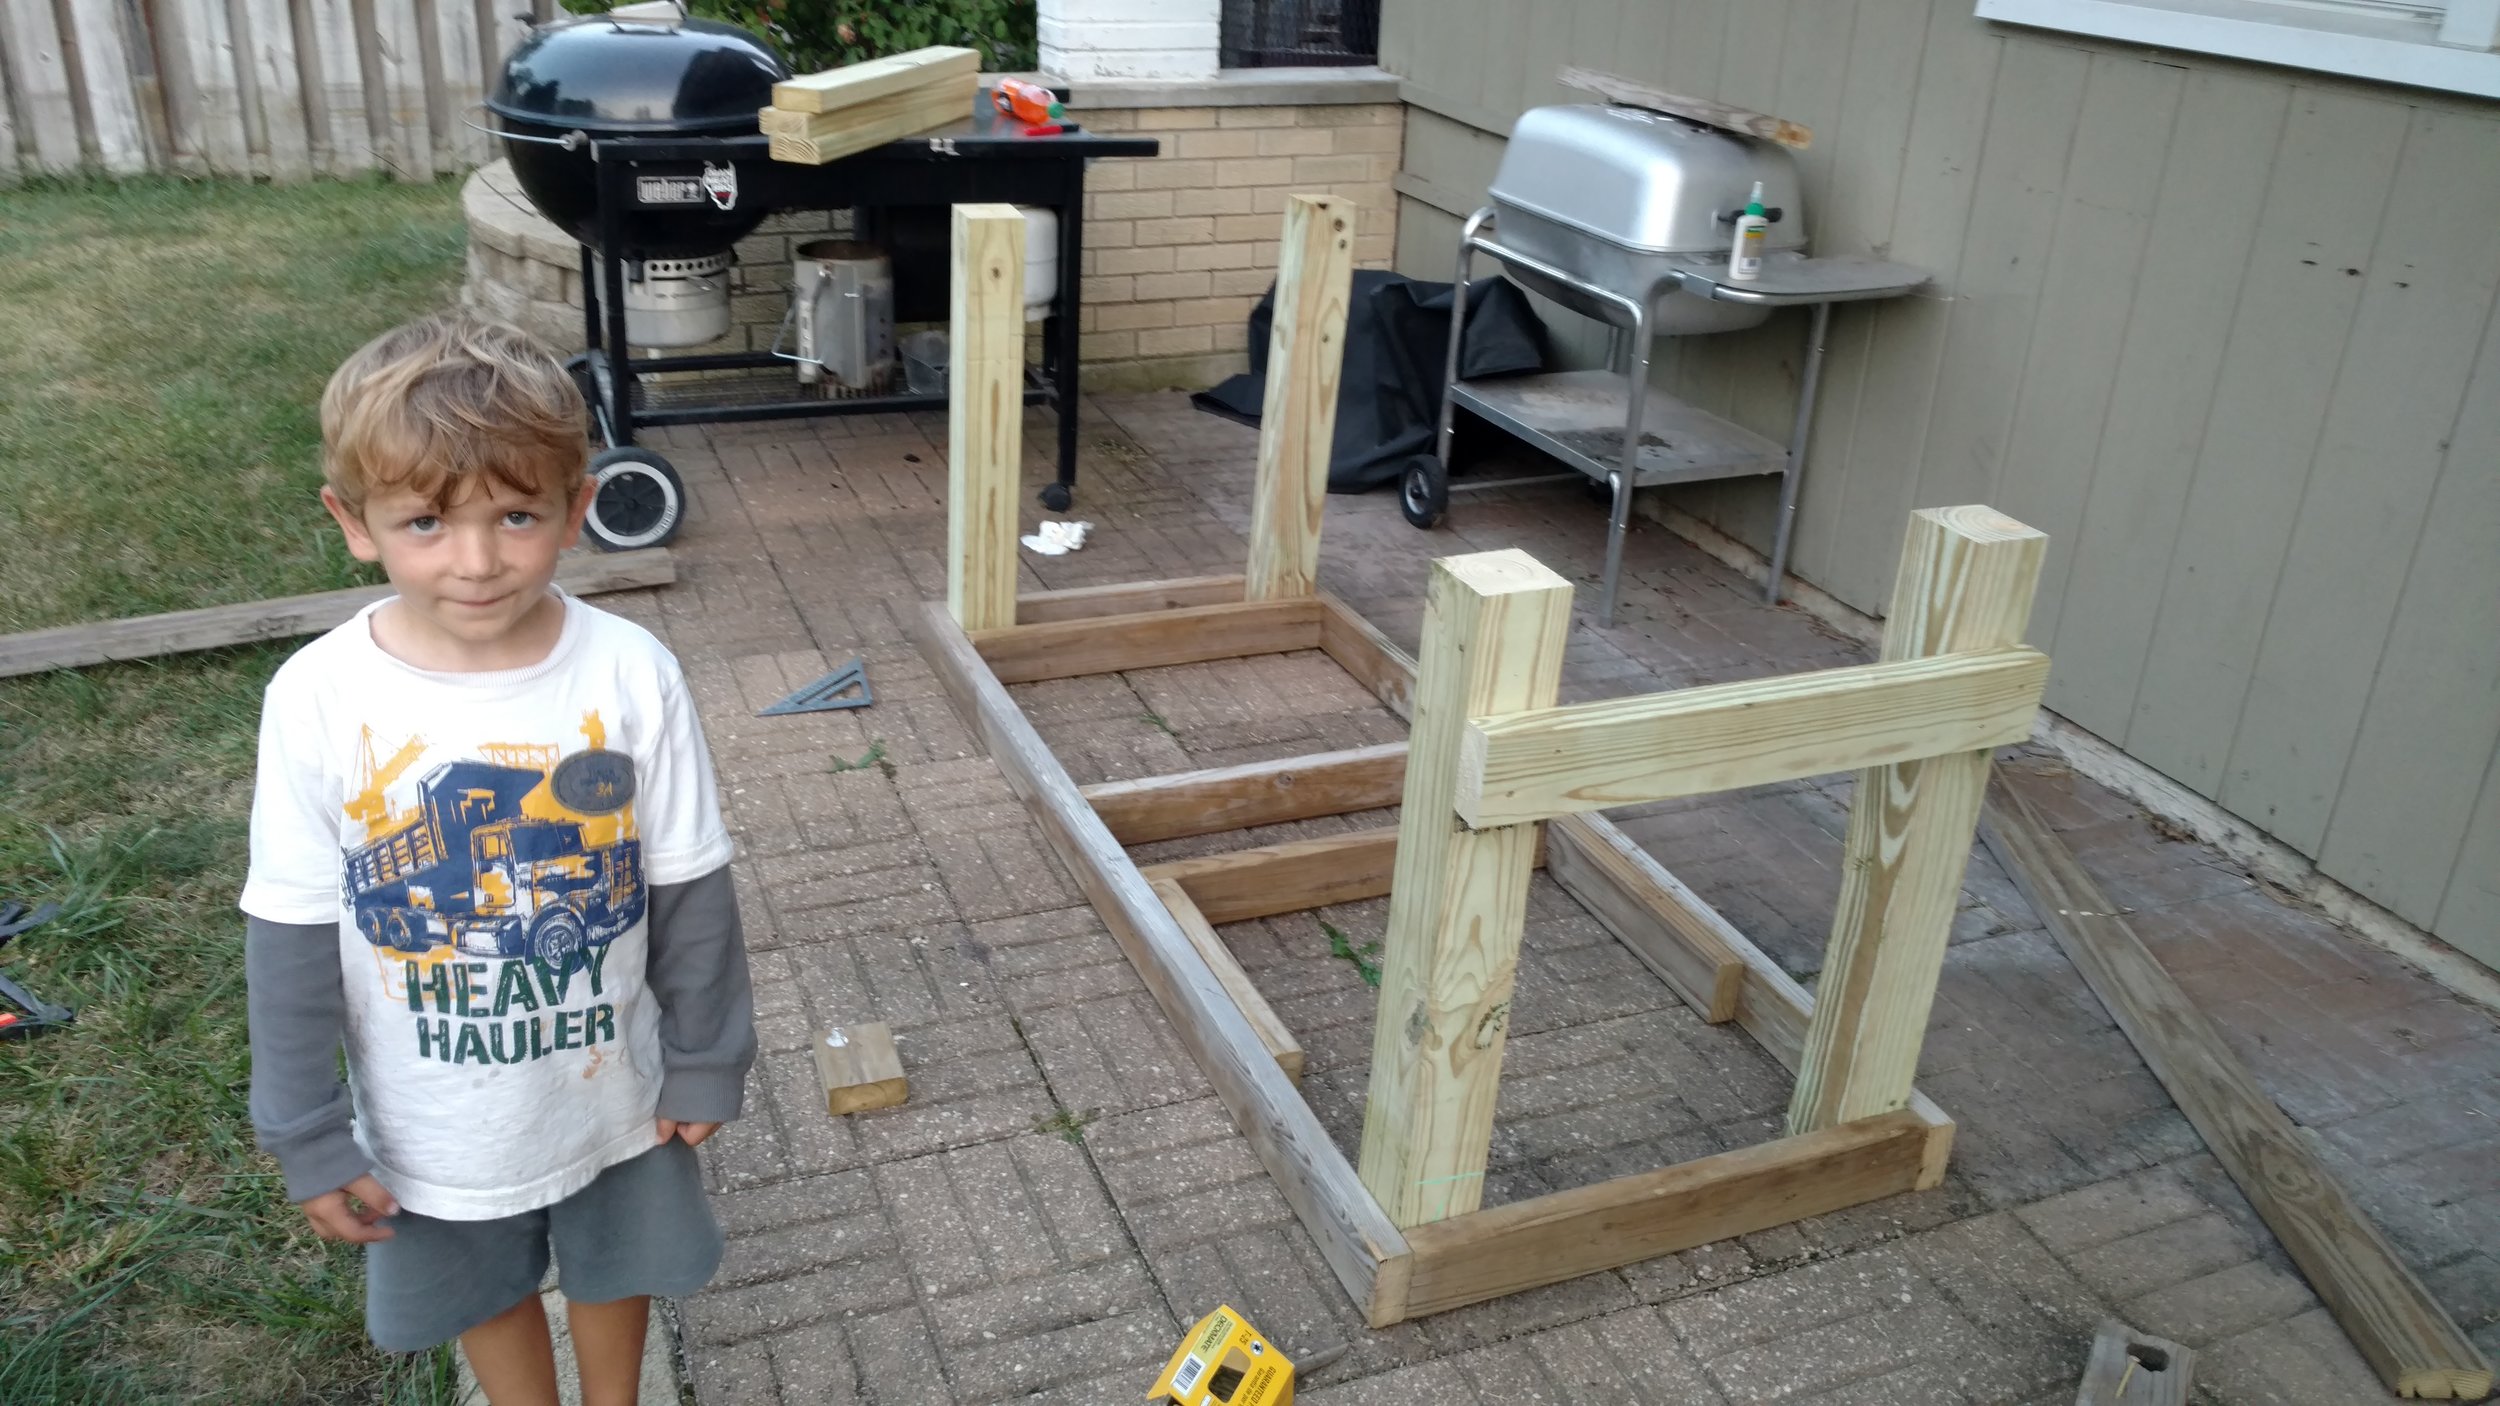
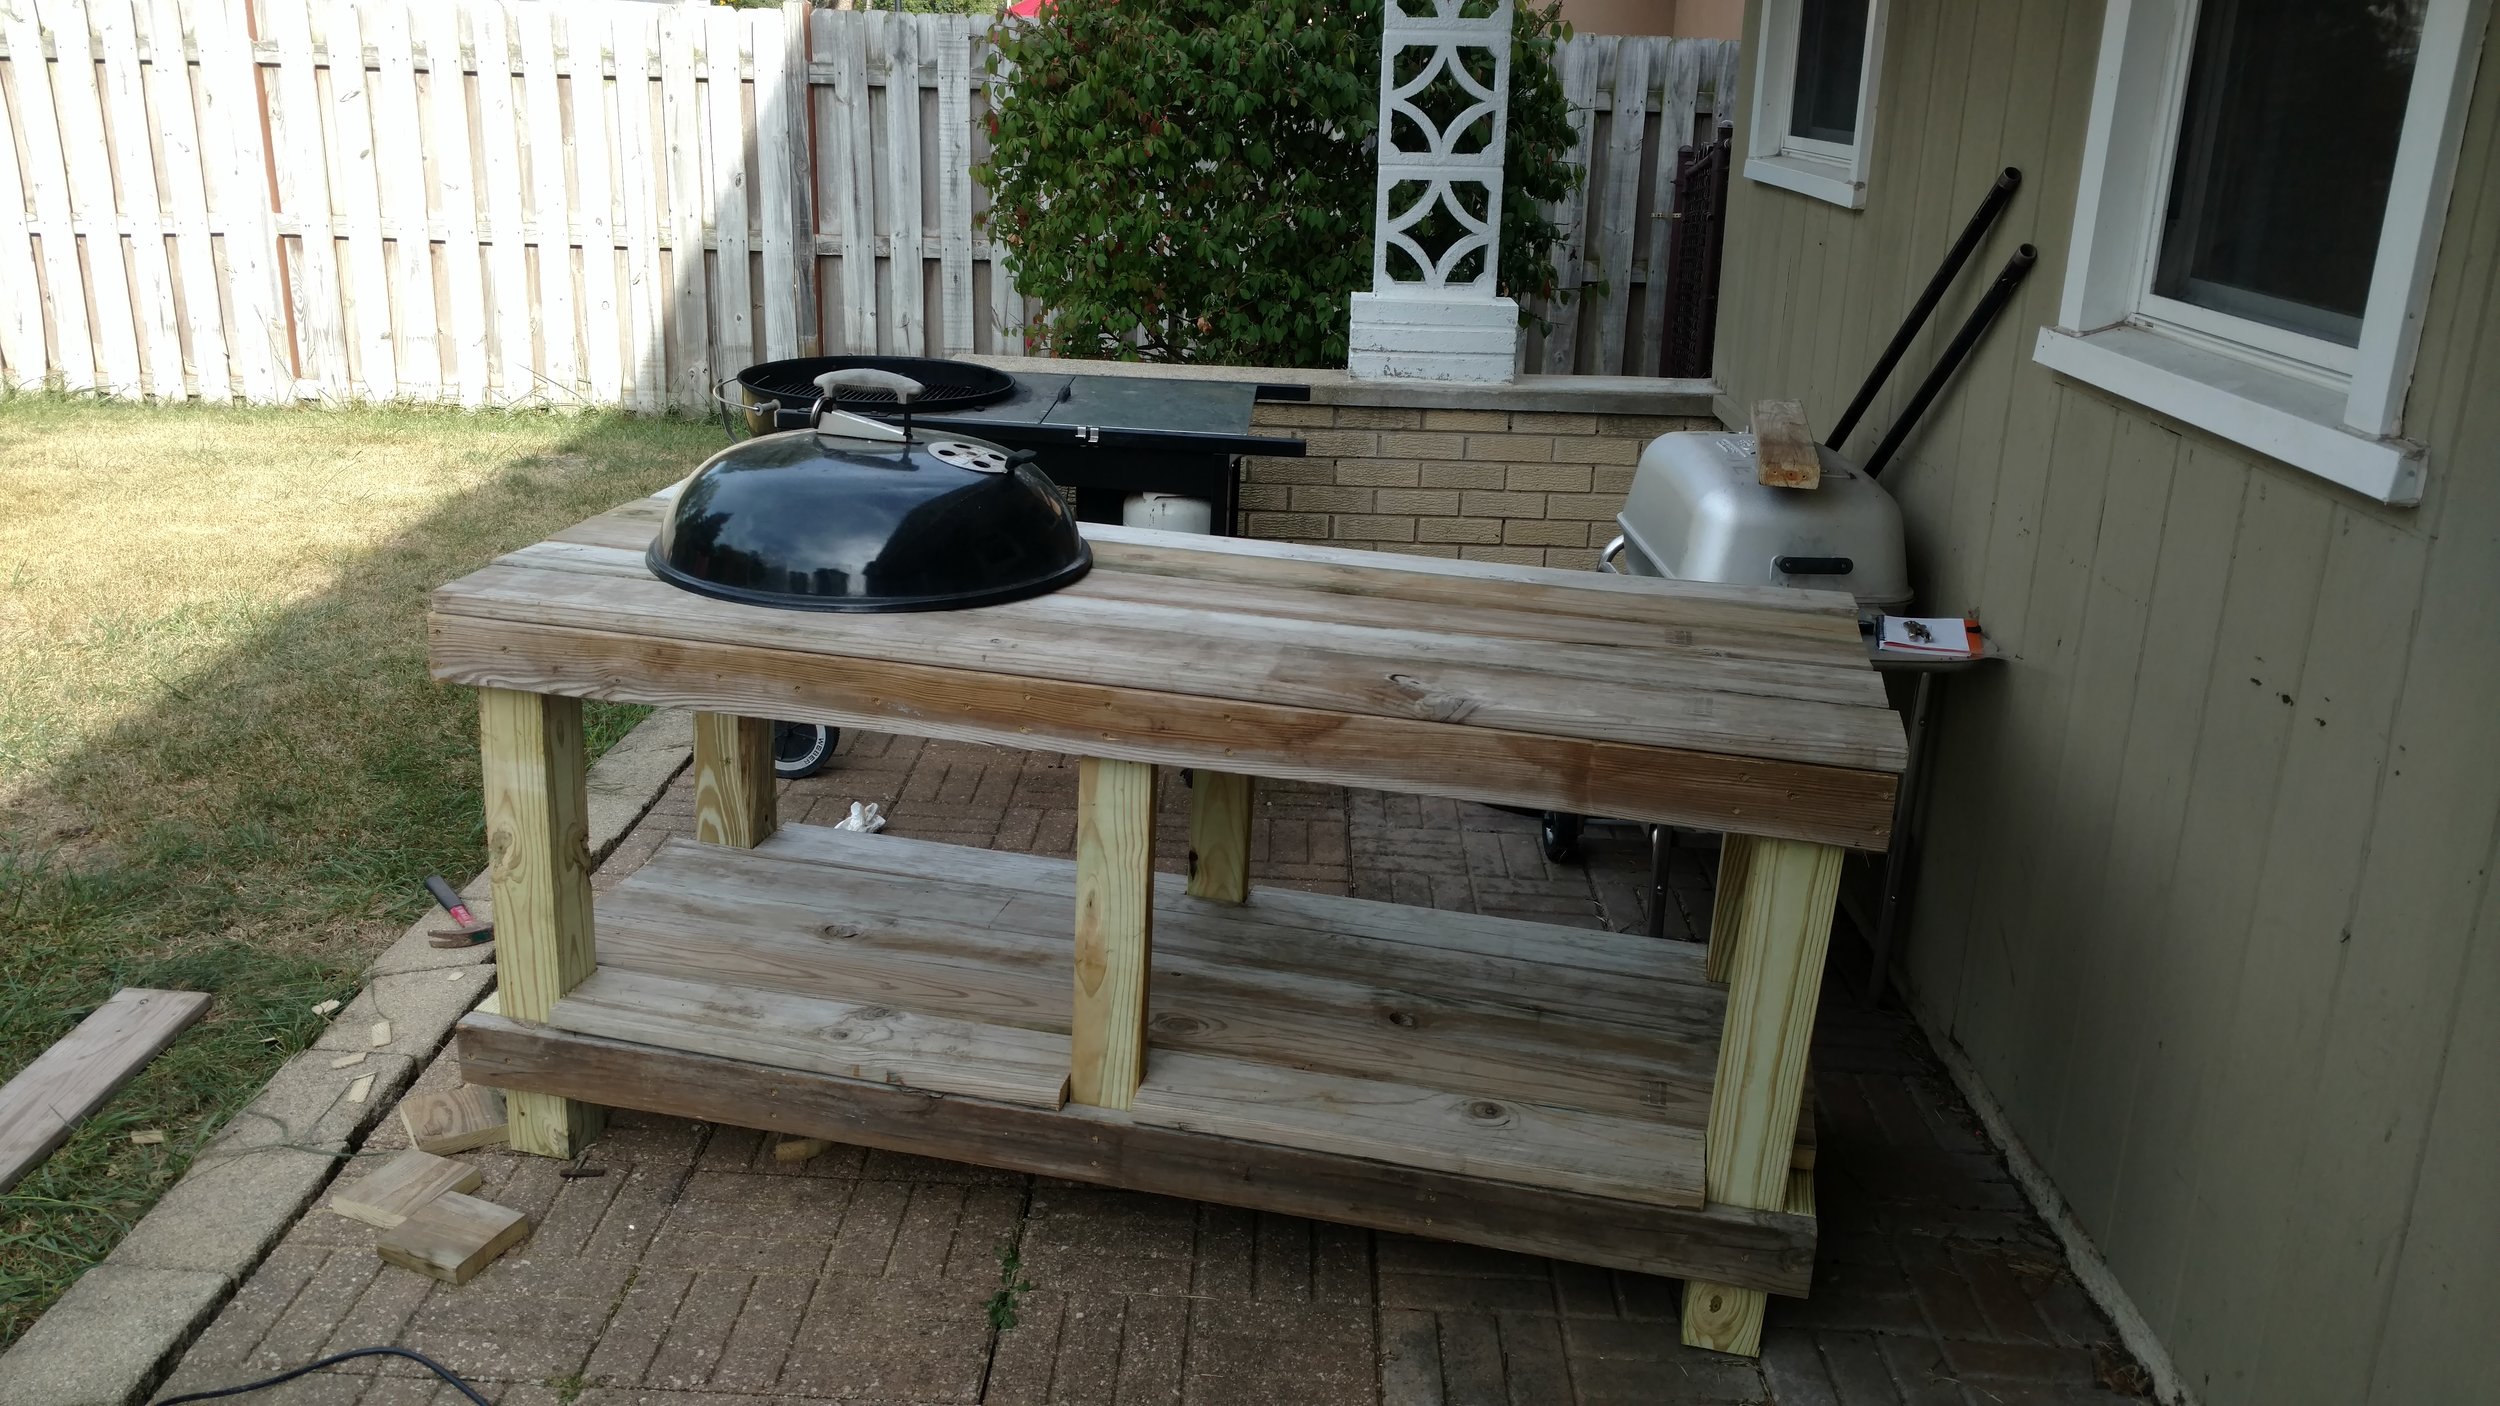
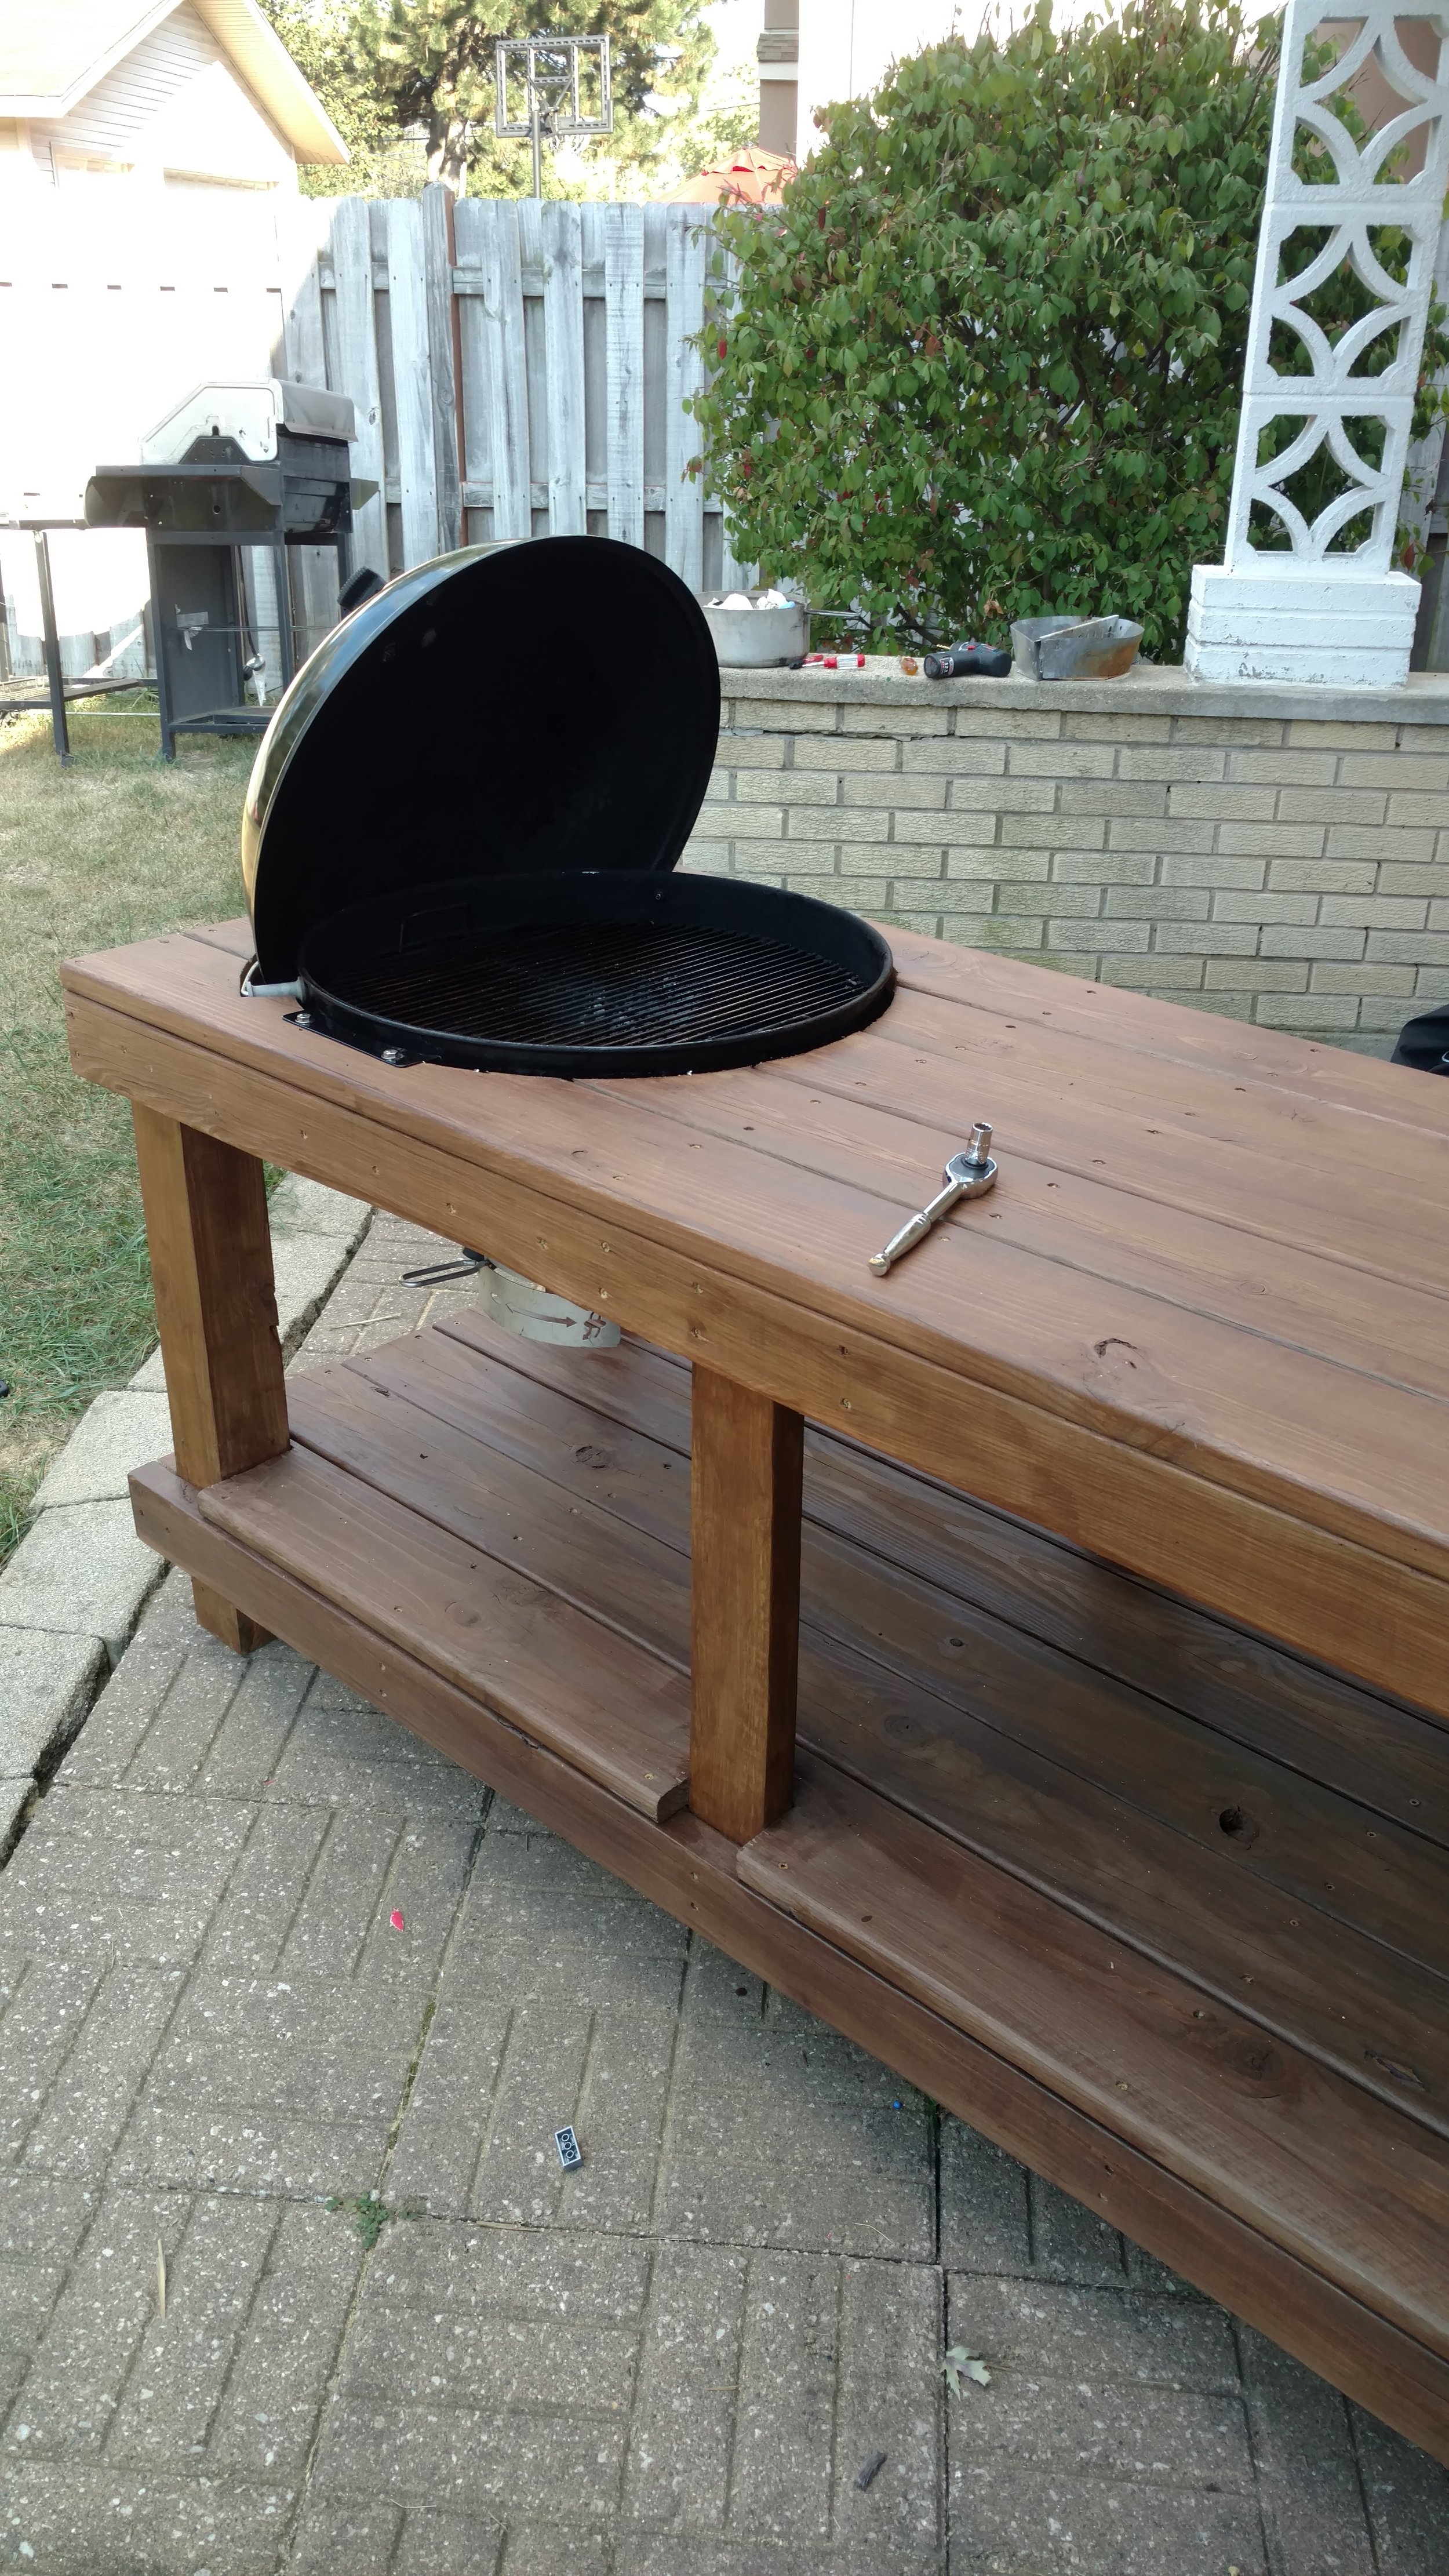
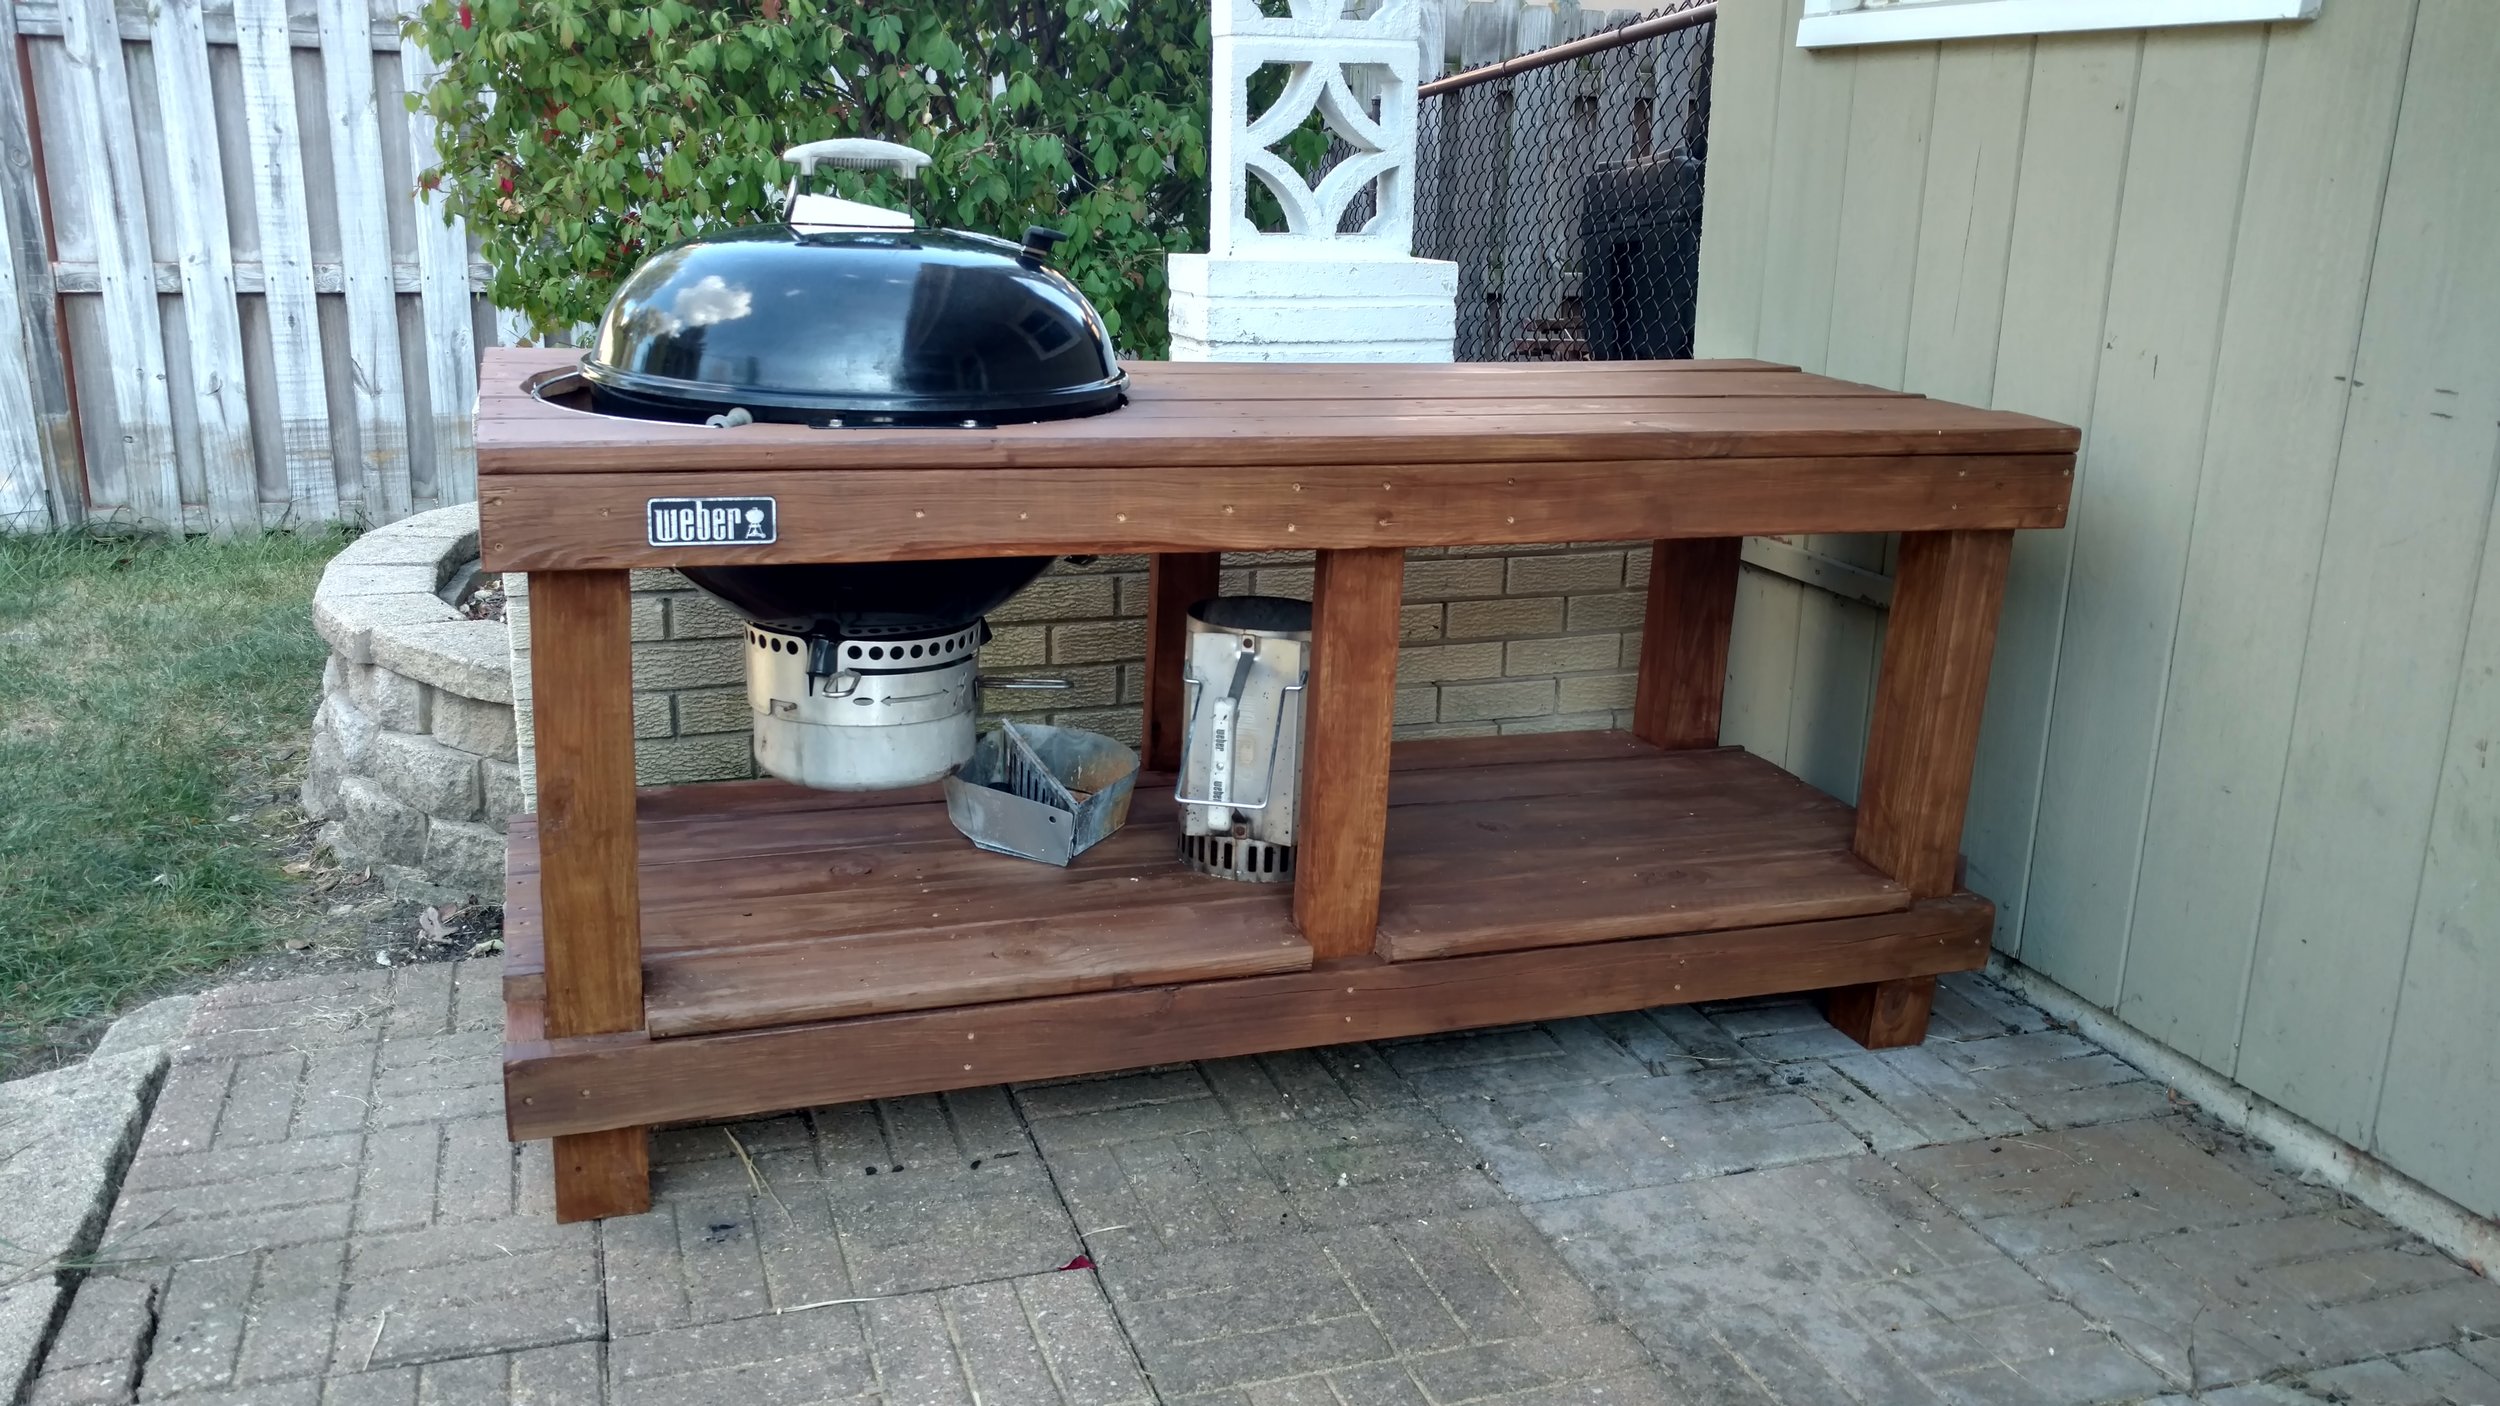
Now we got a project! For planning my table, I went on the simple side. 4x4s on the corners. A bottom shelf and a top. When it came to building the top, I started with measuring the brackets on my kettle and kinda playing it by ear from that point. That is except for one important feature built into my table. See I love my kettle and plan on using it for a long time to come, but also there is another nagging voice in my head which tells me a Kamado is in my future. So when I framed the top of the table I actually framed it around my kettle, and then to the proper table dimensions to accommodate a Large BGE on the opposite side.
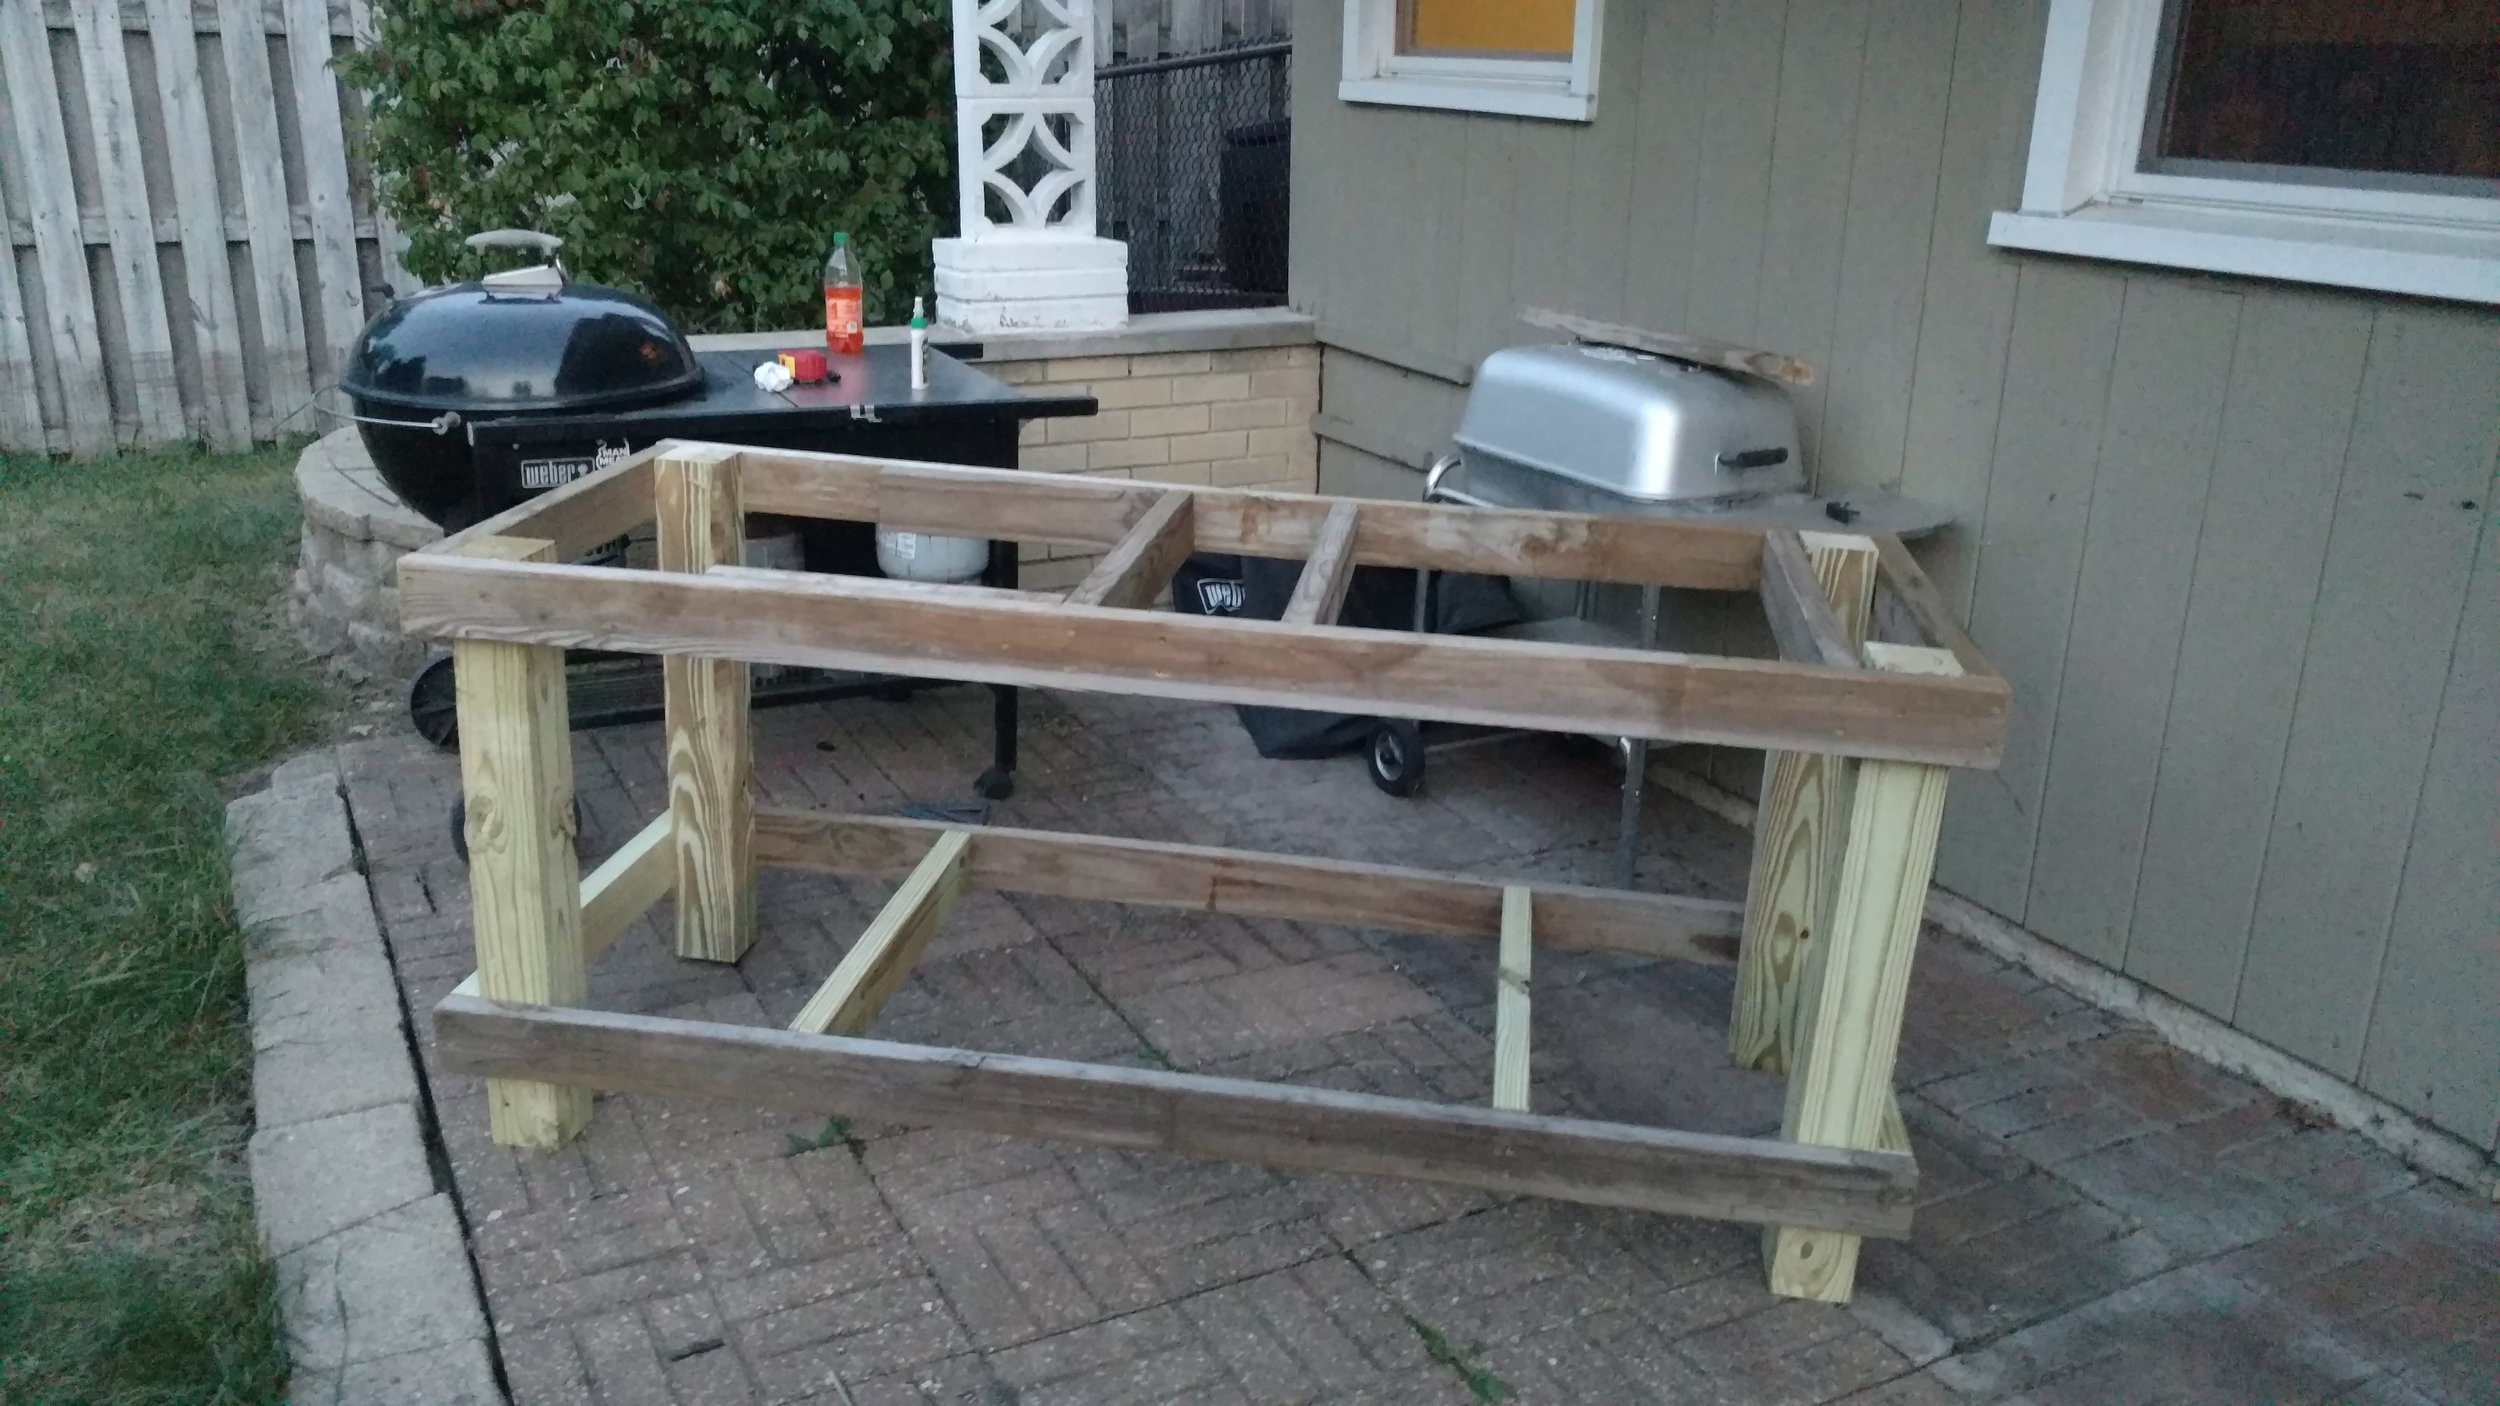
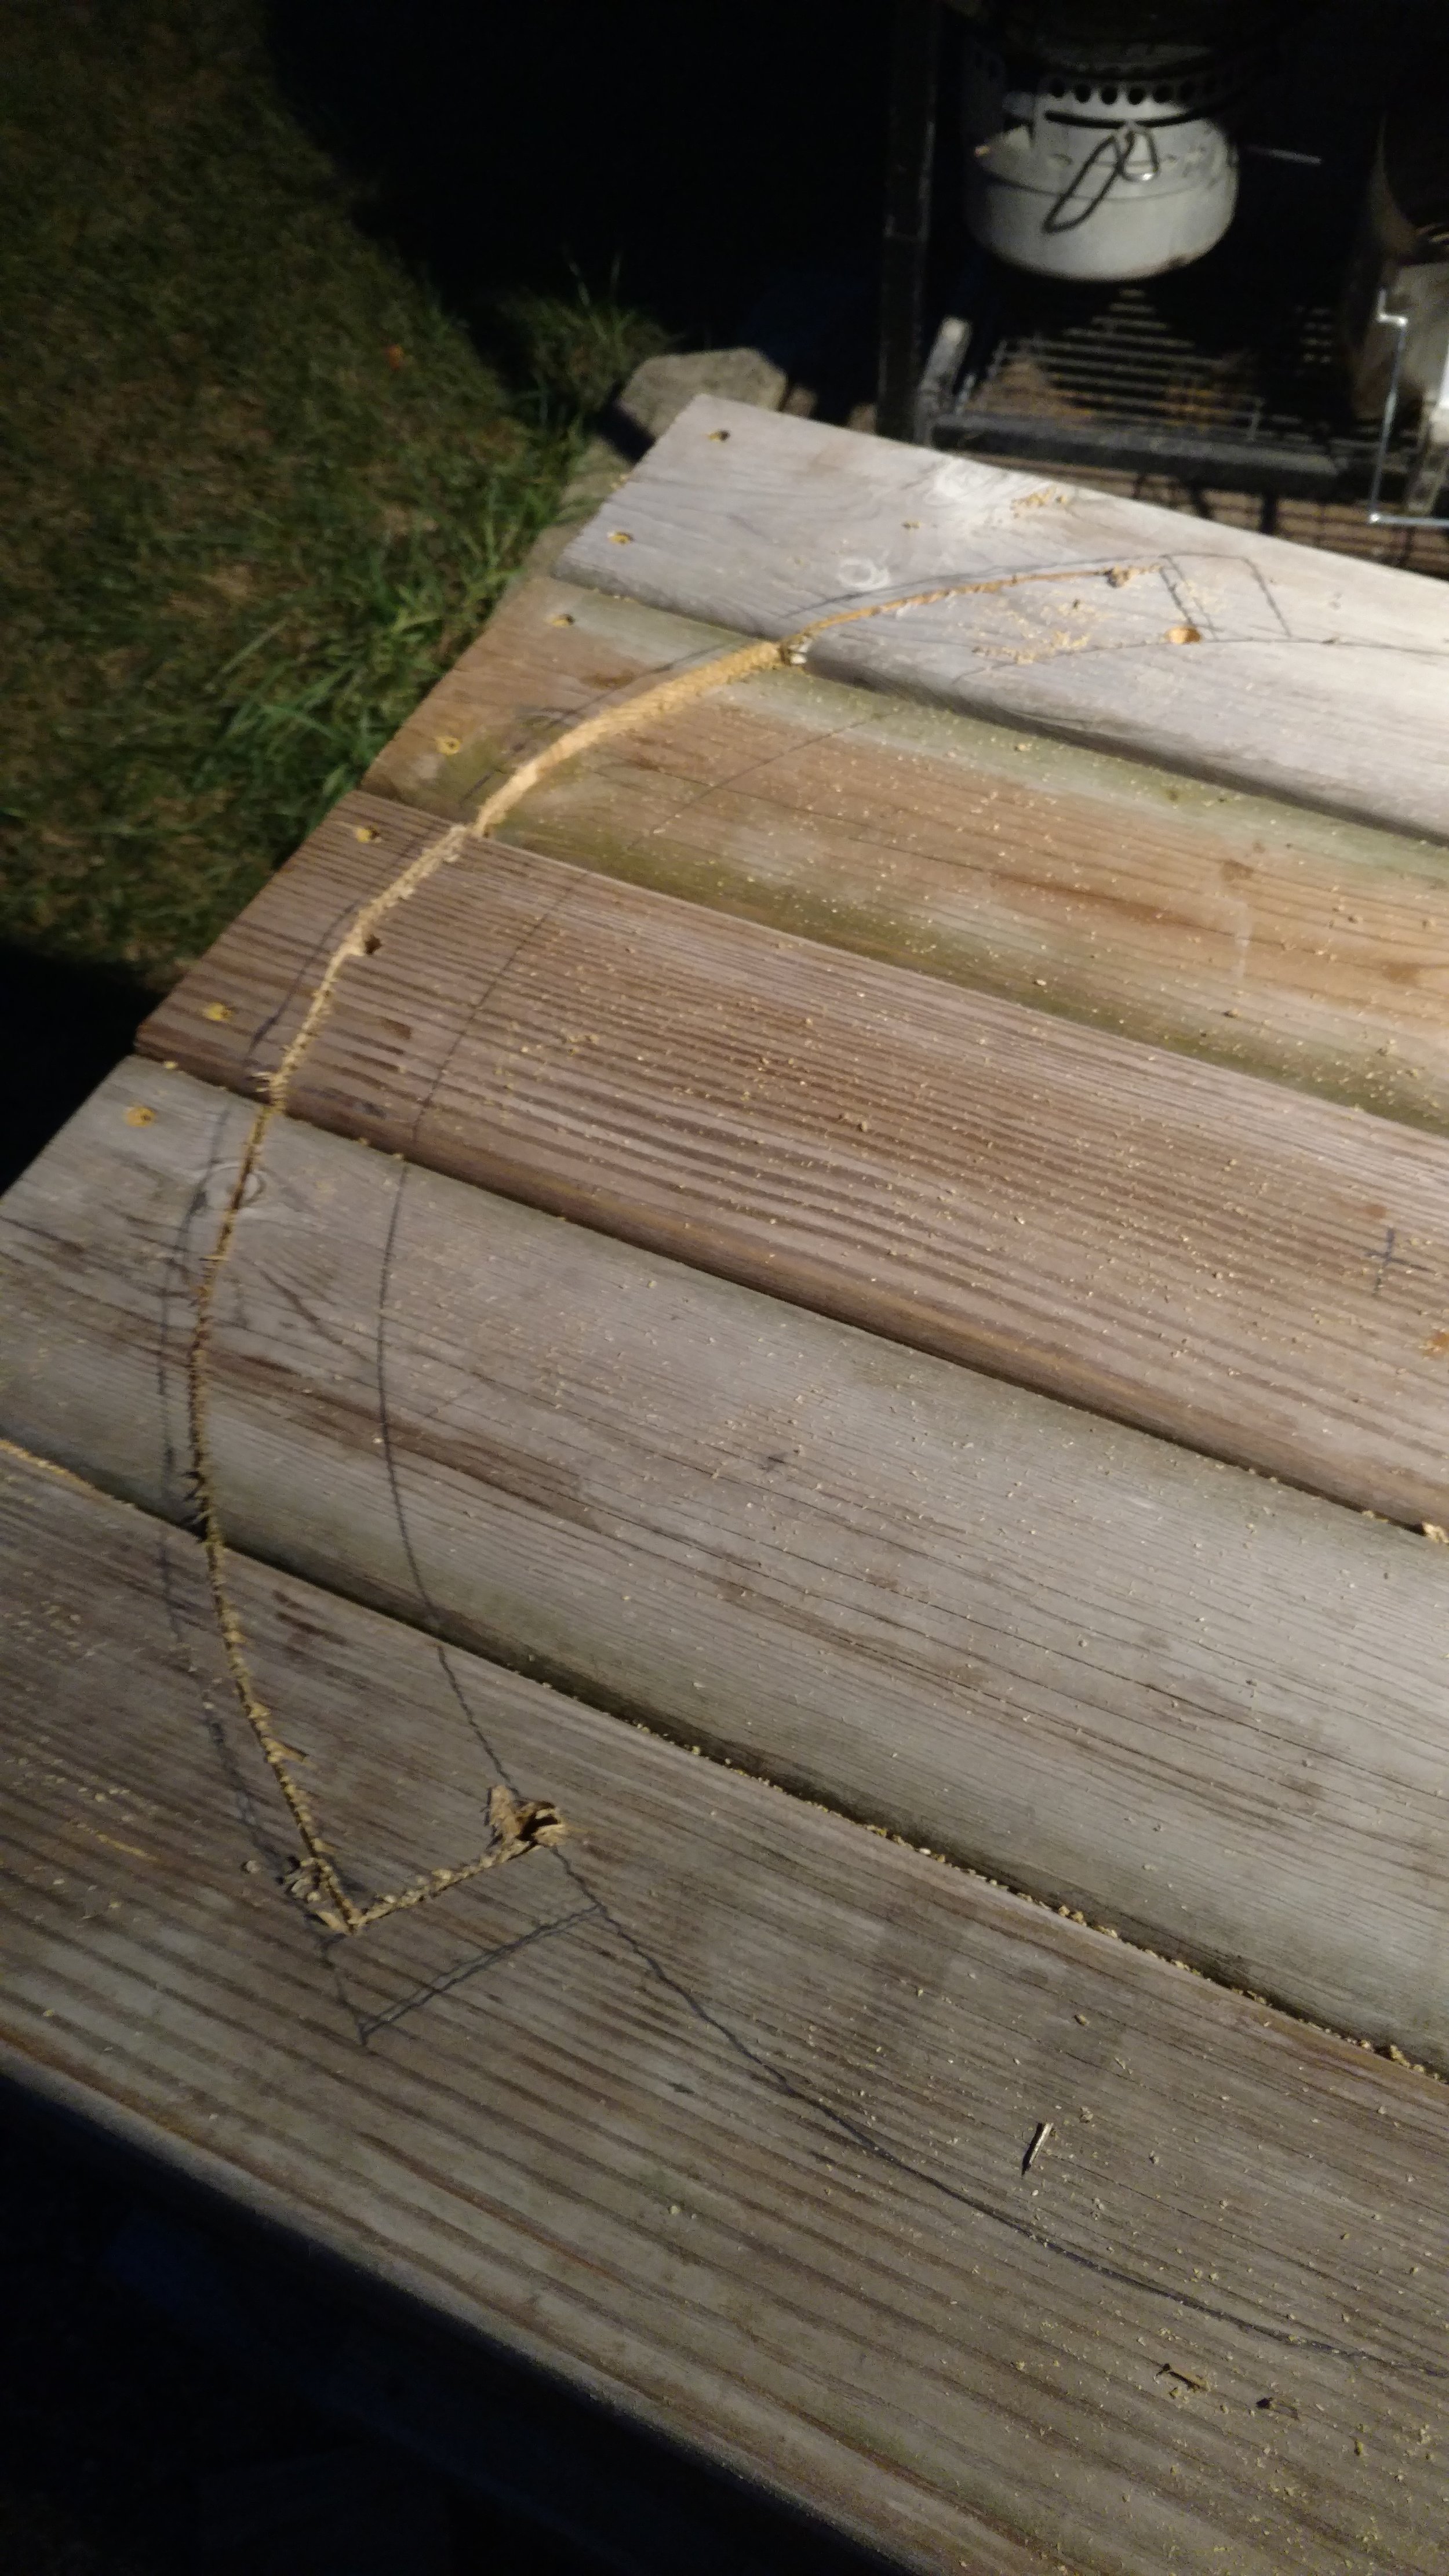
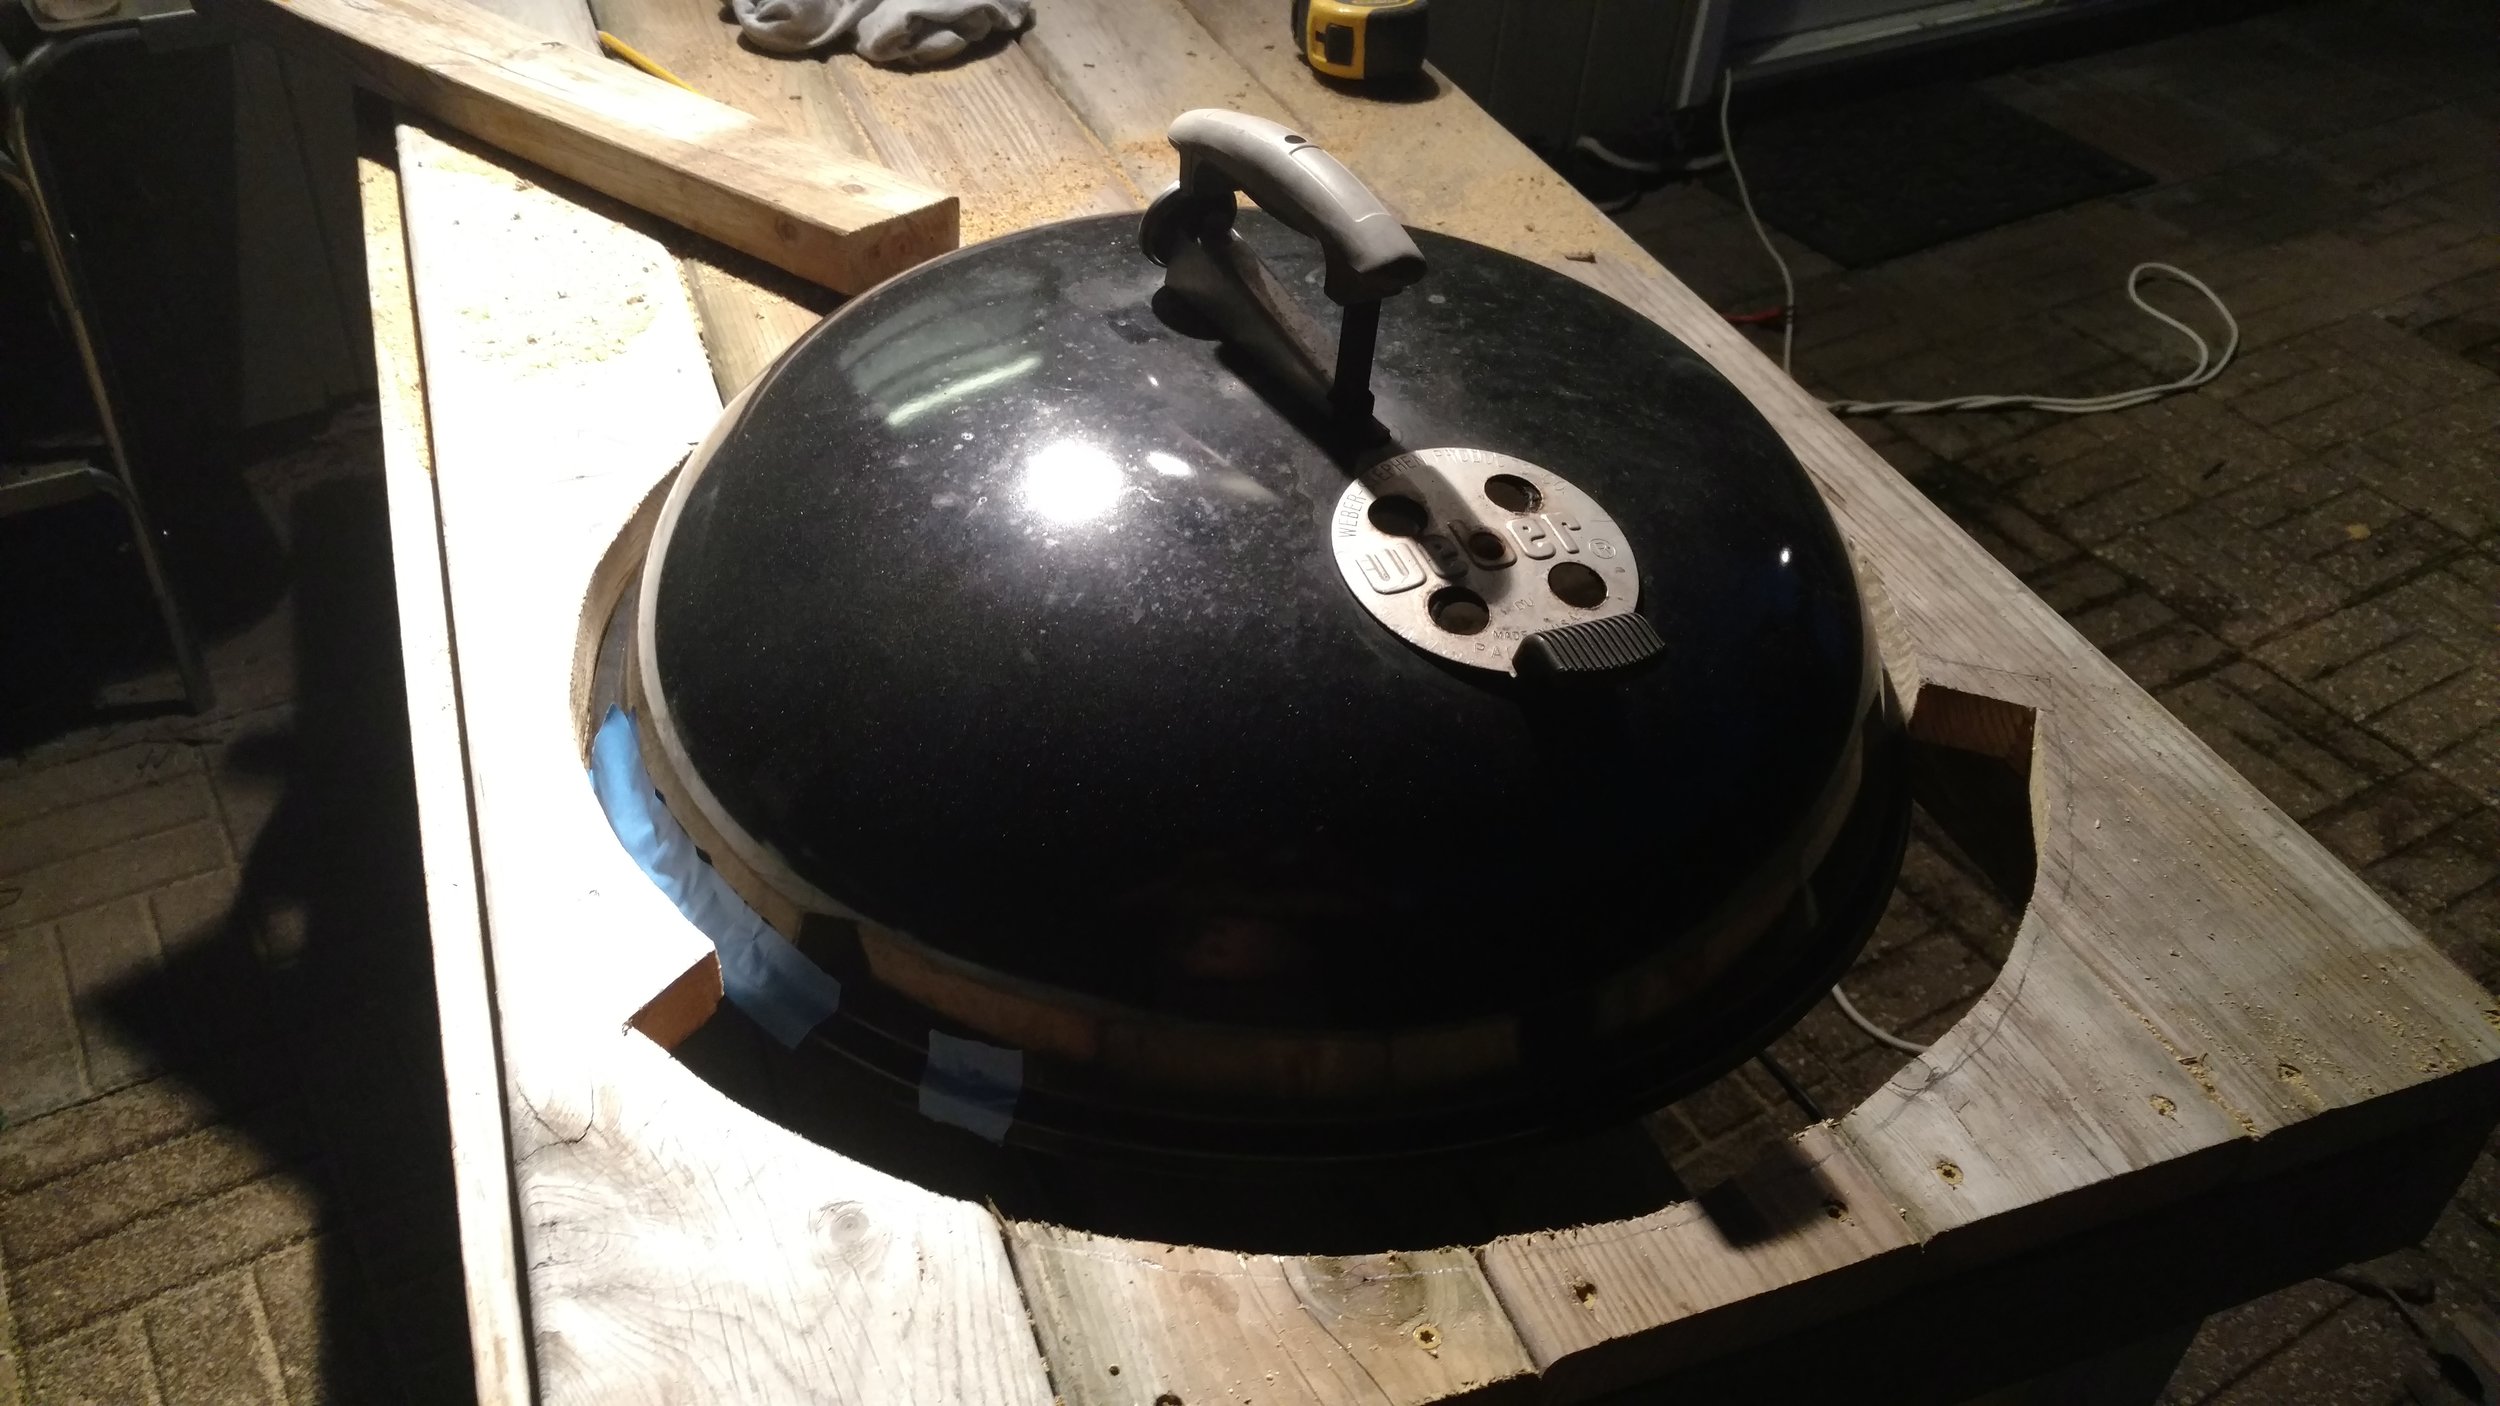
I am not going to bore you with the specifics of the build...but build the top, and the corners, build the bottom shelf. Then came time to cut out the hole for the kettle to fit in. One thing about using a Performer for this, while the mounting brackets make it easy to mount. The lid holder it comes with makes cutting the hole a little rough. Not to mention the fact that I had no template for this. So after measuring about 20 times, I finally got the balls to cut it. And it fits perfectly.
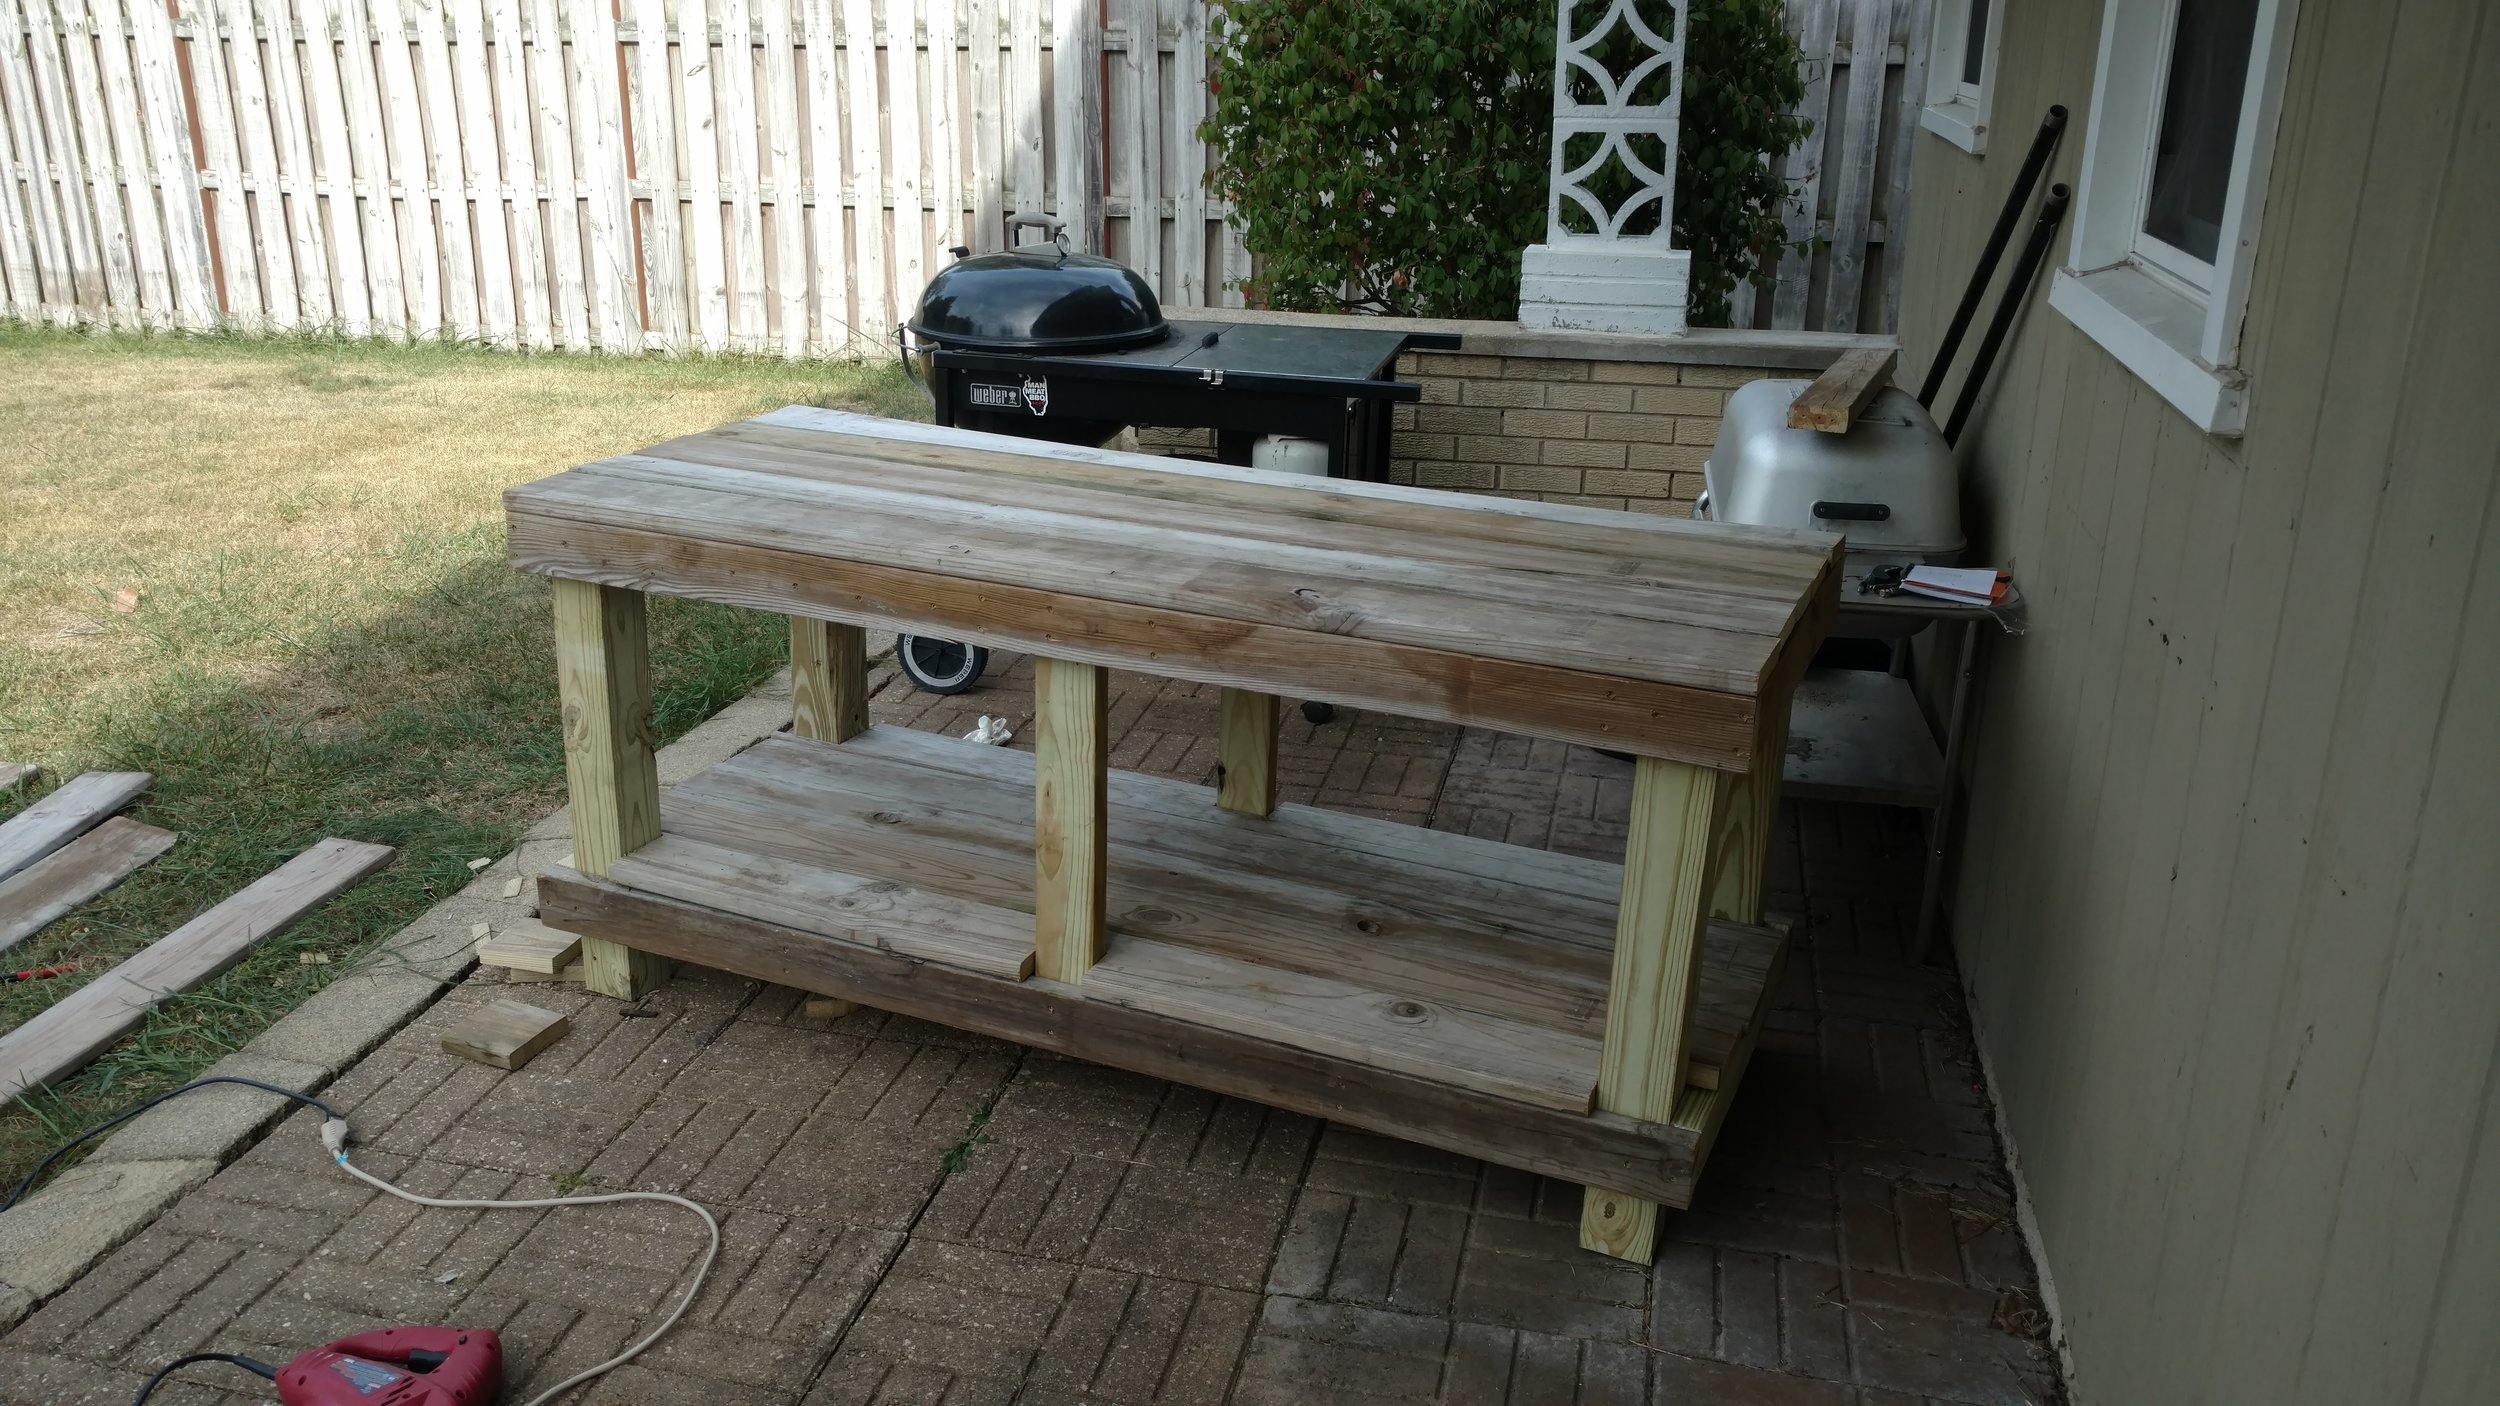
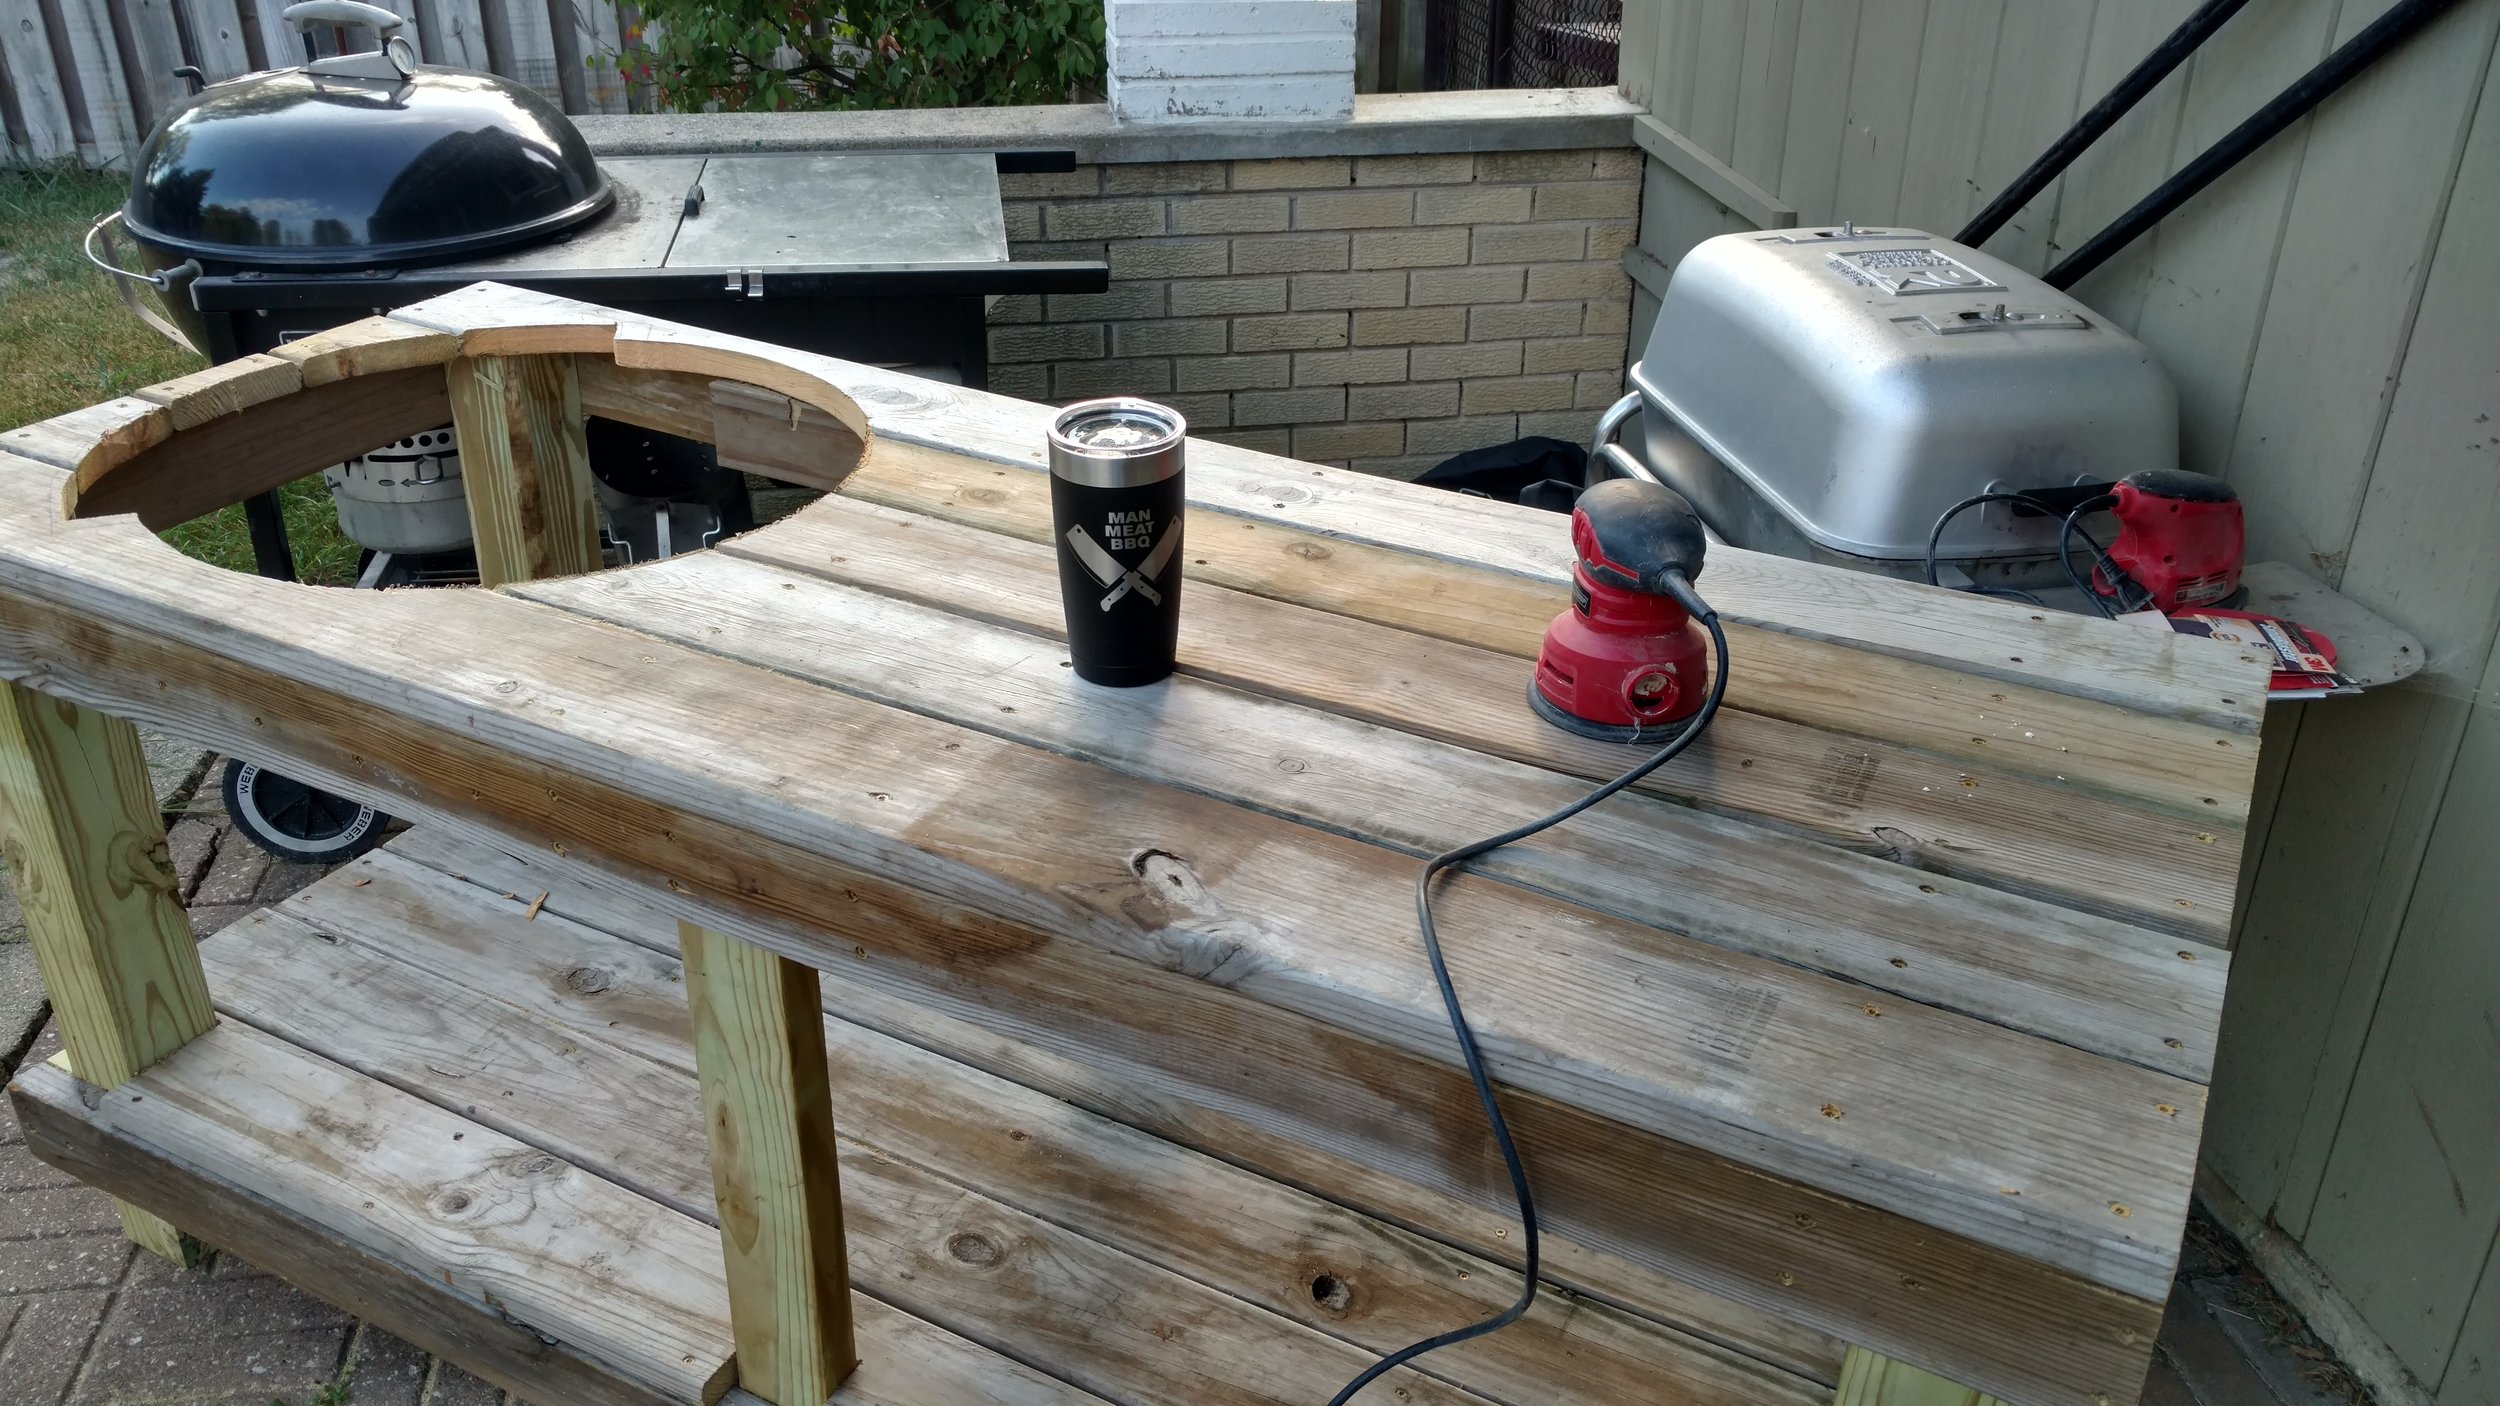

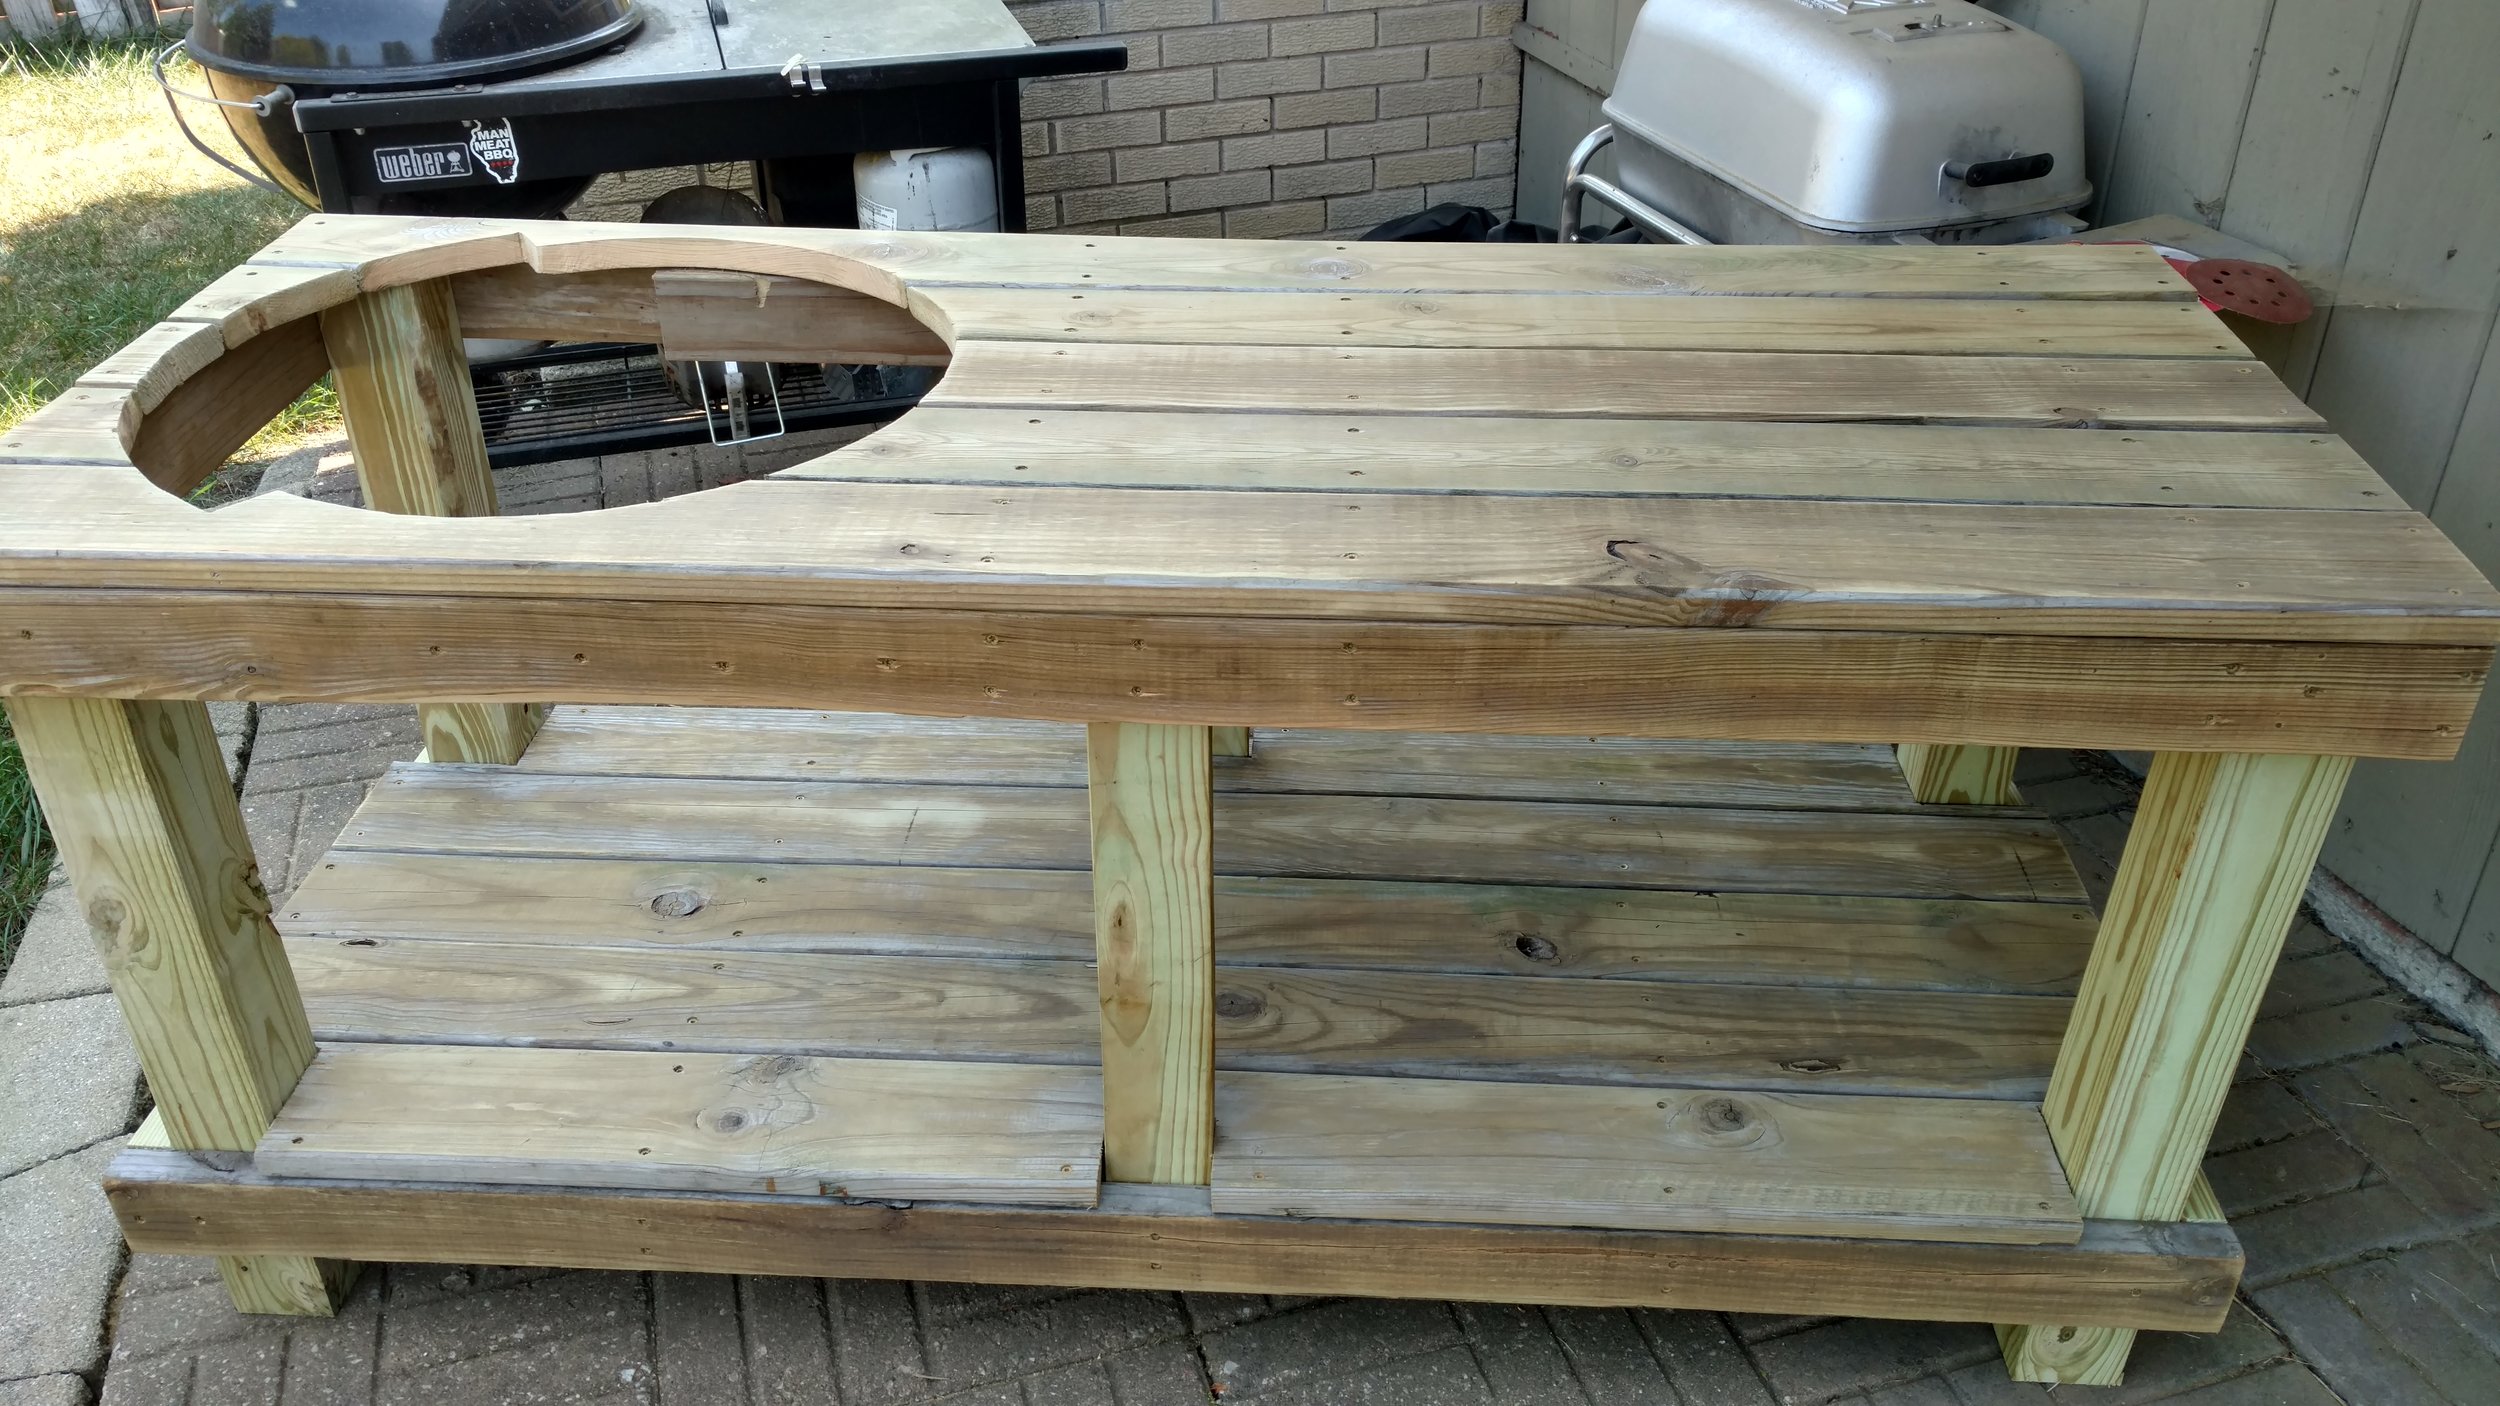
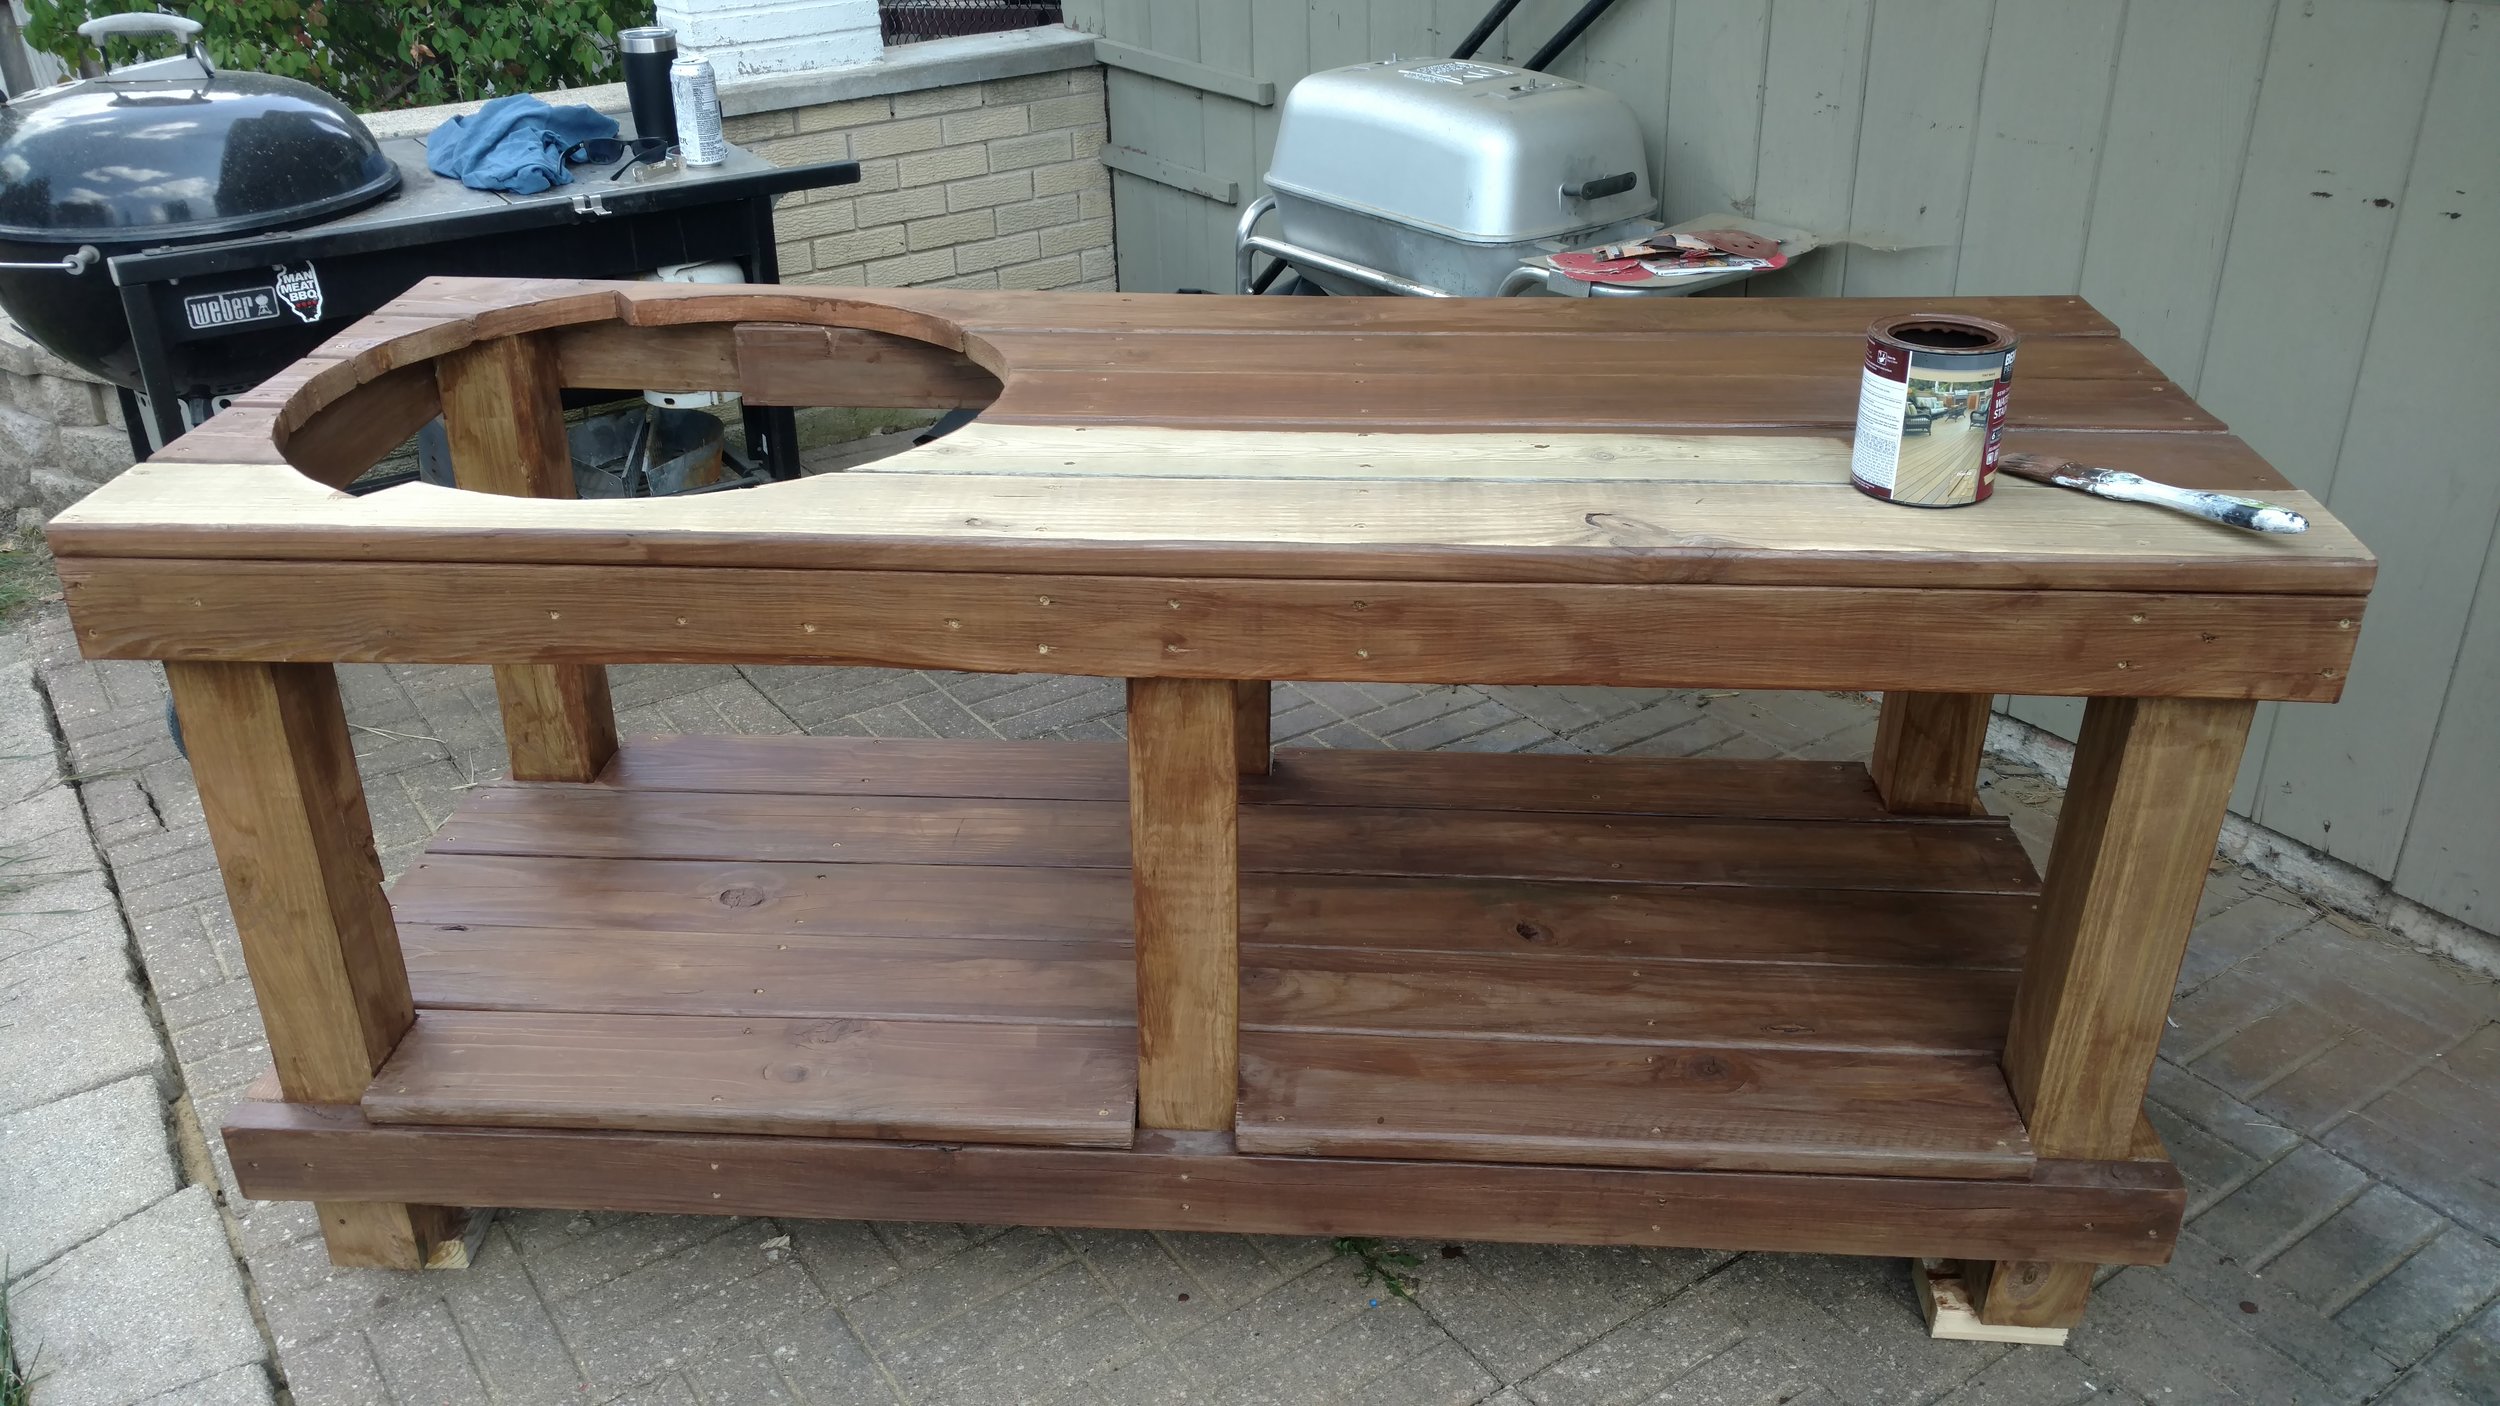
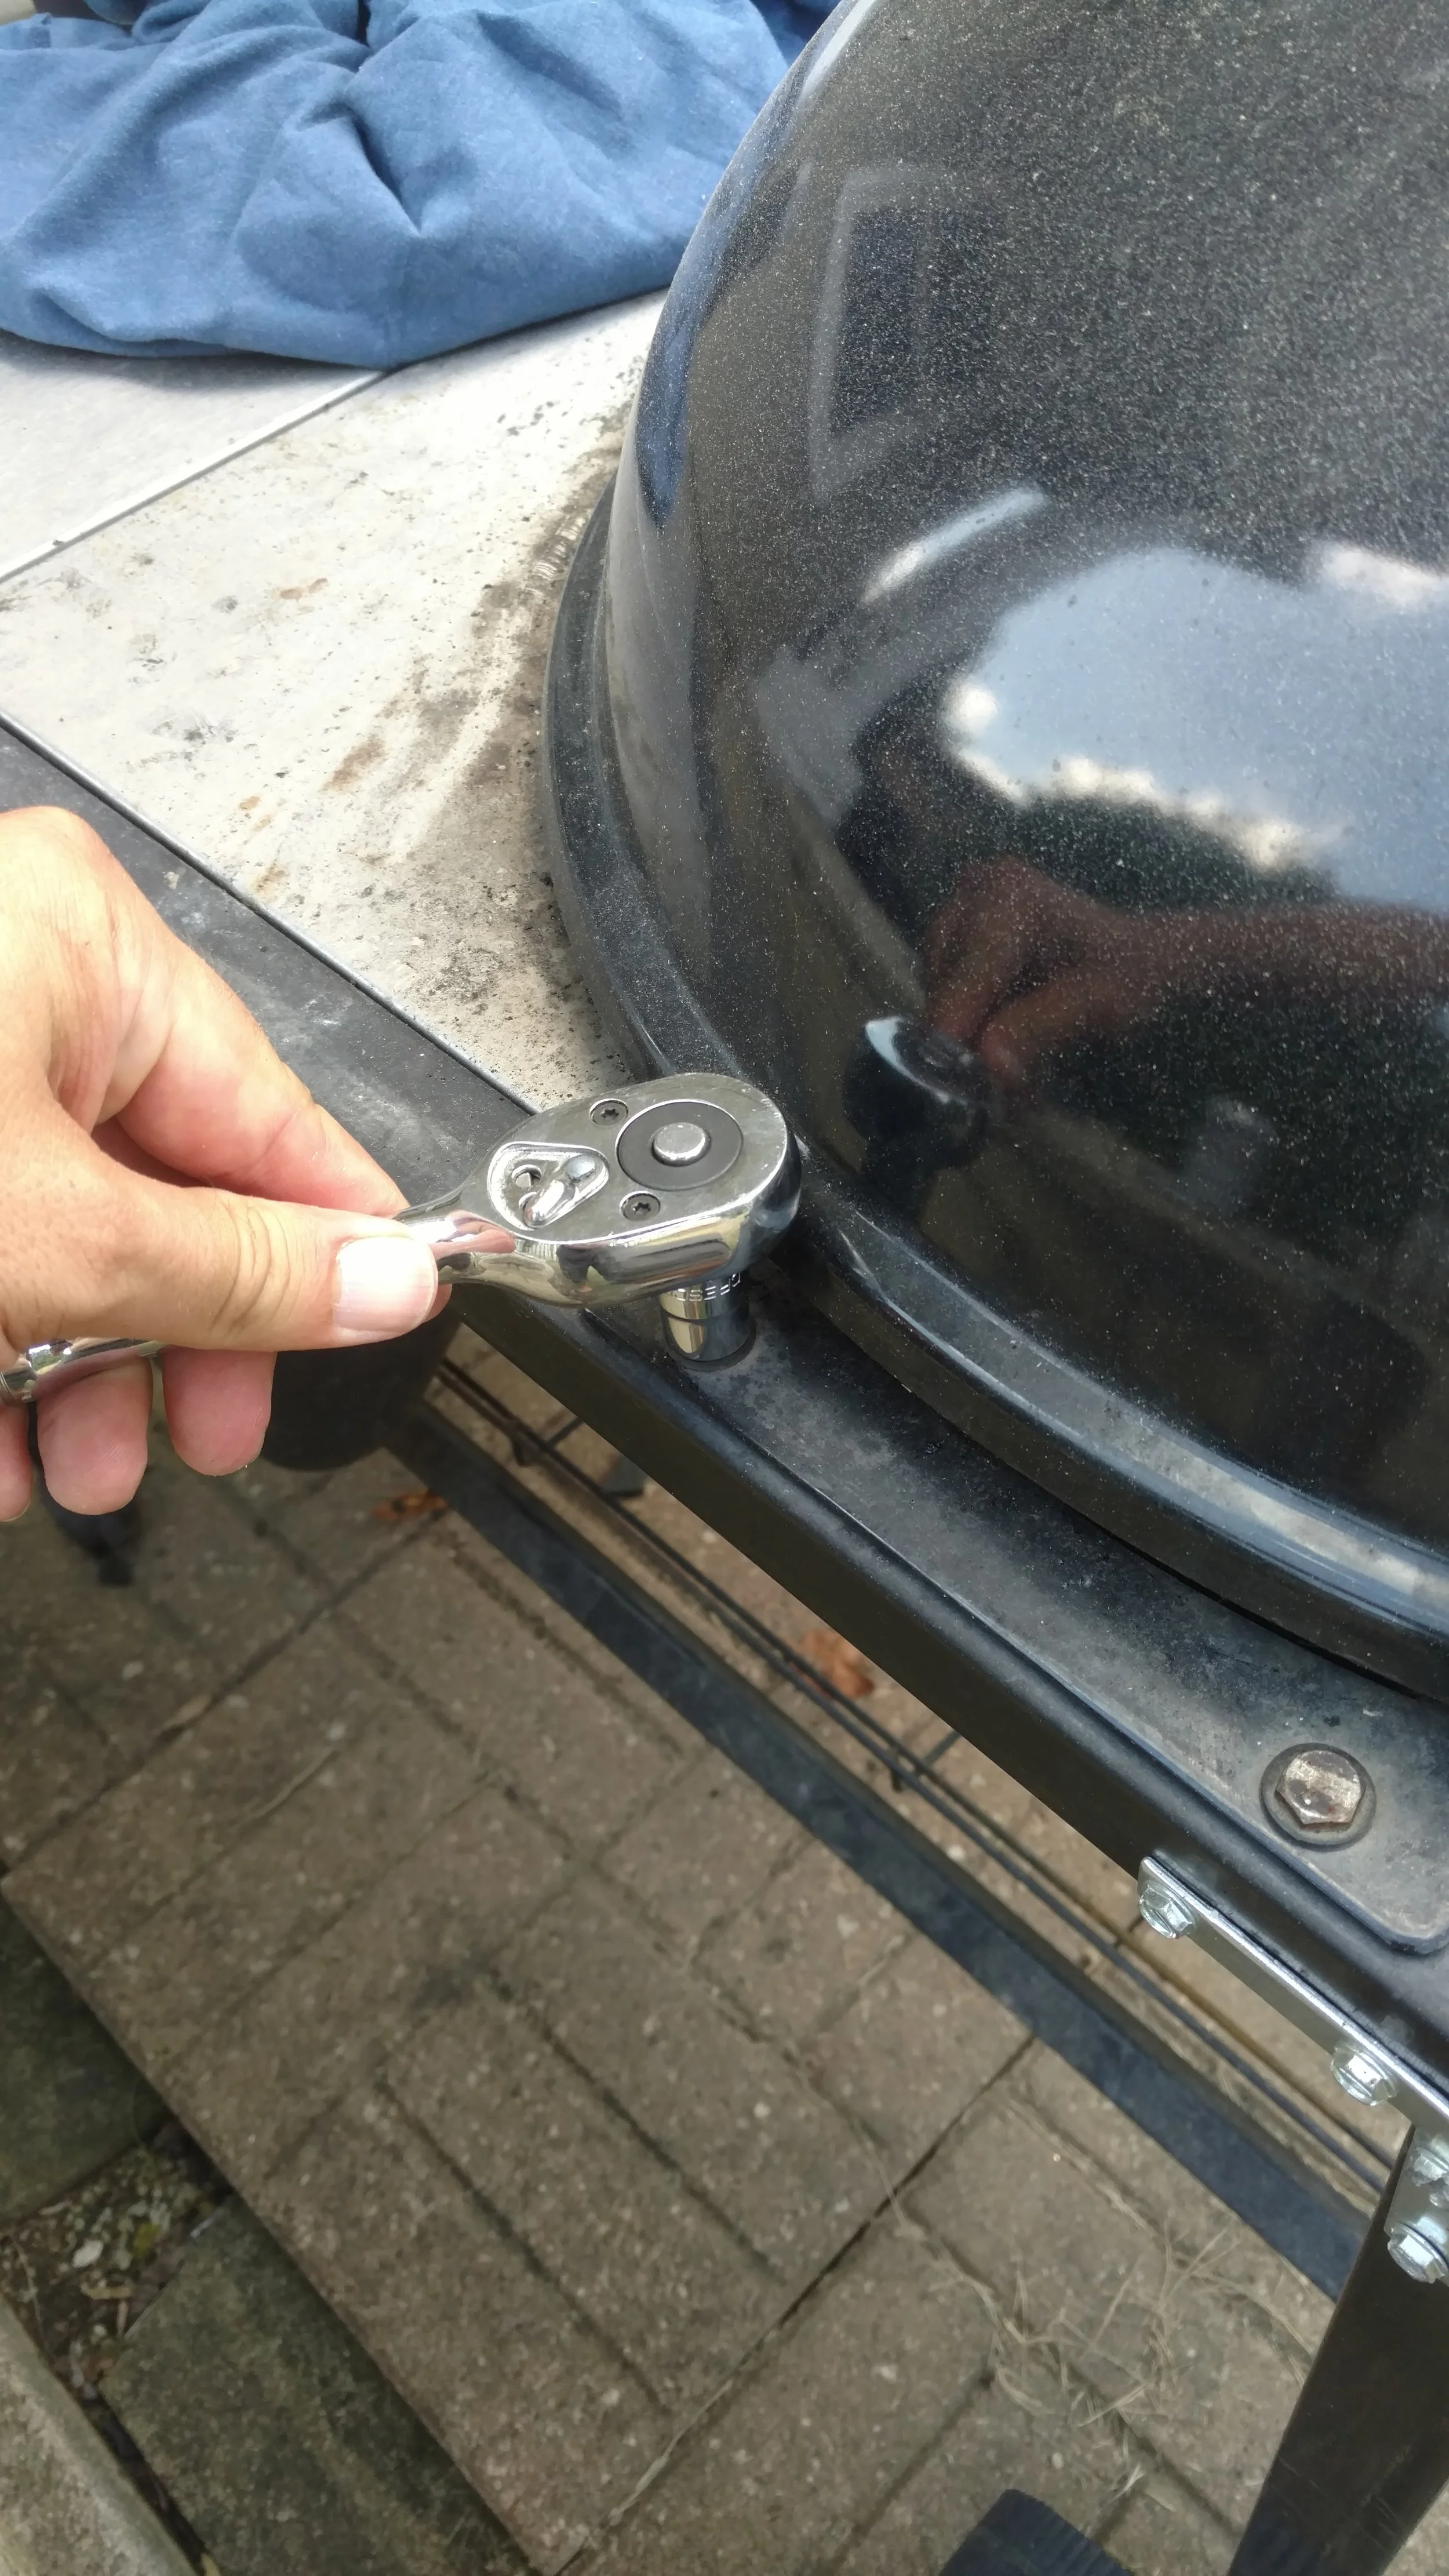
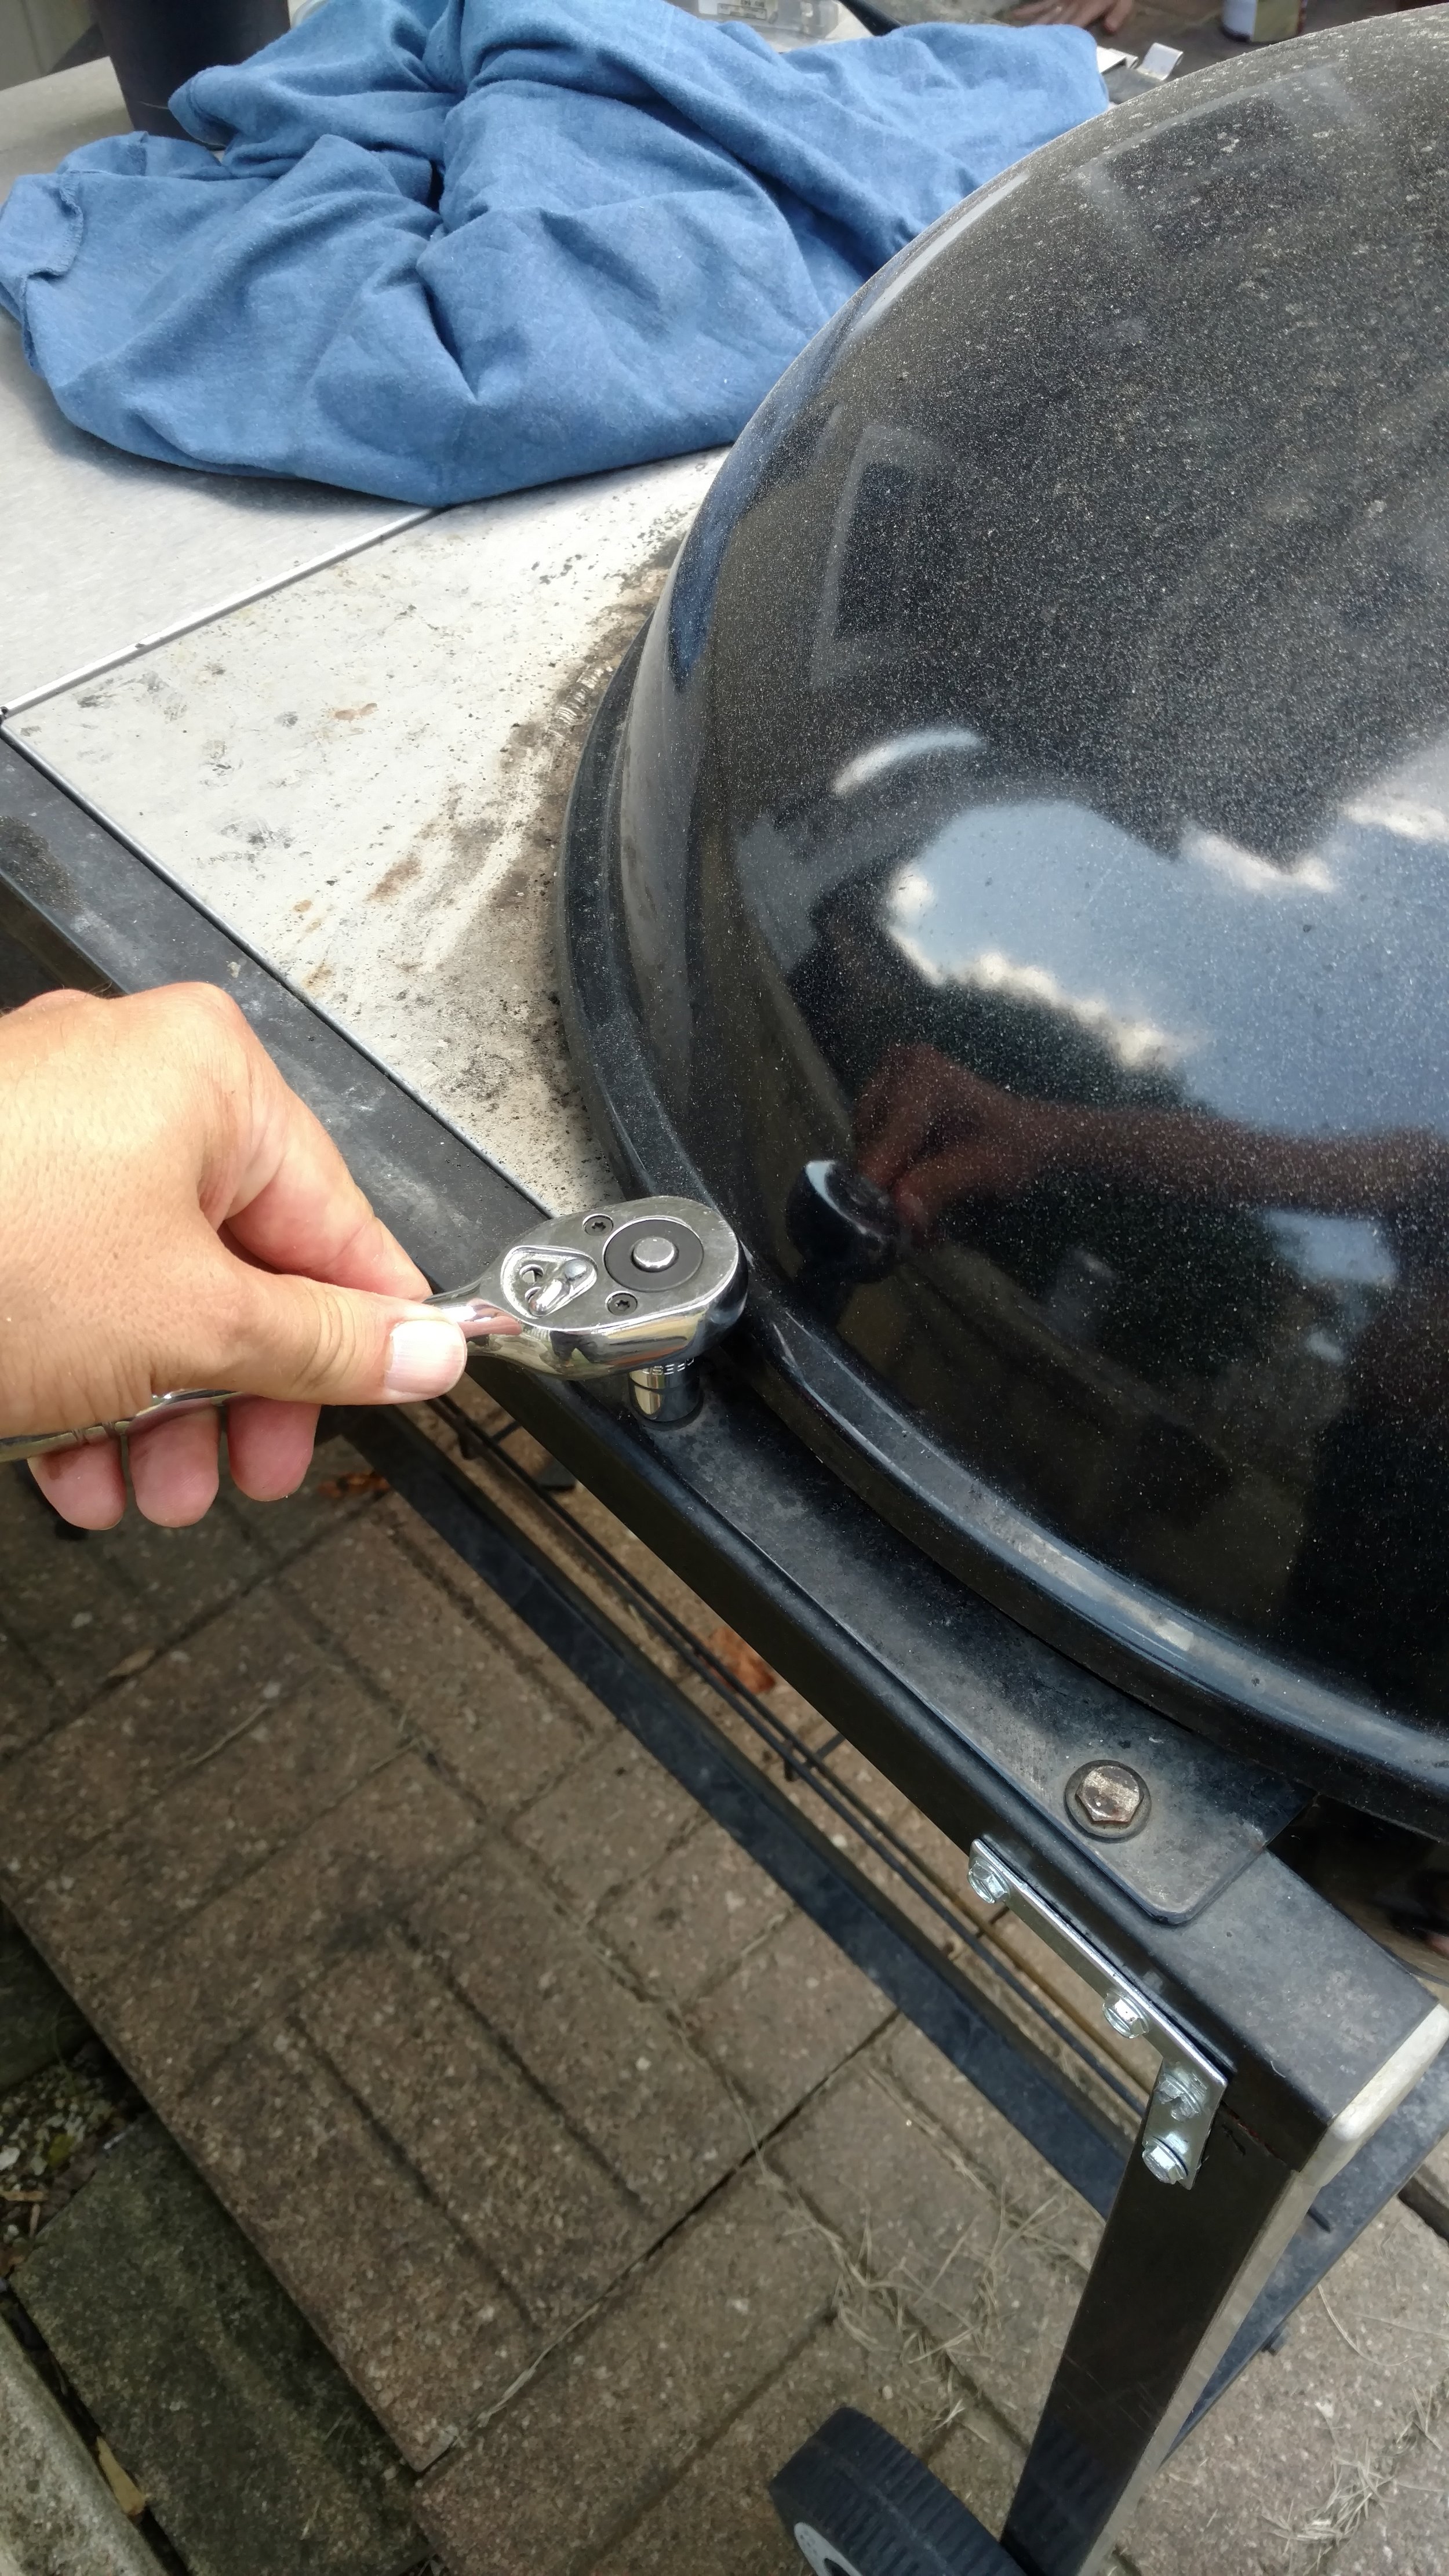
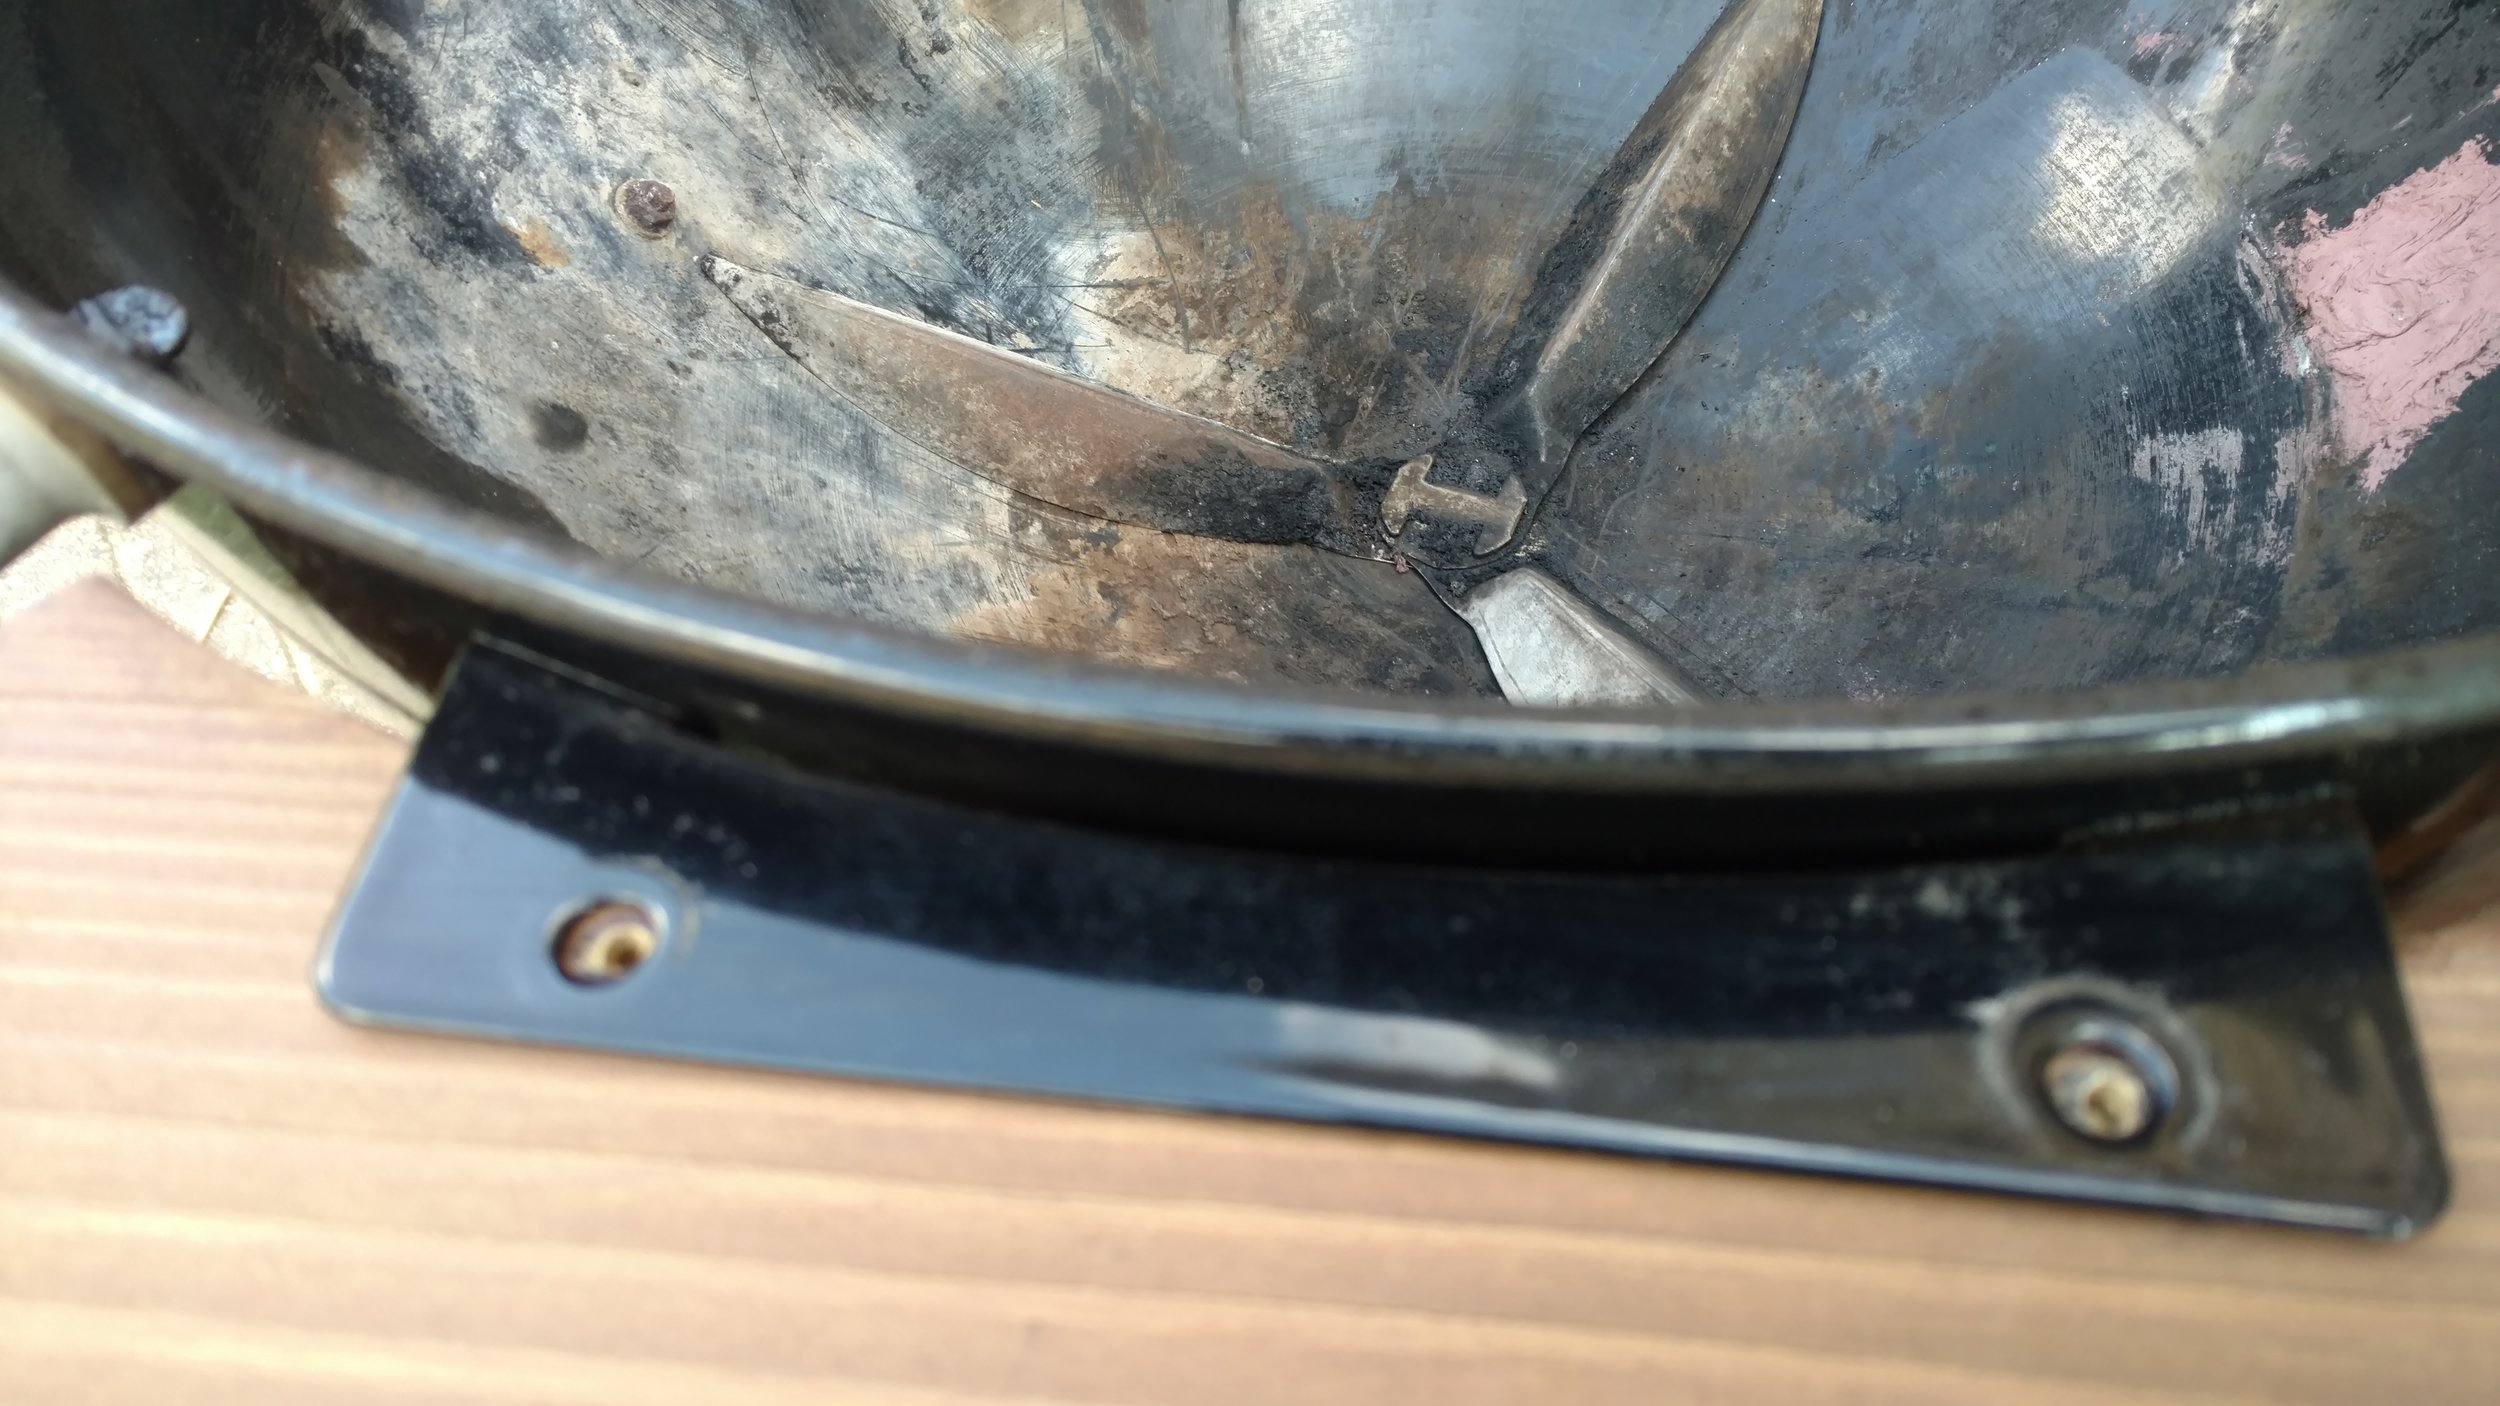
Next, I sanded the table down and covered it with two coats of a weatherproof stain. One would think at this point I was only 4 bolts away from being done. Nope. The Performer through me one more curveball. The damn gas-assist. I have never used it, I don't plan on using it. I sure as hell was not going to go through the trouble of putting a propane bottle, starter and valve on my new table. But if I take the assist out, well there is a pretty large gaping hole in the side of my kettle which would ultimately compromise my ability to hold heat.
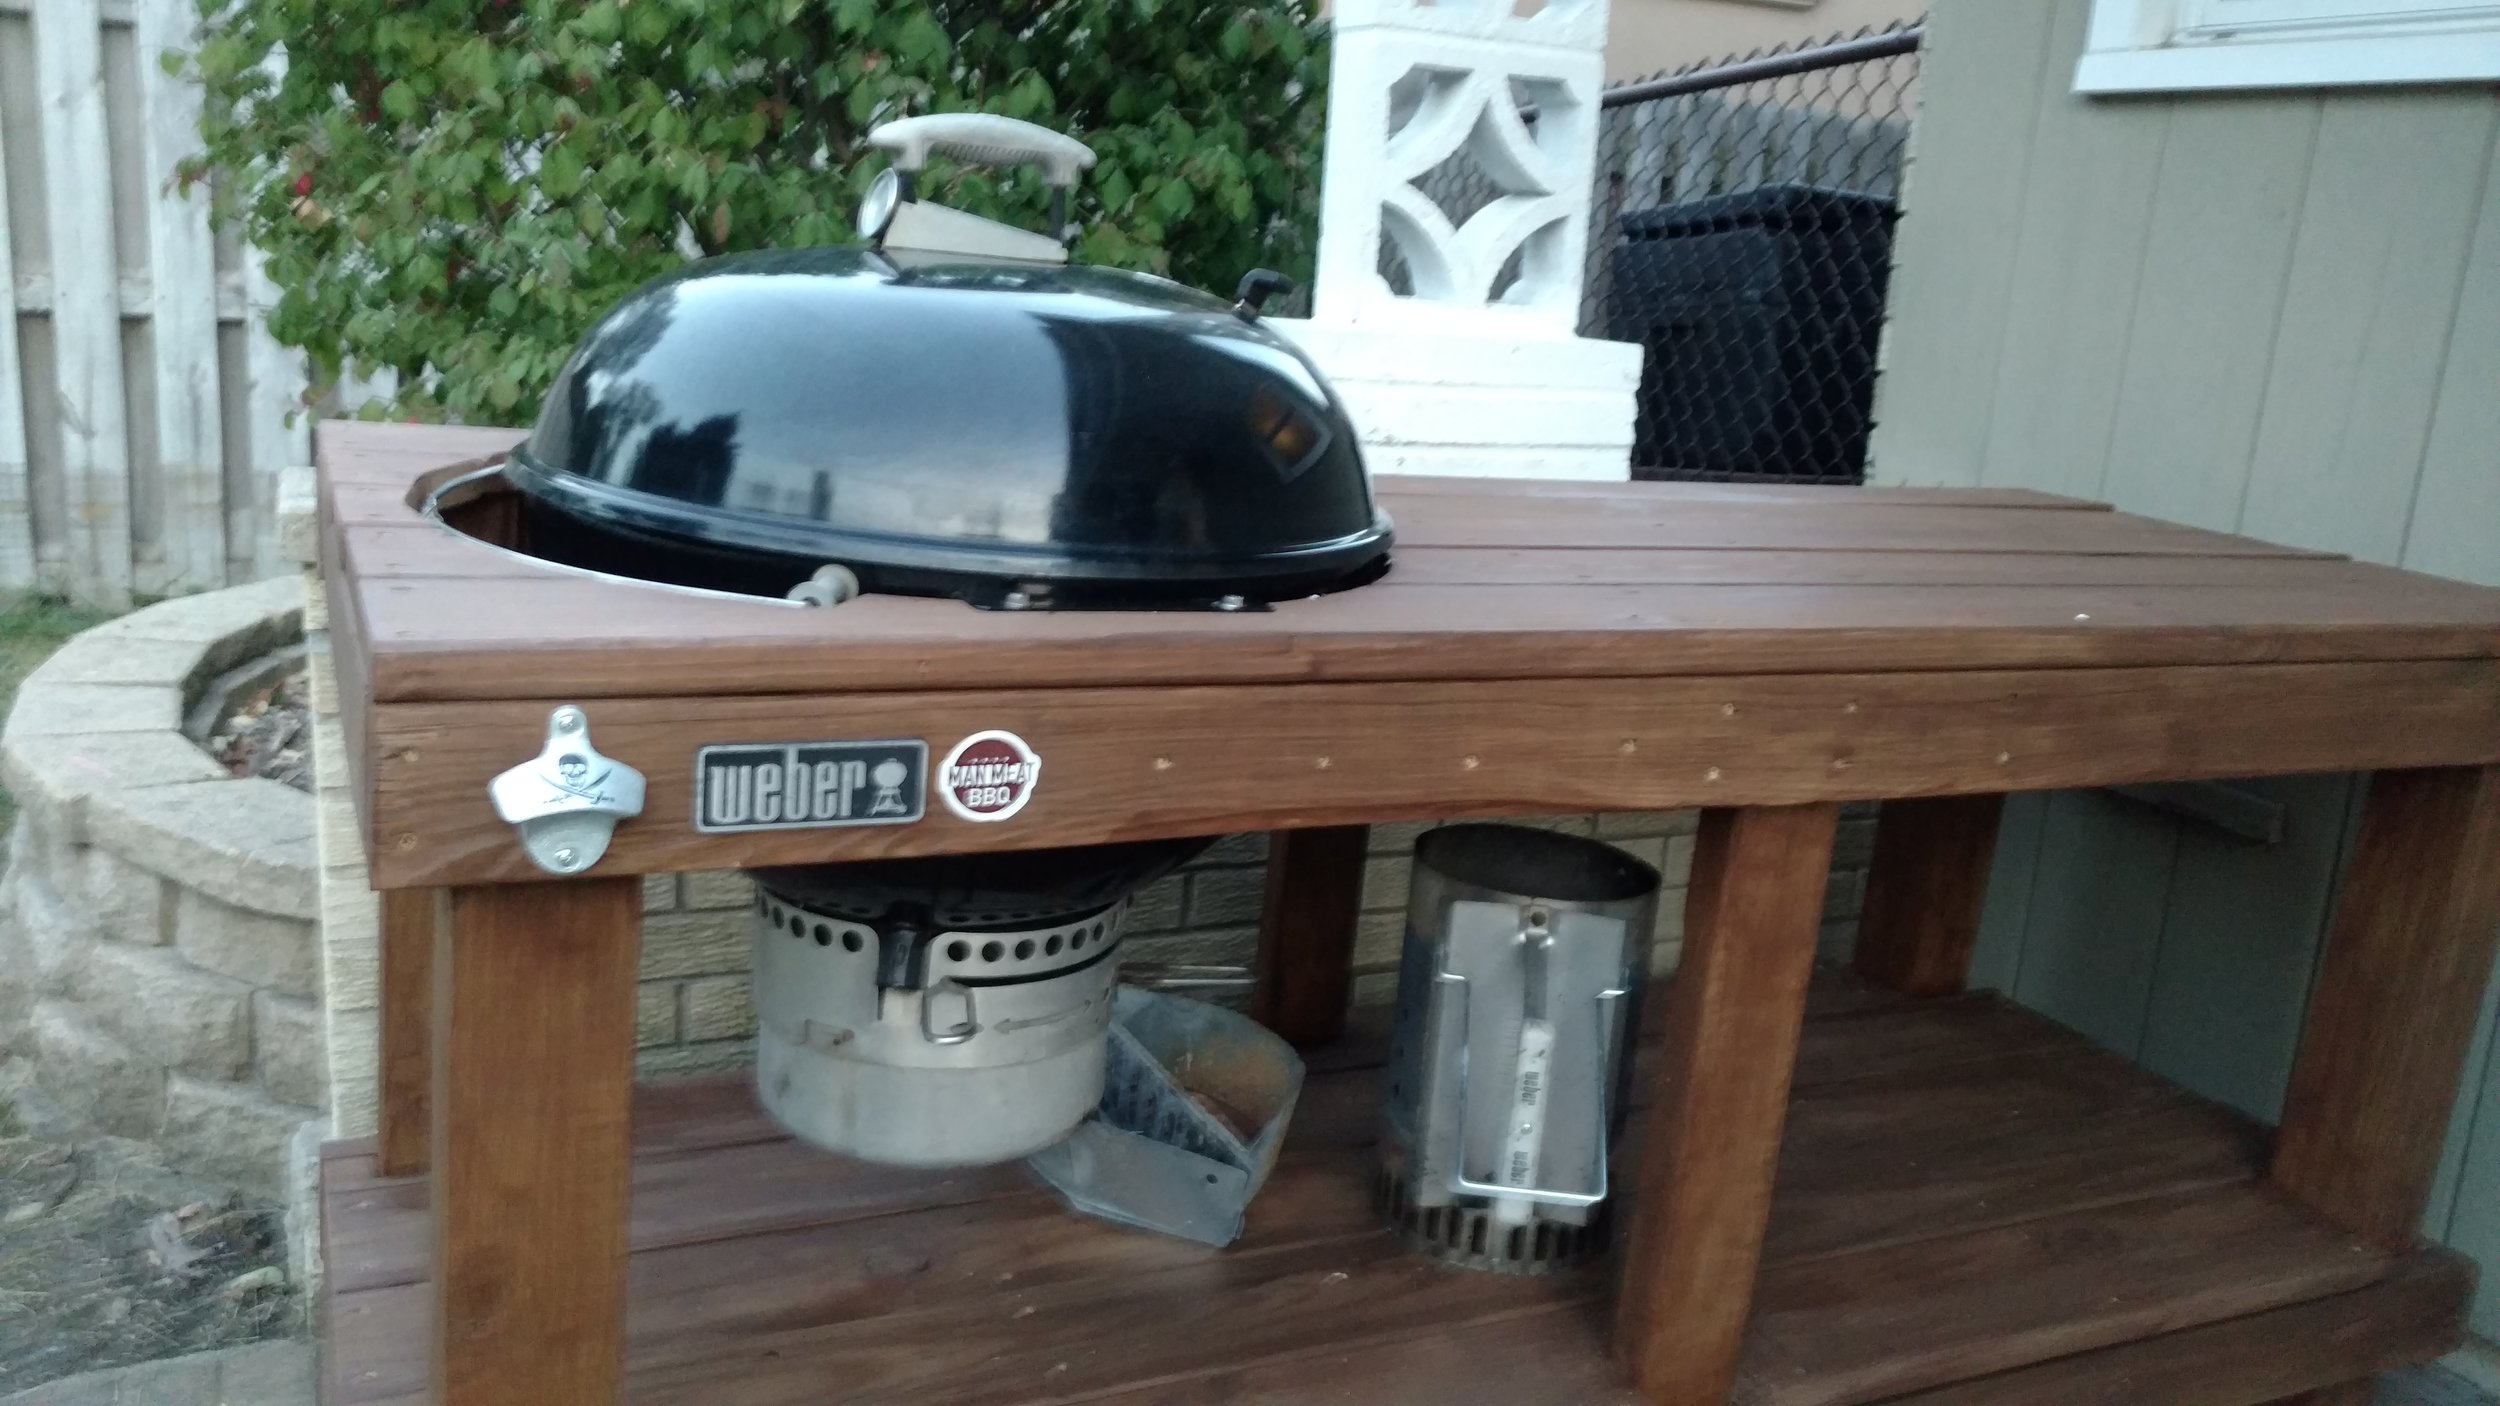
So here, I cut out a small piece of steel which is large enough to cover the hole left from the assist tube. To secure it and also make it airtight I used a healthy dose of heat-resistant fireplace caulk. With that in place now we are ready to install. Four stainless steel lag bolts from Ace later and holy shit, this looks amazing!
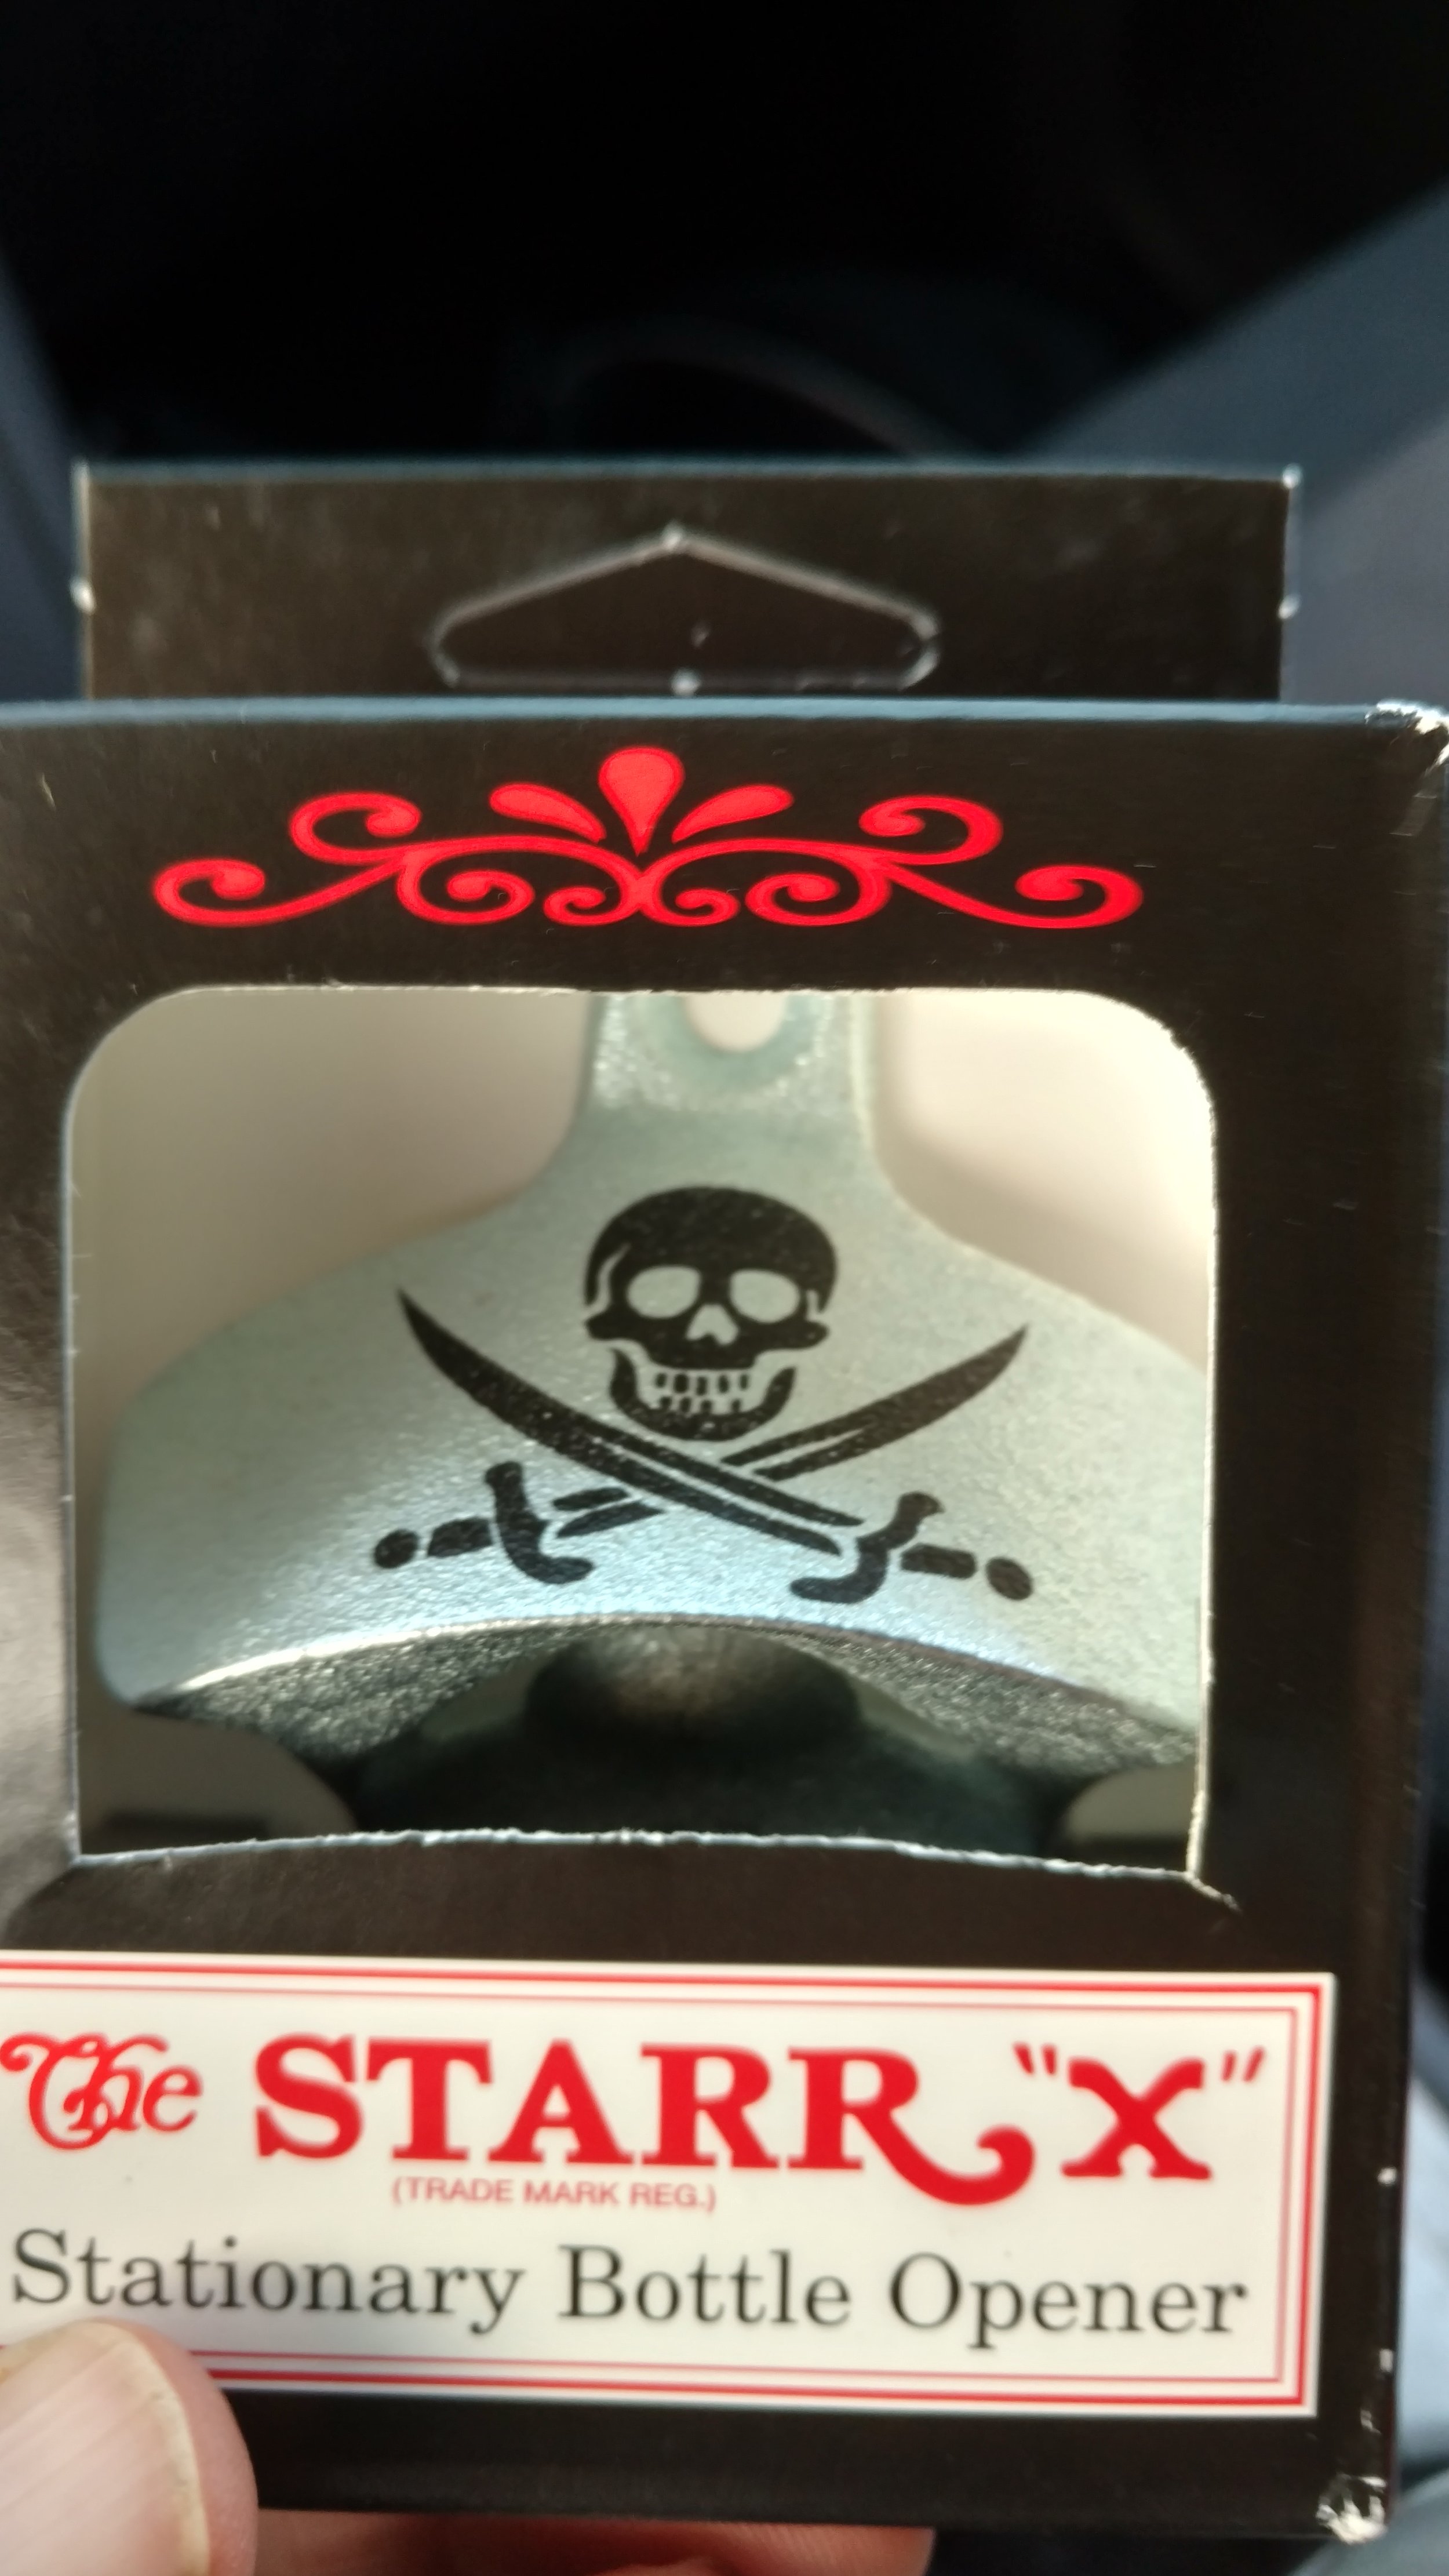
I finished it off with the essential Man Meat BBQ sticker and a pirate bottle opener. I have to say I didn't really know what to expect with this project, but what the finished piece was is damn impressive. Now for the first time, the grill I cook on looks as good as my food is tasting.
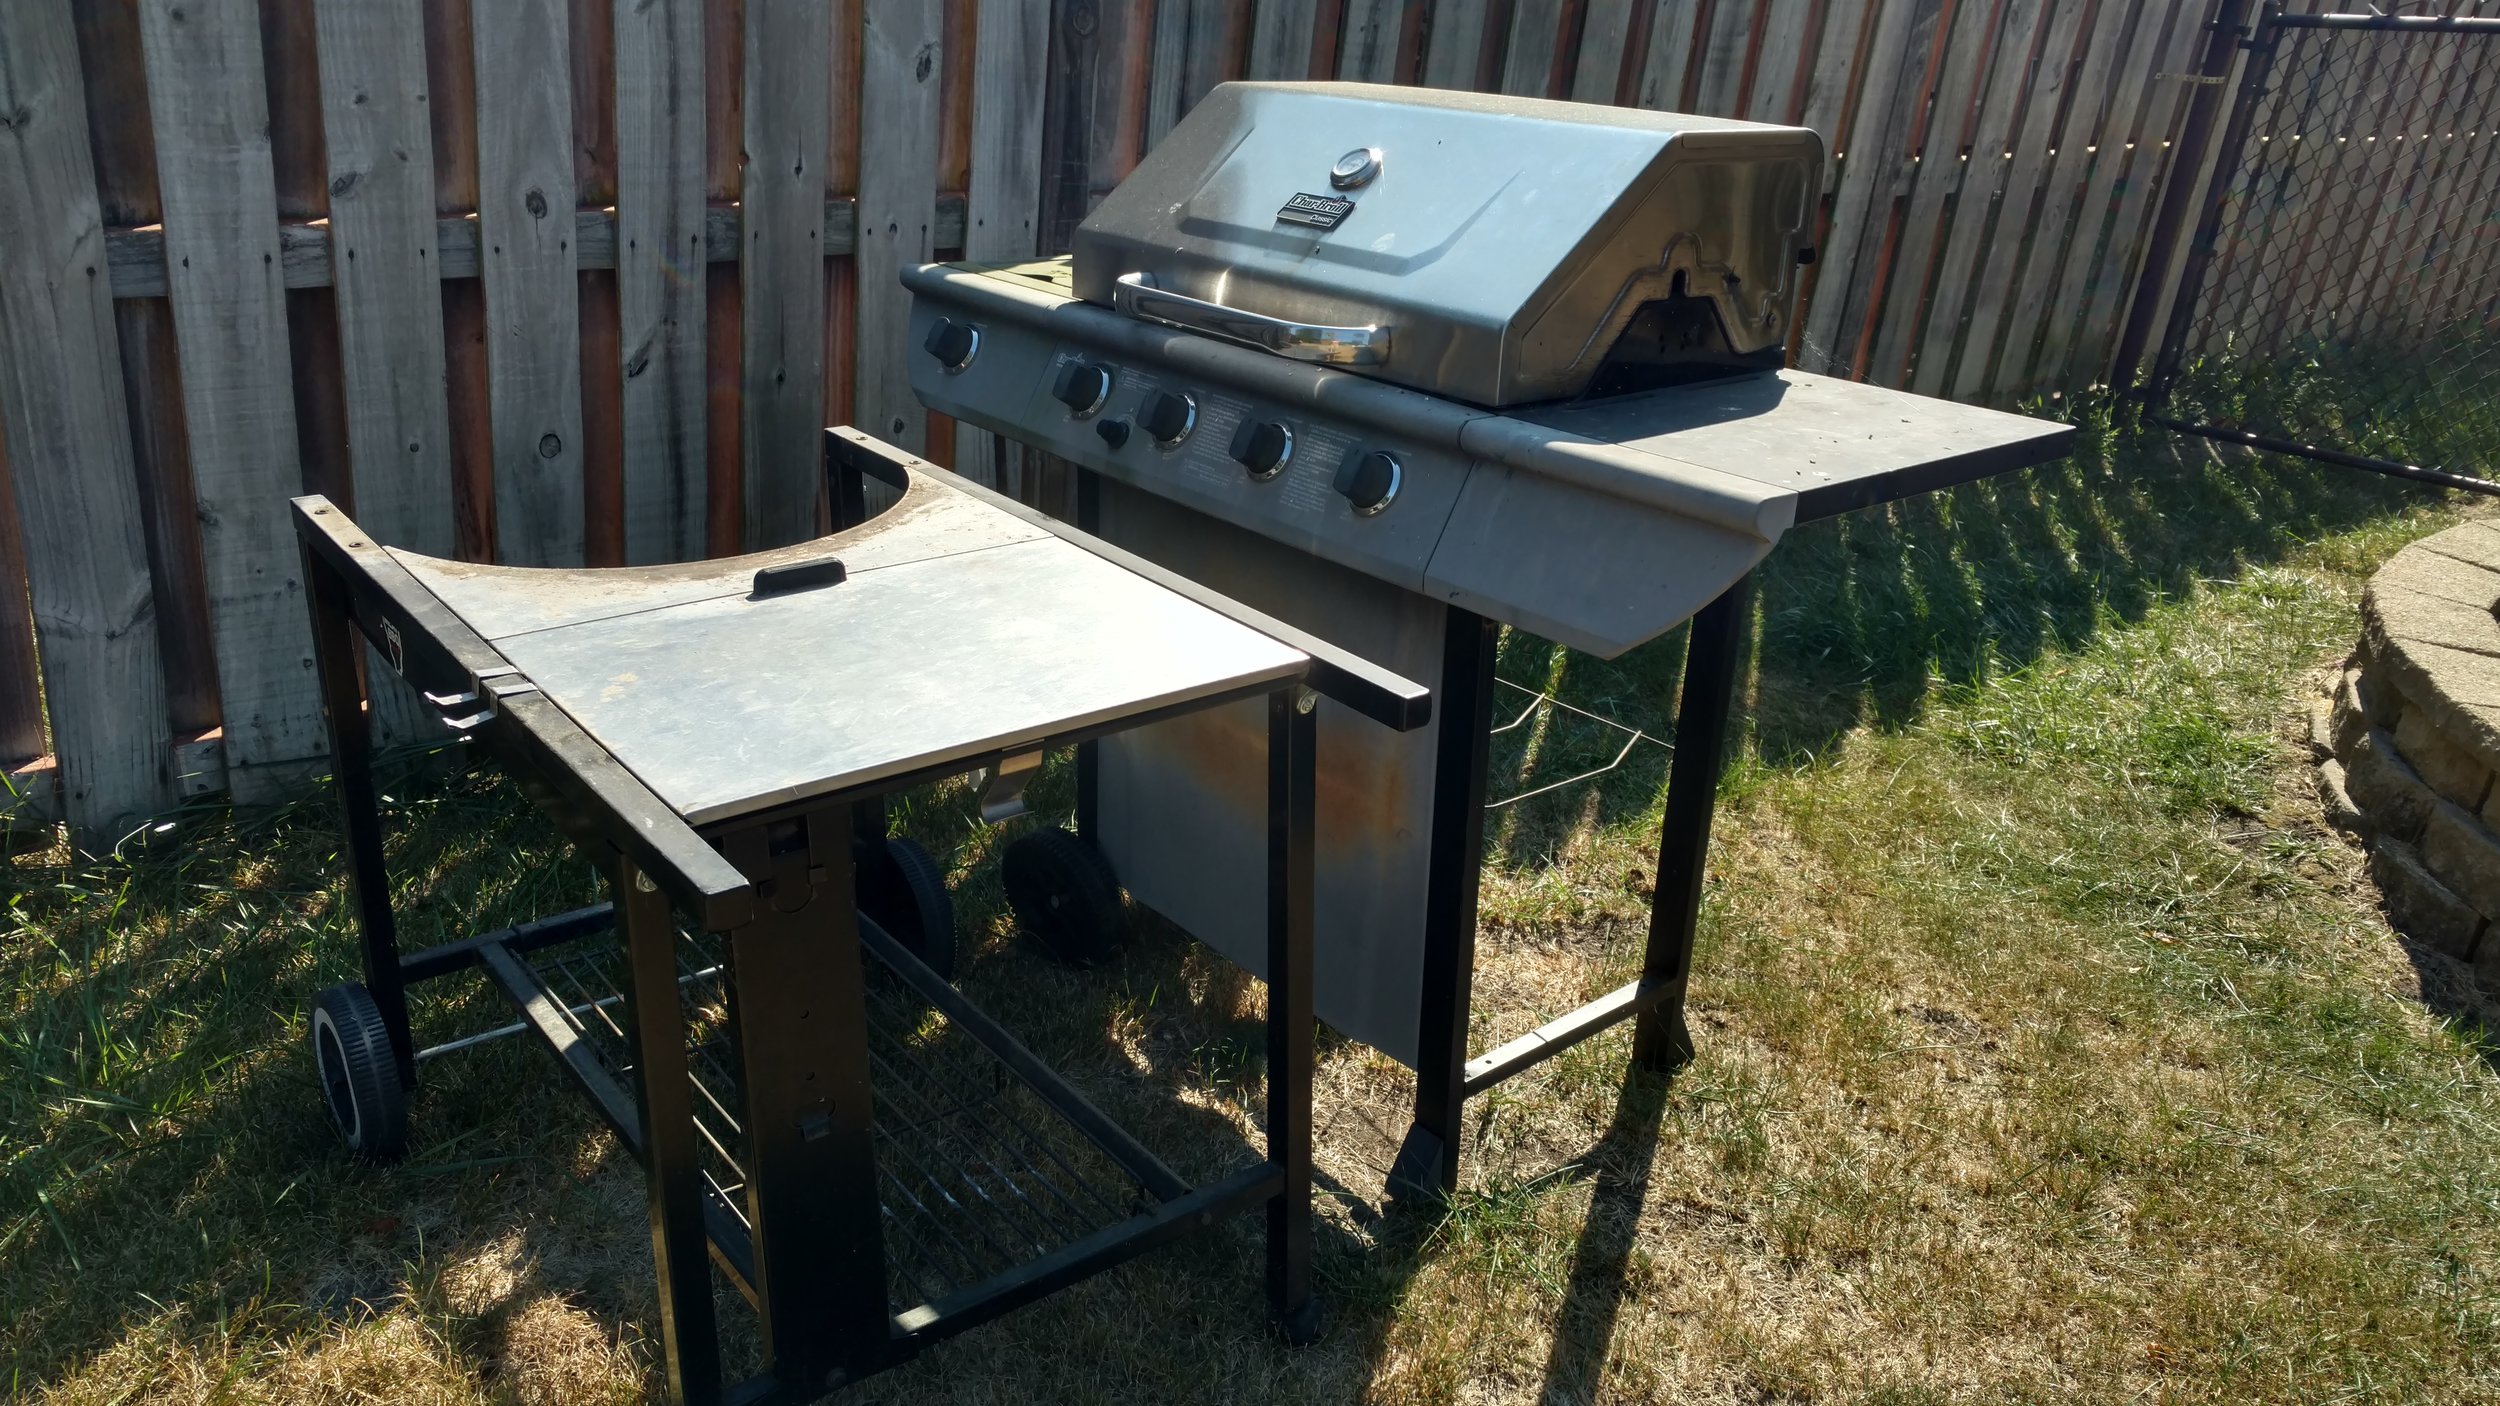

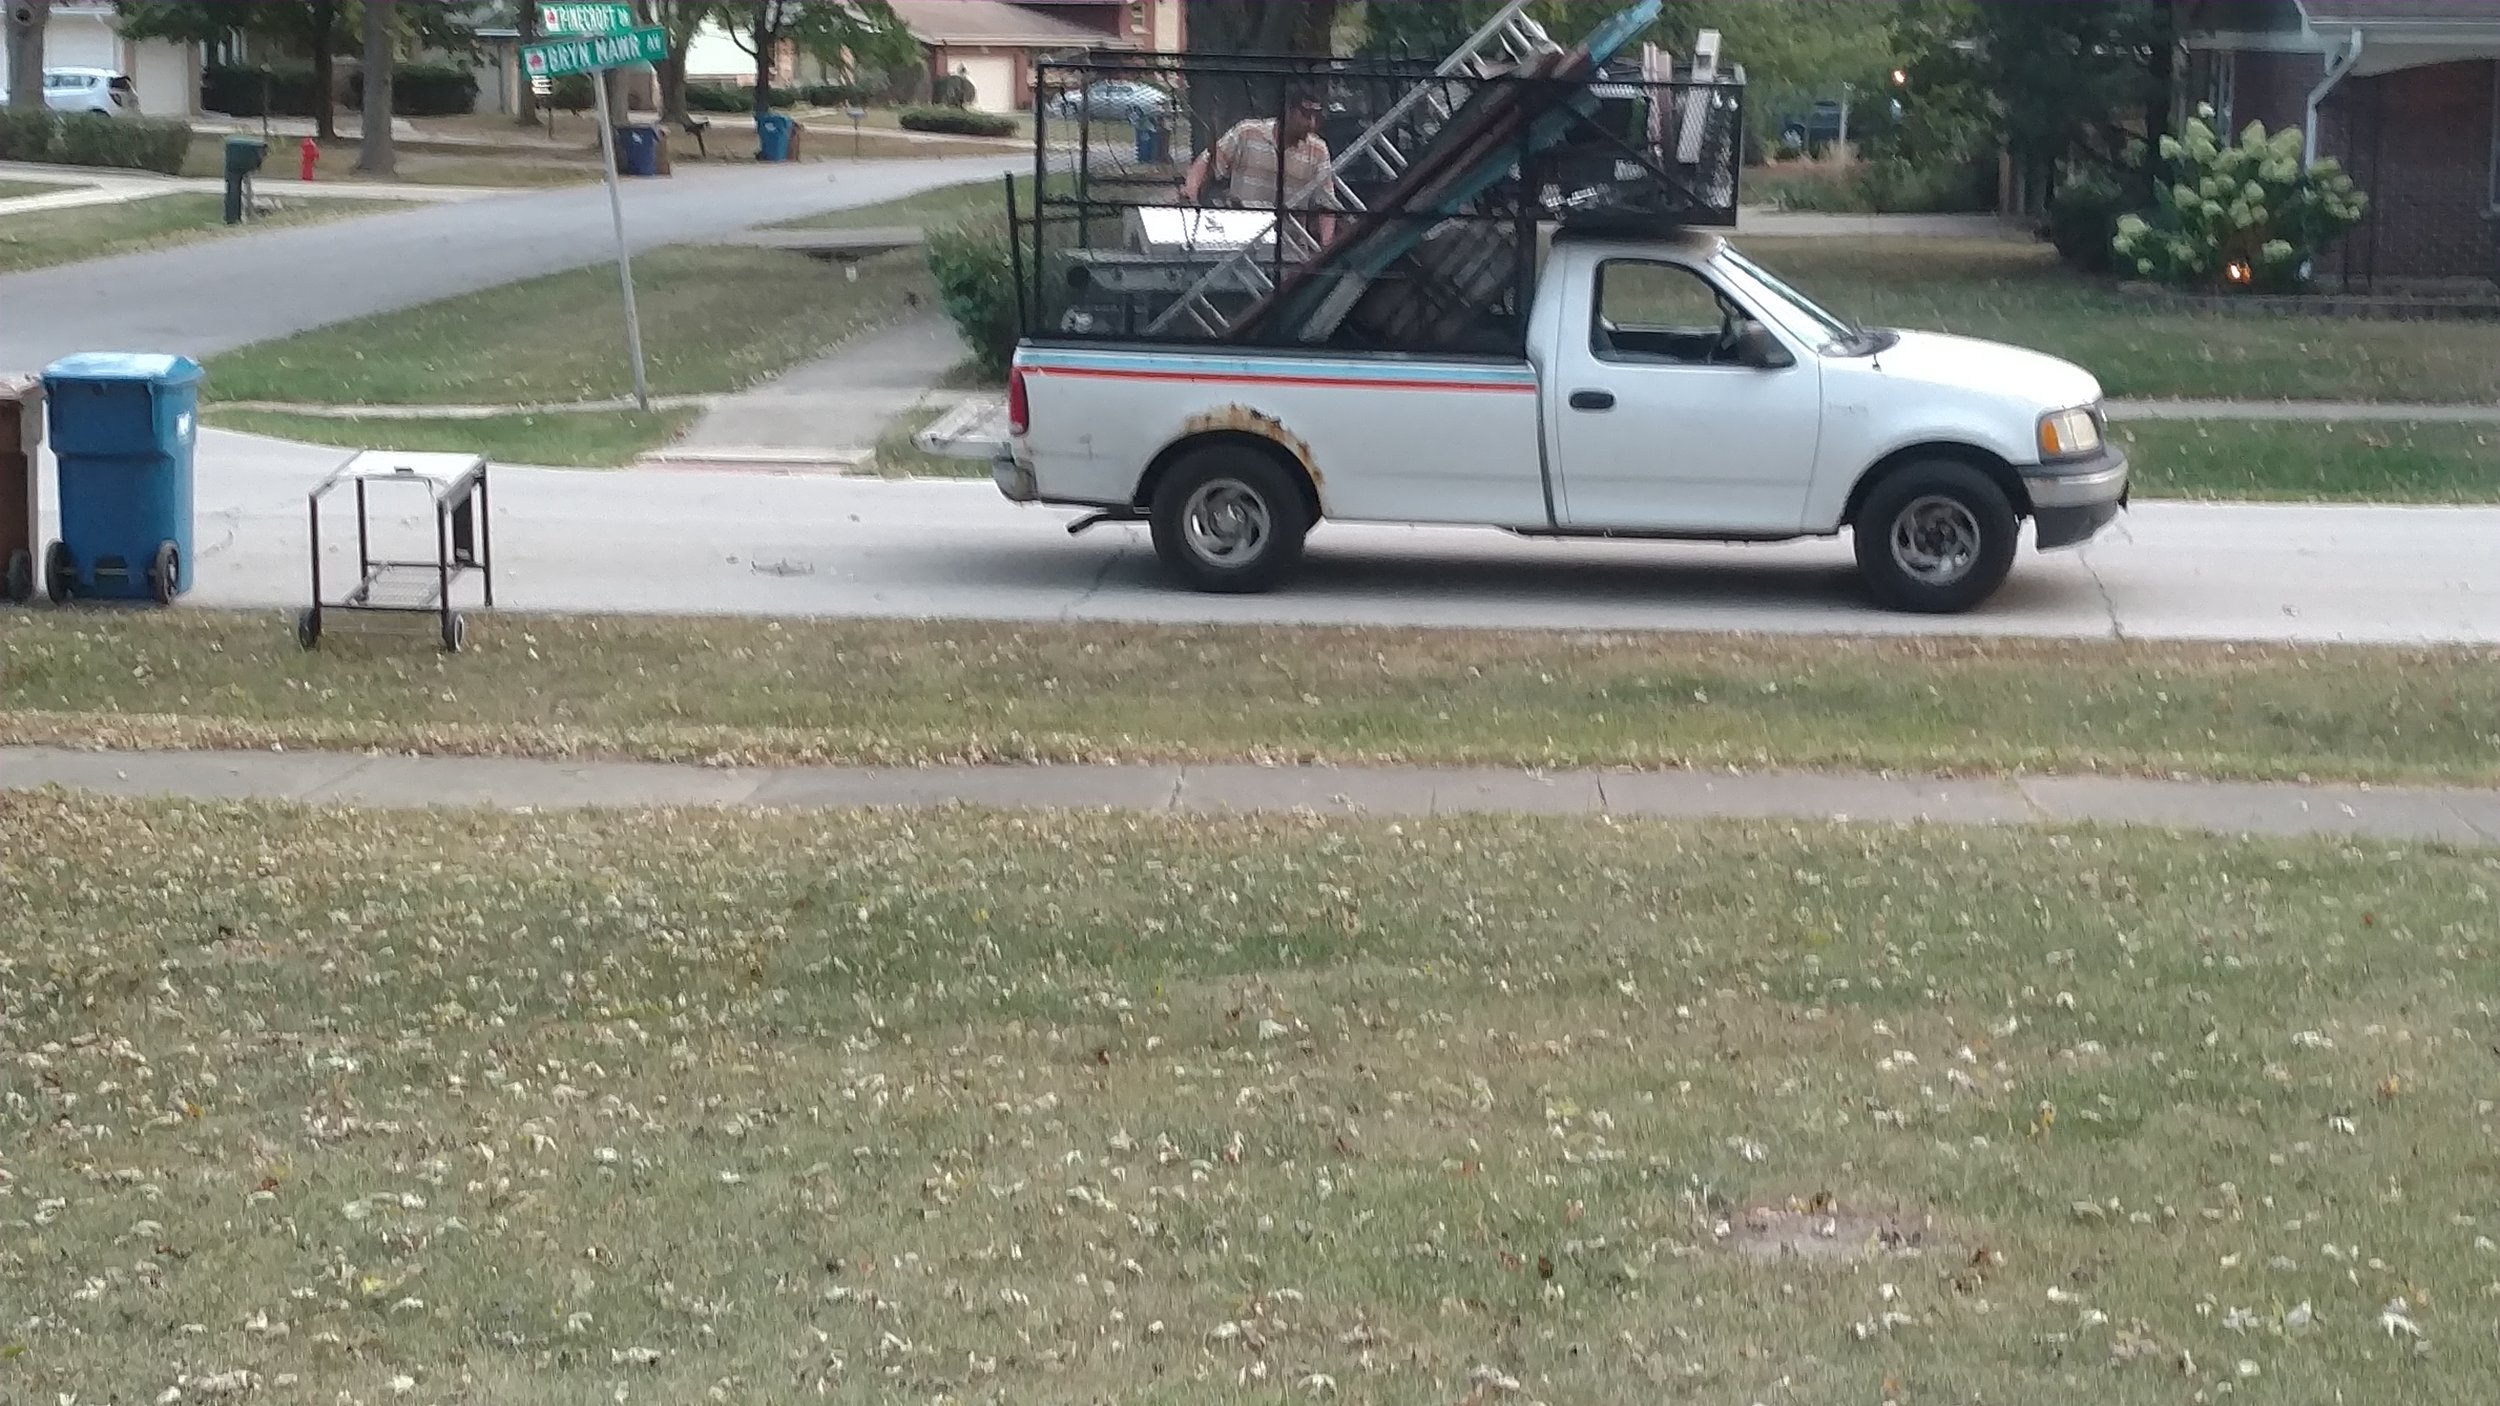
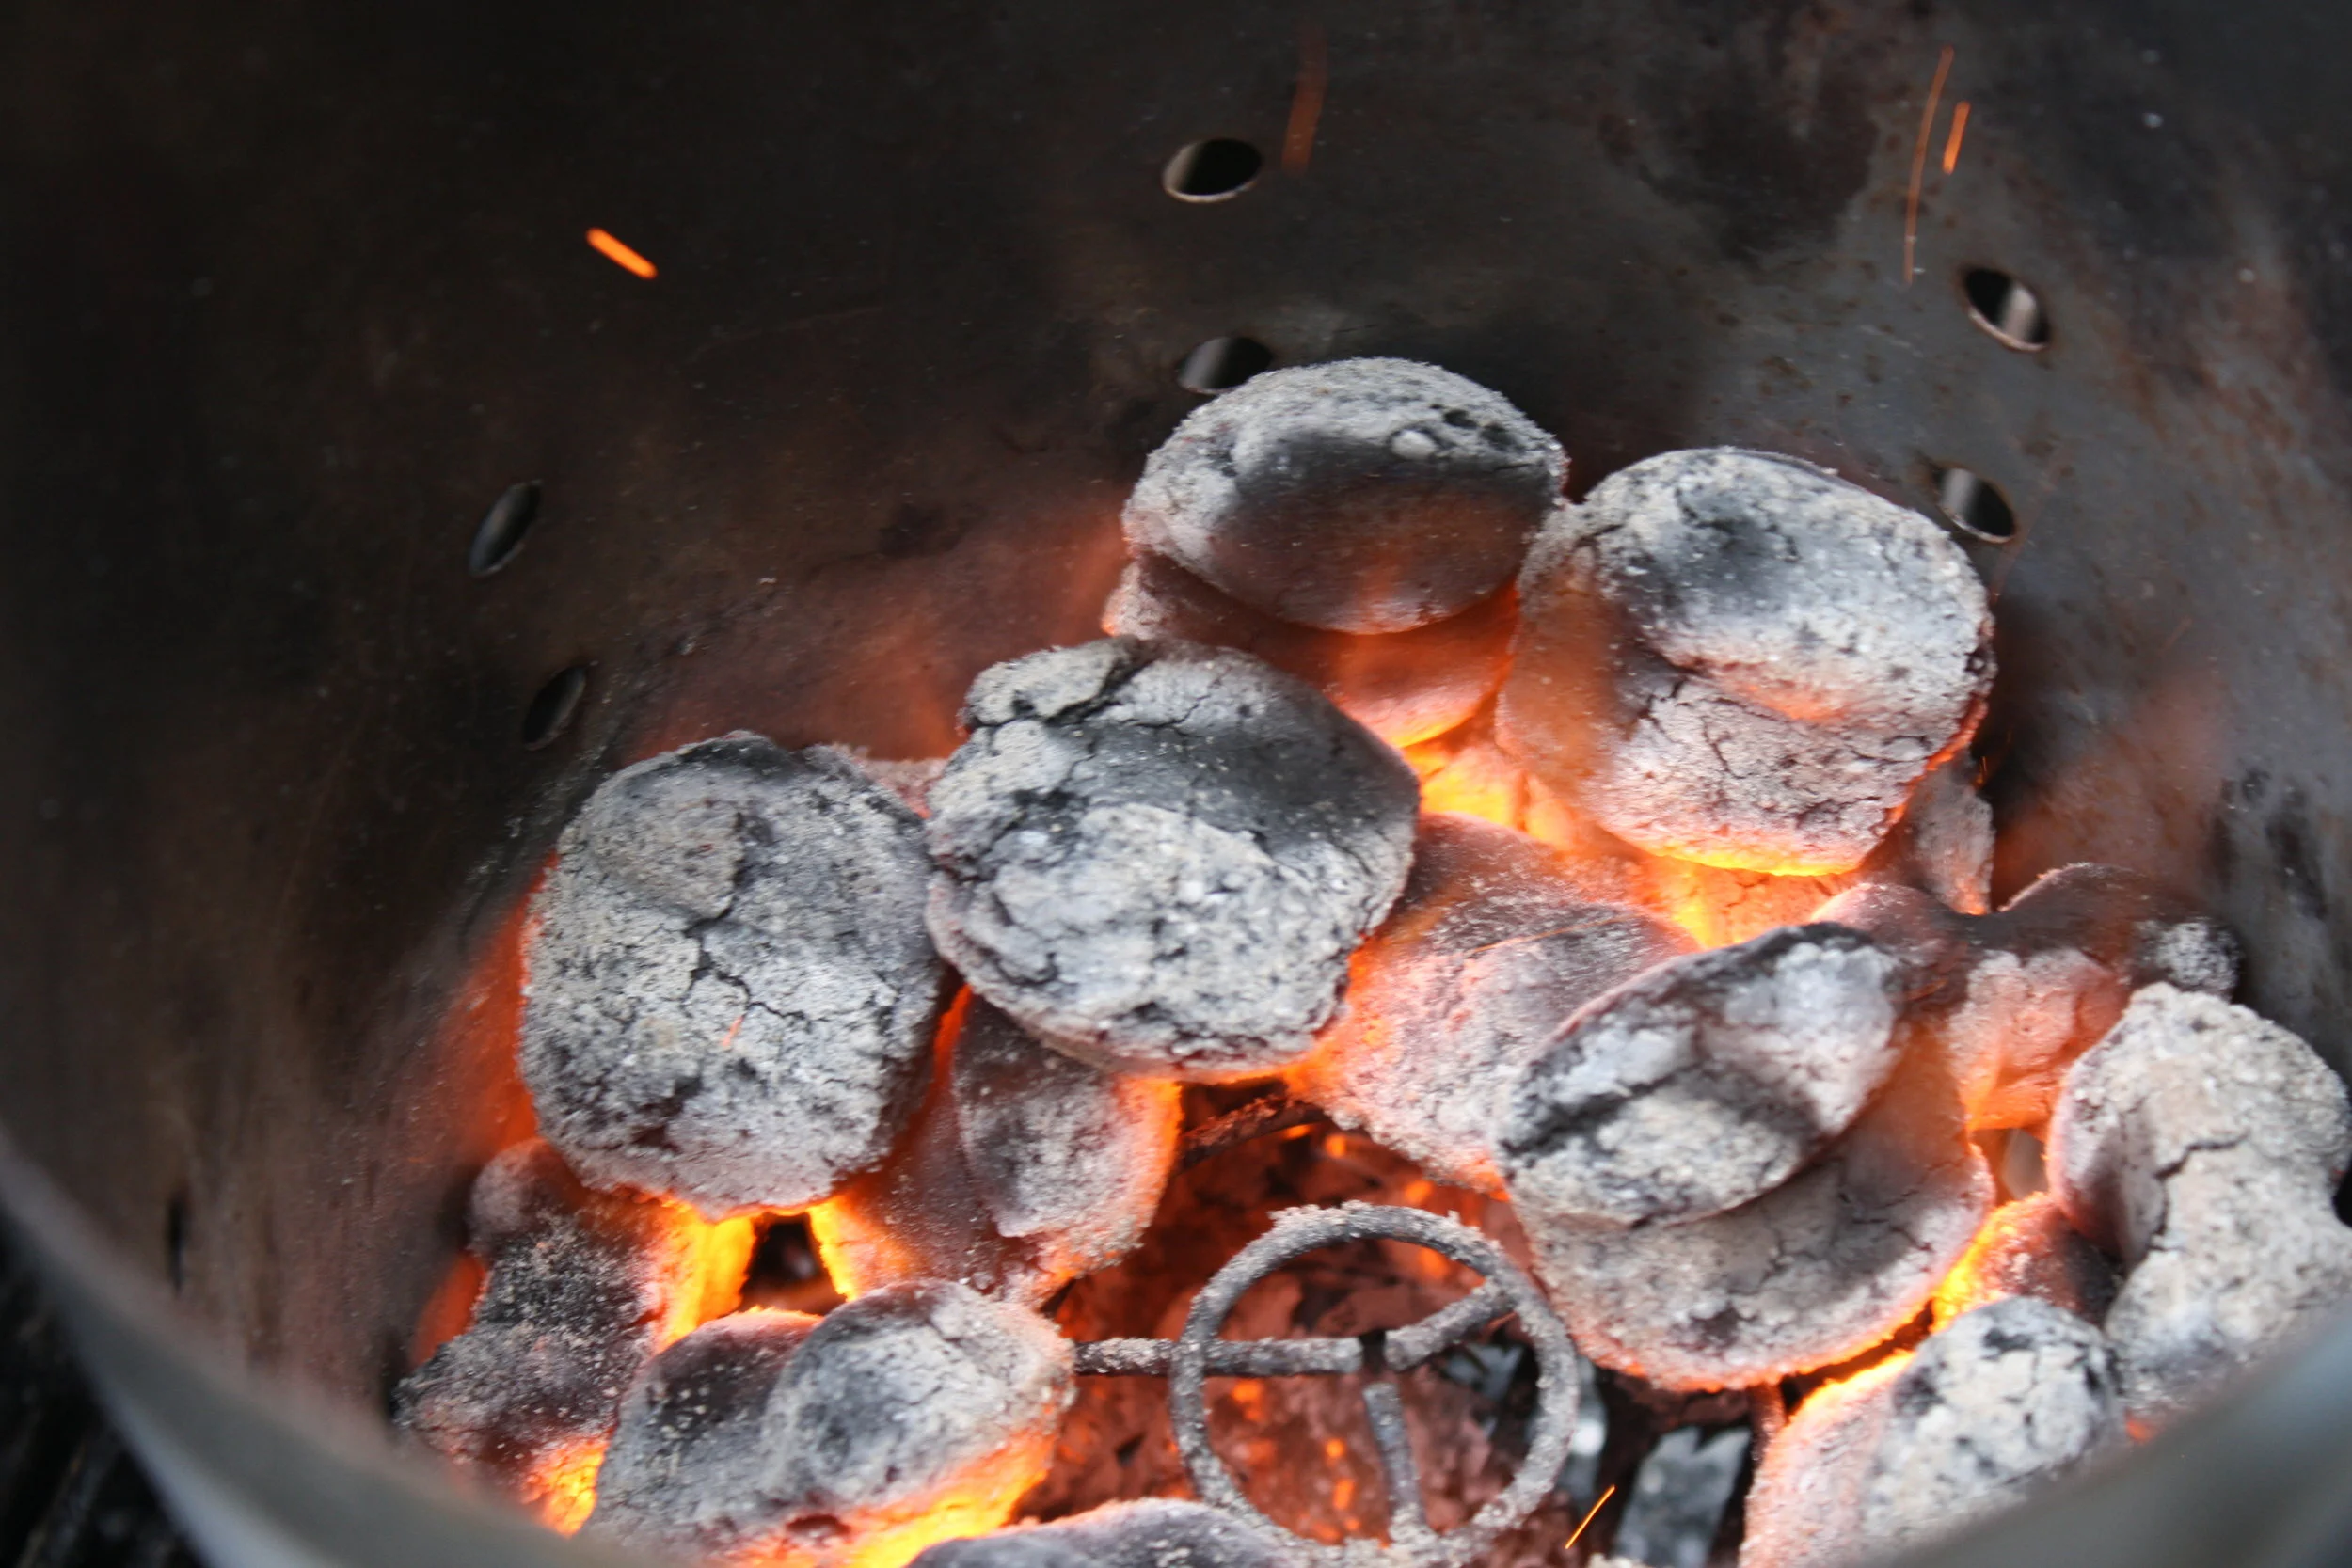
So one cannot upgrade without also saying goodbye. So this garbage day not only were the skeletal remains of my Performer on the curb but so was my propane grill. I kept it, in case I needed it. The reality is I have not ever started it in over a year. I have used it only once, and that was just too light my chimney on once. So this week, I gave myself a new place to BBQ and I cut off my only tie to my previous life of crappy grilling. Tomorrow we BBQ my friends!
Until next post, remember kids.....CHUNKS not chips!